

These peanut butter bars > others.
Did you know that make these peanut butter bars more than any other dessert? Why? Because they are literally amazing, flavorful, and a healthier option. That is always what I am looking for in a dessert. They are also gluten-free and dairy-free.
Welcome to my favorite dessert
For my husband’s birthday party, I made these peanut butter bars instead of cake, and everyone raved about them. That’s how insanely good they were. Now, I make them at least twice a month because they are easy to keep on hand in the freezer and a way healthier option.
I am always wanting to bring you all more recipes like this and I am working on more! With all that to stay, let’s move on to my links and where you can find me (more below).
Just so you know I am now an Amazon affiliate, so I want to disclose that I do have links to products I use in case you guys are curious! Now here’s the part where I drop all my links to my socials for you. Appreciate you!
The first stop is always IG. I am there most often to talk on my stories and respond to DMs and comments. So, if you ever want to get in touch with me, my DMs are a great place to go! Also, if you have a question, hit me up.
Pinterest is the best place to save these recipes. You can put them in a folder and keep it all organized!
The final spot where big things are happening… YouTube. I am starting long form content on there and will be doing tutorials on cooking. Super excited about this and would love to see you over there.
Hope you enjoy this recipe!! Happy eating!
What You May Need for this recipe
- Coconut Oil – I usually get mine from Trader Joe’s, but here’s one if you don’t want to make a trip to the store!
- Quality Chocolate – Quality ingredients are always key, I use guittard. It is so good.
- Baking Dish – My favorite way to bake this is in a pie dish; it comes out beautiful, and you don’t have to use parchment paper. I linked a simple one.
- Mix Bowls – I would use stainless steel for this recipe. These are the best.
- Parchment Paper – If you are using a tray like I did in the picture. You will need parchment paper. I always buy quality, un-bleached and natural.
- Quality SALT – Yes, it is so much better for our bodies to consume salt that is actually good for us. Linked my current salt obsession.
The Recipe
Ingredients:
The Crust:
- 1.5 Cups Almond Flour
- 3 Tbsp Coconut Oil
- 1 Tbsp Pure Maple Syrup
- 1 Tsp Vanilla Extract
- 1/4 Tsp Good Salt
The Peanut Butter Filling:
- 1/2 Cup Peanut Butter (All Natural, the good stuff..)
- 1/4 Cup Pure Maple Syrup
- 3 Tbsp Coconut Oil
- 1 Tsp Vanilla Extract
The Chocolate on Top:
- 1/2 Cup Dark Chocolate
- 3 Tbsp Coconut Oil
Method:
- Preheat your oven to 350F/175C.
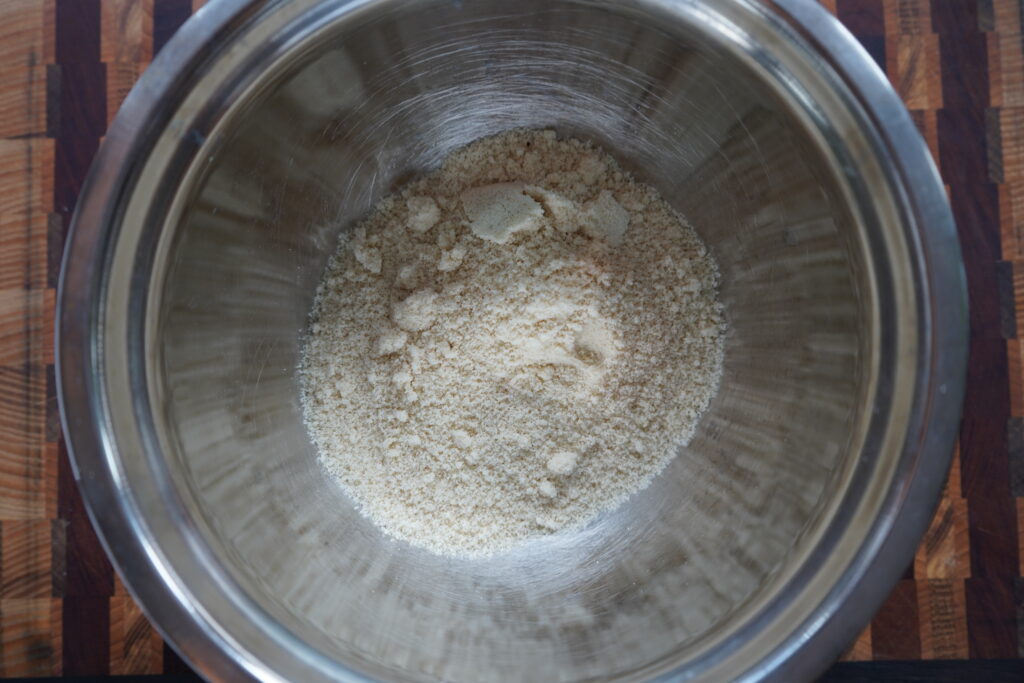
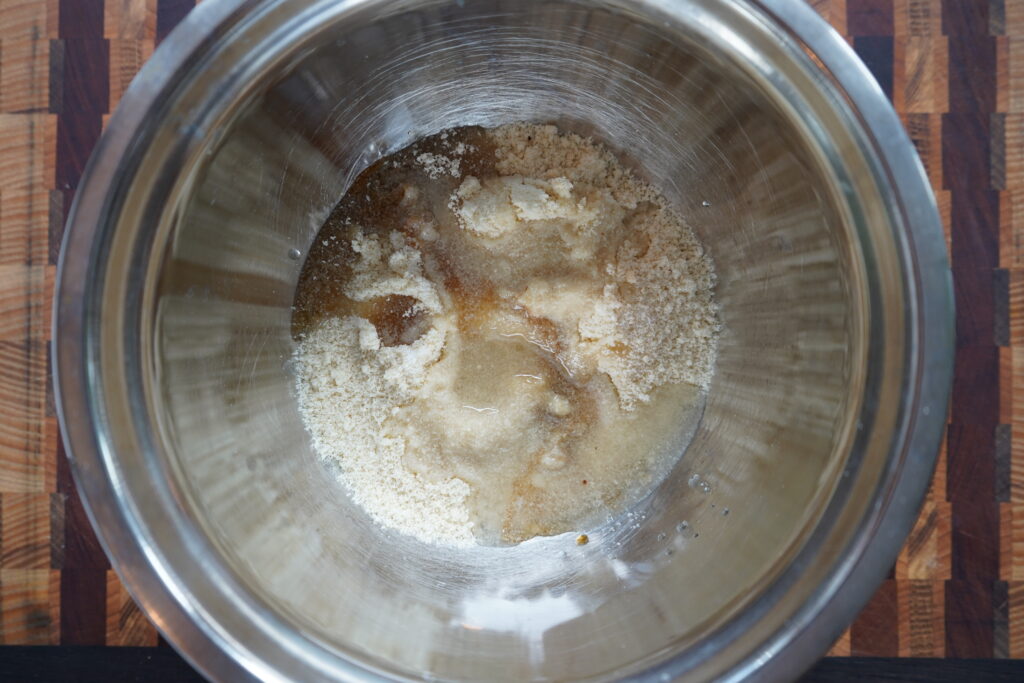
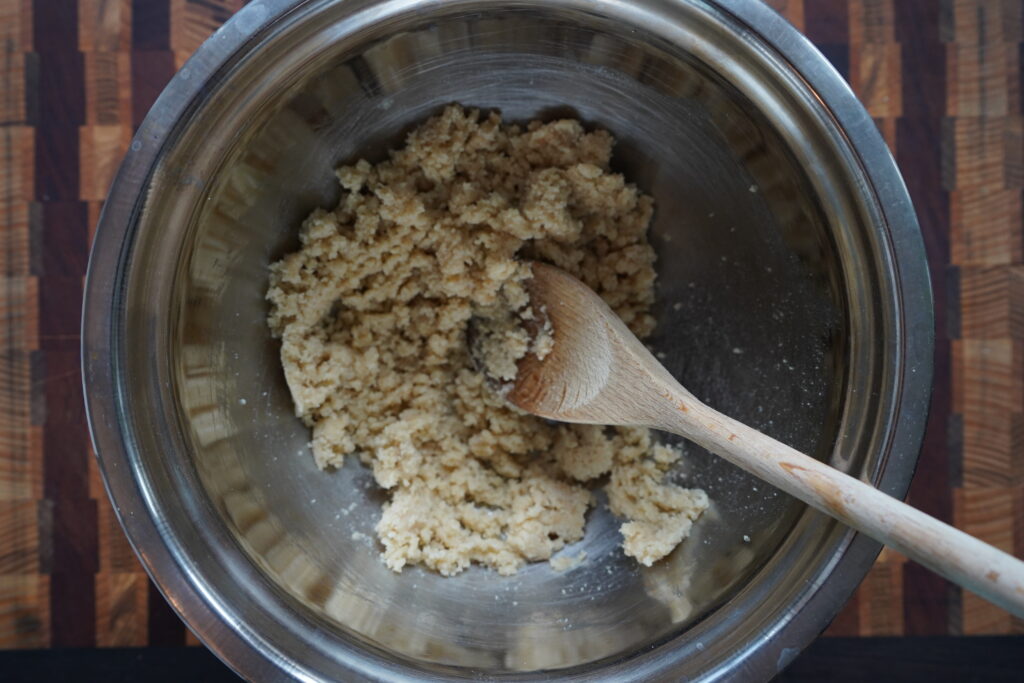
- First, we are going to start with the batter. In a small mixing bowl, add almond flour, salt, vanilla, coconut oil, and maple syrup. It’s critical that you mix this well because if you don’t, the batter will just fall apart after baking.
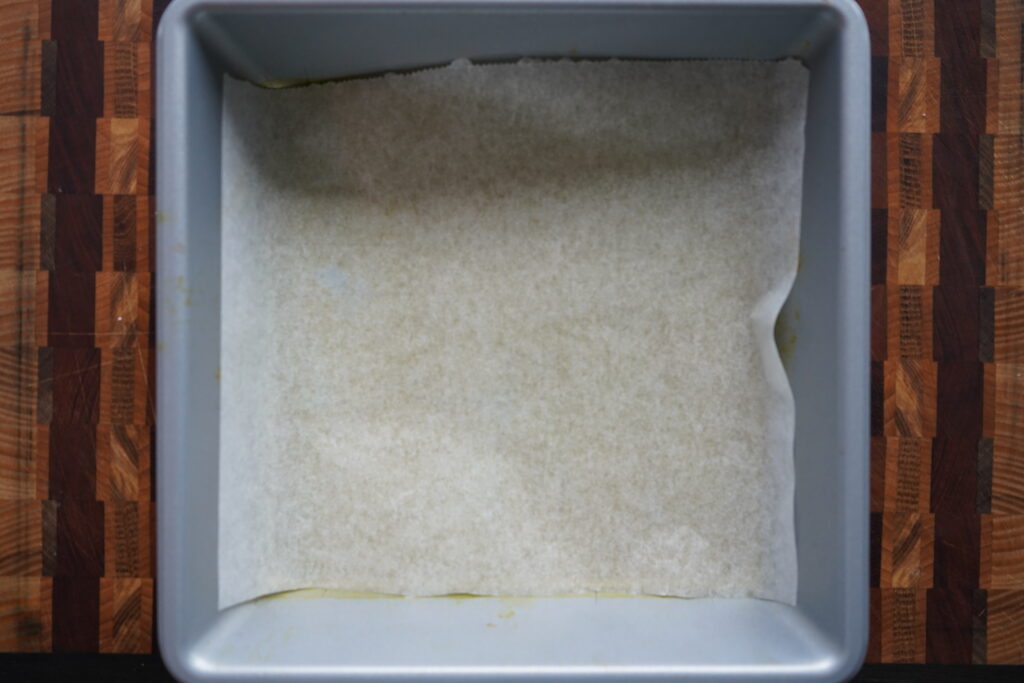
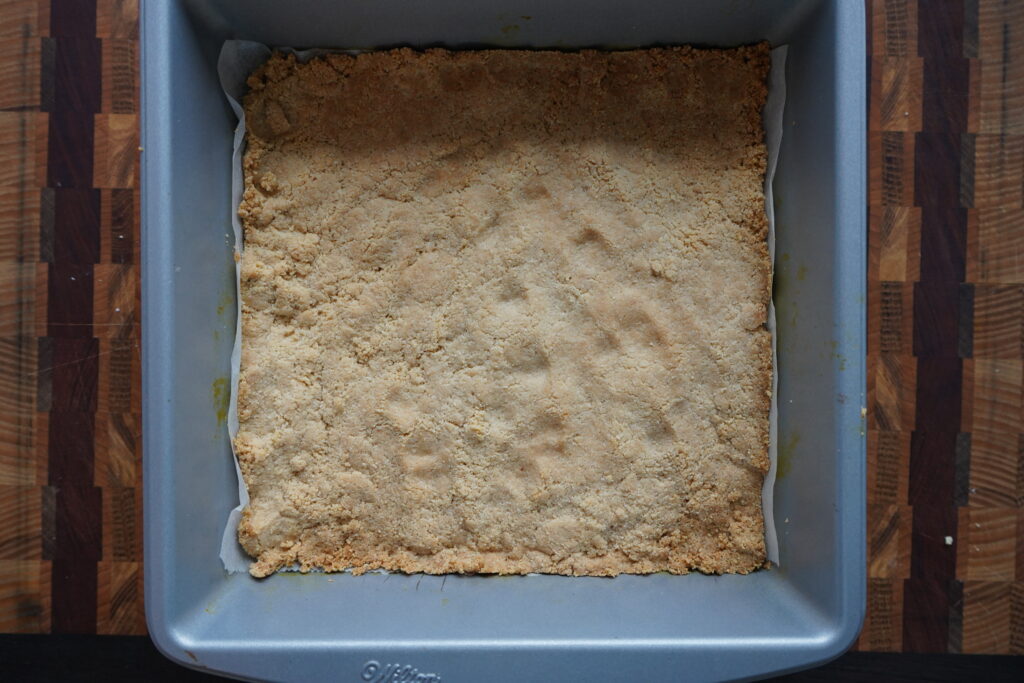
- In a glass pie dish or parchment paper lined 9×9 baking tray, add the batter mix. Make sure you press it in to the pan evenly and tight so it makes a good base.
- Bake for 10 minutes or until the edges are golden brown.
- Remove the cake from the oven and let it cool completely before adding your next layer. (To expedite this, I sometimes put it in the fridge or freezer on a hot pad.)
- In a small saucepan, you will fill an inch or two of water and bring it to a low boil.
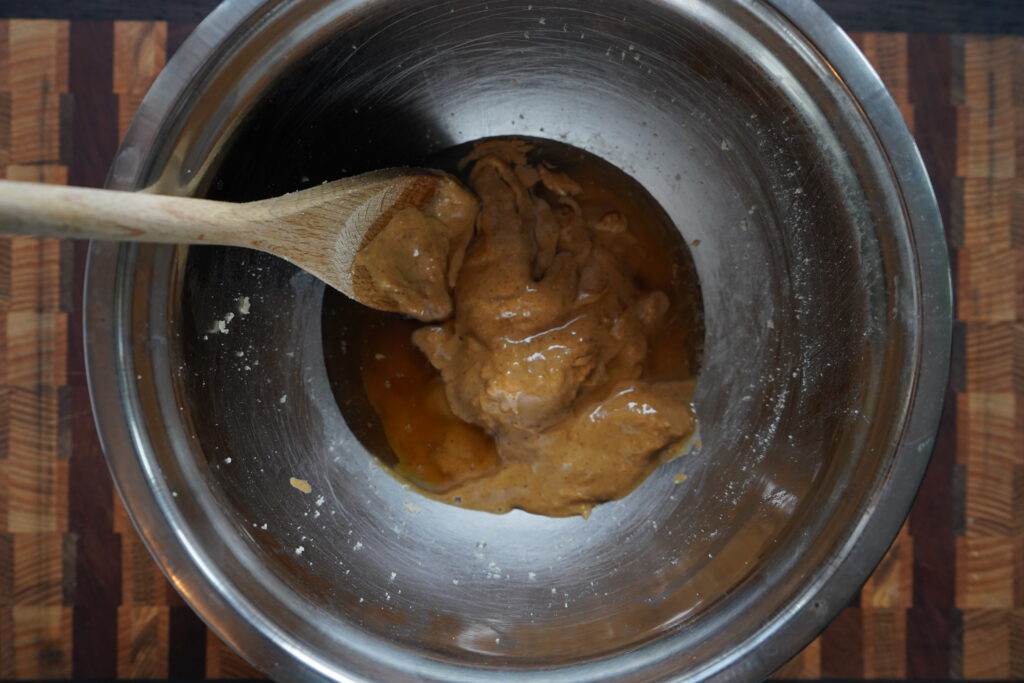
- In a stainless steel or heat-safe mixing bowl, add peanut butter, maple syrup, coconut oil, and vanilla.
- Now, place the bowl over the heat and stir continually until it starts to caramelize.
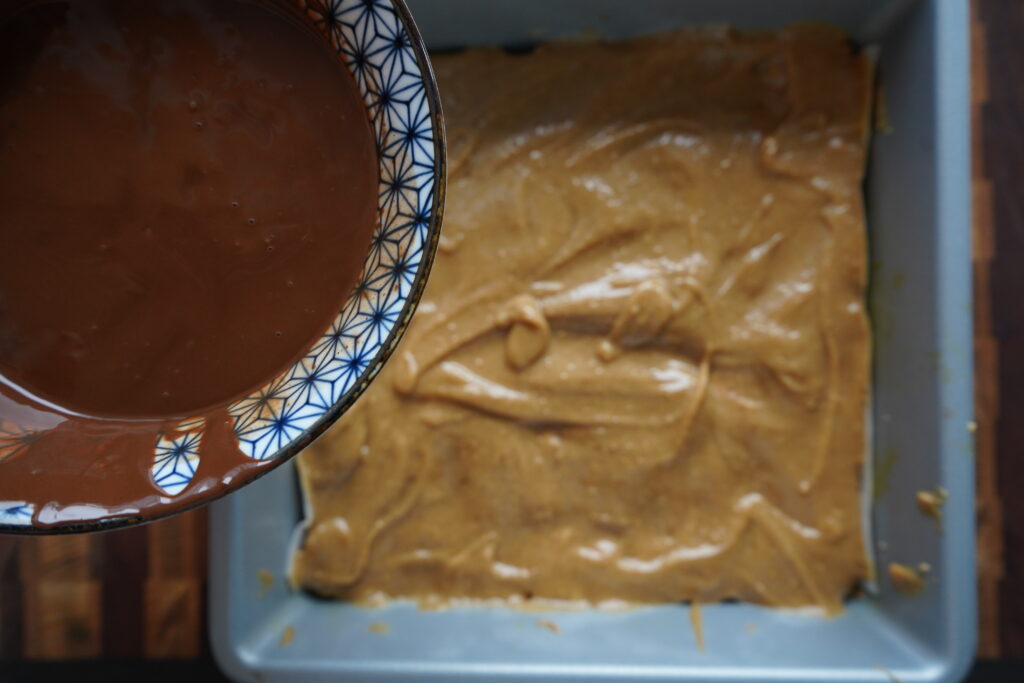
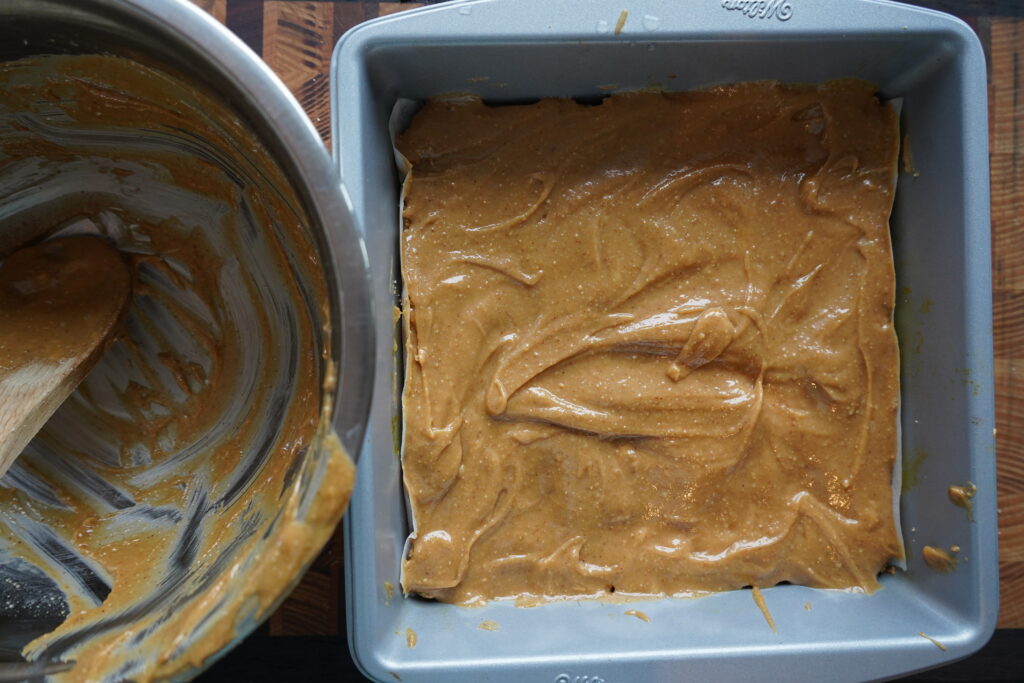
- Turn off your burner, remove the peanut butter mix from the heat, and pour the caramelized peanut butter onto your cooled cake base.
- Place in fridge and let cool for about 10-15 minutes.
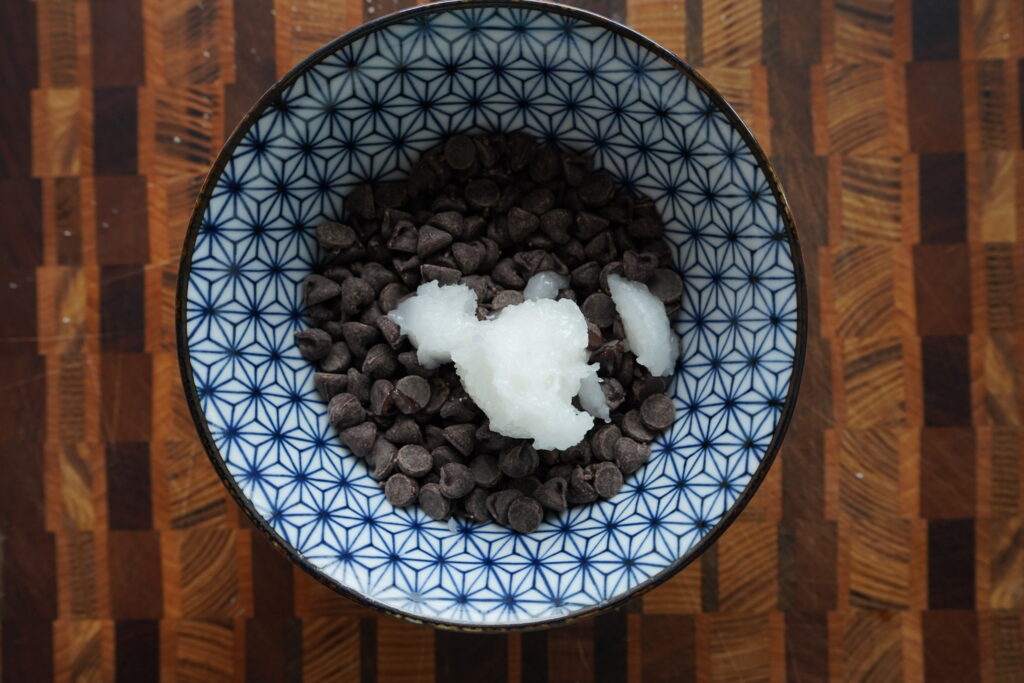
- Now, for the chocolate. Add the dark chocolate chips and the coconut oil to a microwave-safe bowl or a stainless steel bowl if you are going to heat the chocolate over the hot water.
- For microwaving: Heat for 20-second increments and stir in-between until the chocolate is fully melted and smooth. For melting over water: Stir continually over the boiling water until the chocolate is smooth.
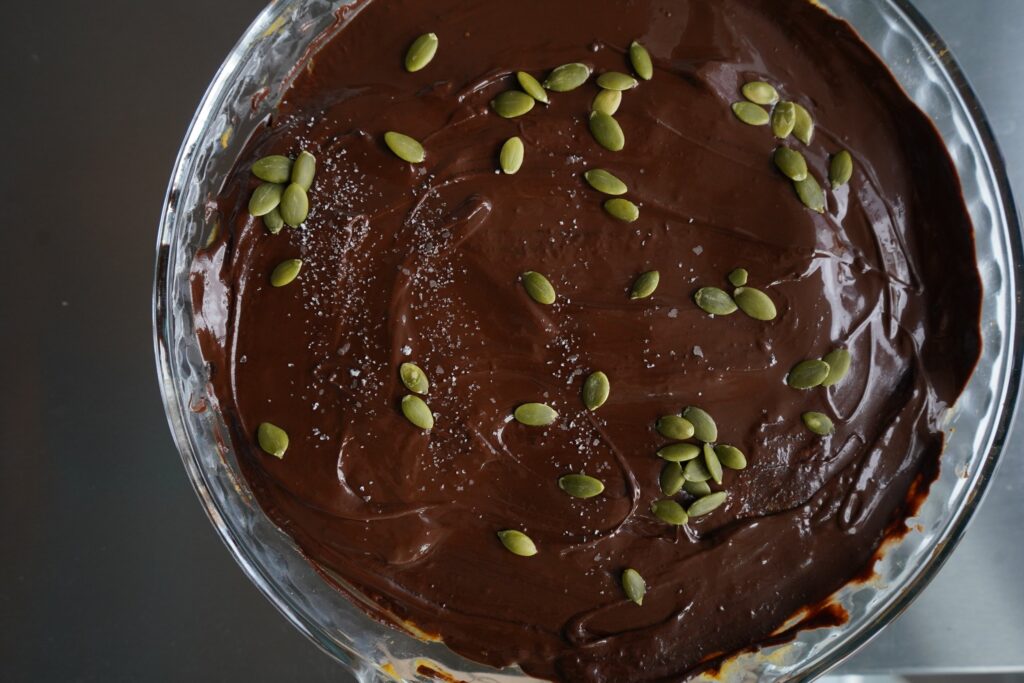
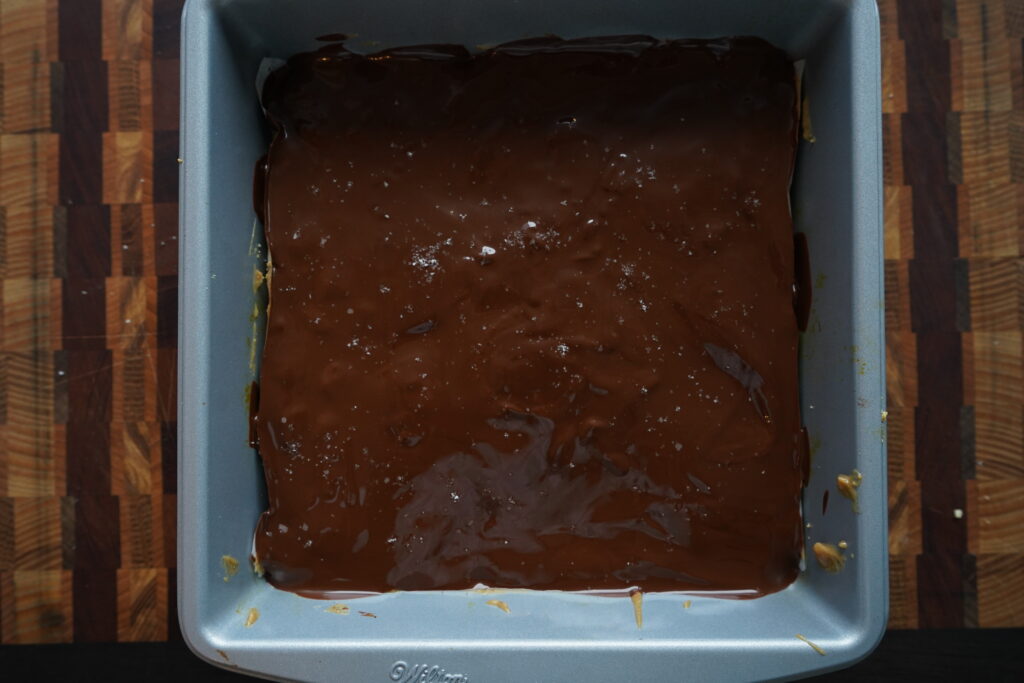
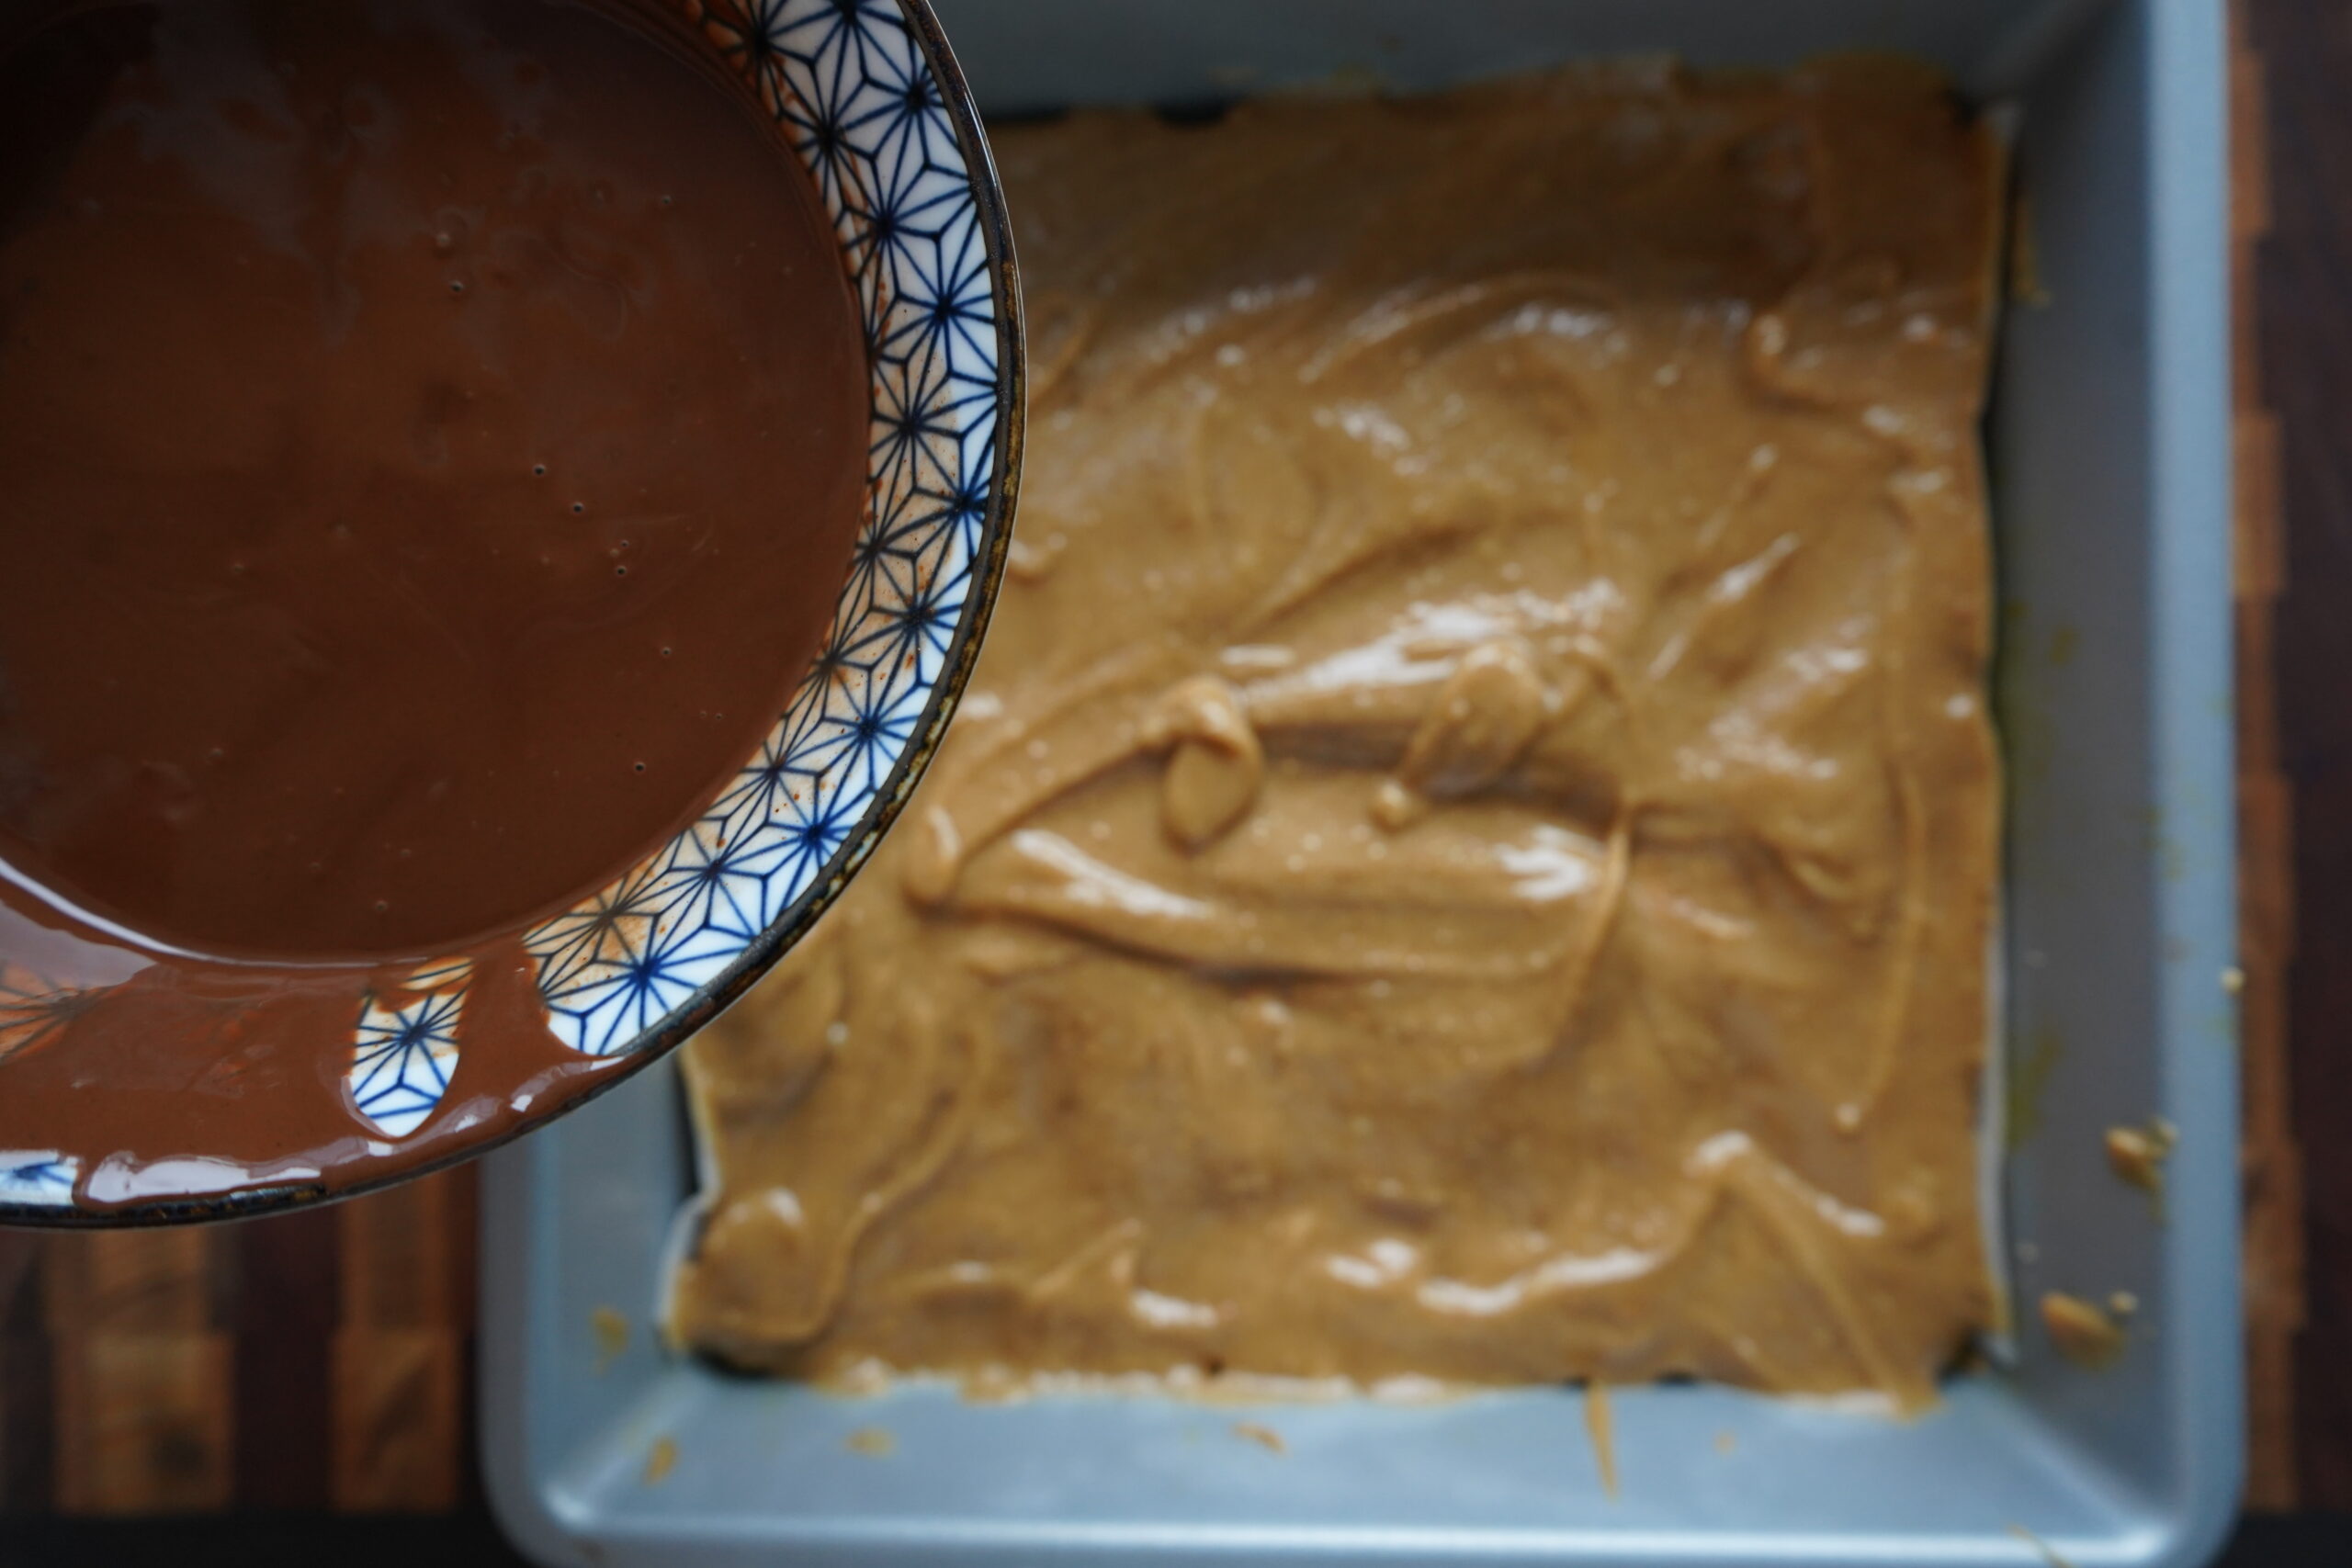
- Remove your pan from the fridge and pour melted chocolate on top evenly.
- Add your good salt on top, as well as any other toppings you might be fancy-ing.
- Place in the freezer and allow your bar to fully cool.
- YOU ARE DONE!!!!! Enjoy!
I hope you enjoyed this recipe as much as I do! It is literally my husband and I’s favorite and is a healthier treat that makes you happy to eat. It is truly guilt-free and gluten-free. HEHE.
Questions/Comments?
If you ever have any questions AT ALL, I am all yours and all ears. I am happy to hear about your experiences as well as any concerns you may have regarding the recipes!
I also just love hearing from you guys. So, please stop in and say hi in the comments! Happy you are a part of The Table!
Other Desserts You Will Love:
Date Bark – My go-to midweek dessert!
Gluten-Free Brownies – These are the bomb and made with bananas!
Yogurt Bark – I guess I’m just a fan of dessert barks.
Healthy Peanut Butter Bars – Healthy Dessert Recipe
Ingredients
The Crust
- 1.5 Cups Almond Flour
- 3 Tbsp Coconut Oil
- 1 Tbsp Pure Maple Syrup
- 1 Tsp Vanilla Extract
- 1/4 Tsp Good Salt
- The Peanut Butter Filling
- 1/2 Cup Peanut Butter All Natural, the good stuff..
- 1/4 Cup Pure Maple Syrup
- 3 Tbsp Coconut oil
- 1 Tsp Vanilla Extract
The Chocolate on Top
- 1/2 Cup Dark Chocolate The good stuff
- 3 Tbsp Coconut Oil
Instructions
- Preheat your oven to 350F/175C.
- First, we are going to start with the batter. In a small mixing bowl, add almond flour, salt, vanilla, coconut oil, and maple syrup. It’s critical that you mix this well because if you don’t, the batter will just fall apart after baking.
- In a glass pie dish or parchment paper lined 9×9 baking tray, add the batter mix. Make sure you press it in to the pan evenly and tight so it makes a good base.
- Bake for 10 minutes or until the edges are golden brown.
- Remove the cake from the oven and let it cool completely before adding your next layer. (To expedite this, I sometimes put it in the fridge or freezer on a hot pad.)
- In a small saucepan, you will fill an inch or two of water and bring it to a low boil.
- In a stainless steel or heat-safe mixing bowl, add peanut butter, maple syrup, coconut oil, and vanilla.
- Now, place the bowl over the heat and stir continually until it starts to caramelize.
- Turn off your burner, remove the peanut butter mix from the heat, and pour the caramelized peanut butter onto your cooled cake base.
- Place in fridge and let cool for about 10-15 minutes.
- Now, for the chocolate. Add the dark chocolate chips and the coconut oil to a microwave-safe bowl or a stainless steel bowl if you are going to heat the chocolate over the hot water.
- For microwaving: Heat for 20-second increments and stir in-between until the chocolate is fully melted and smooth. For melting over water: Stir continually over the boiling water until the chocolate is smooth.
- Remove your pan from the fridge and pour melted chocolate on top evenly.
- Add your good salt on top, as well as any other toppings you might be fancy-ing.
- Place in the freezer and allow your bar to fully cool.
- YOU ARE DONE!!!!! Enjoy!
