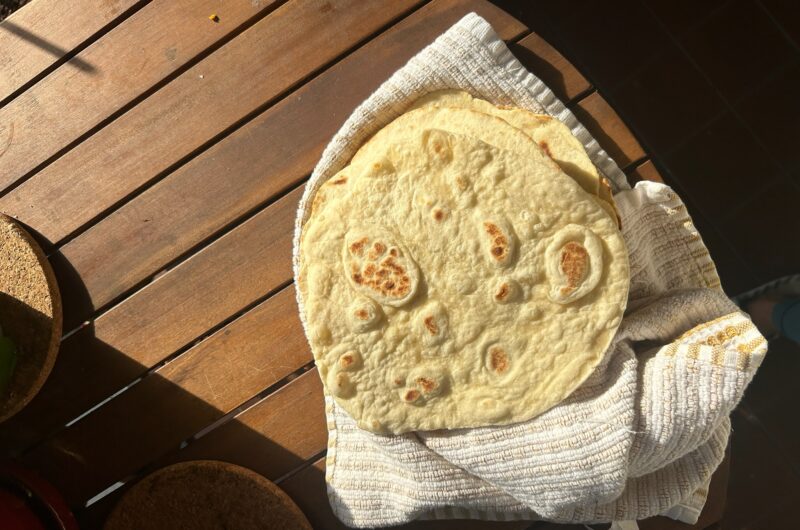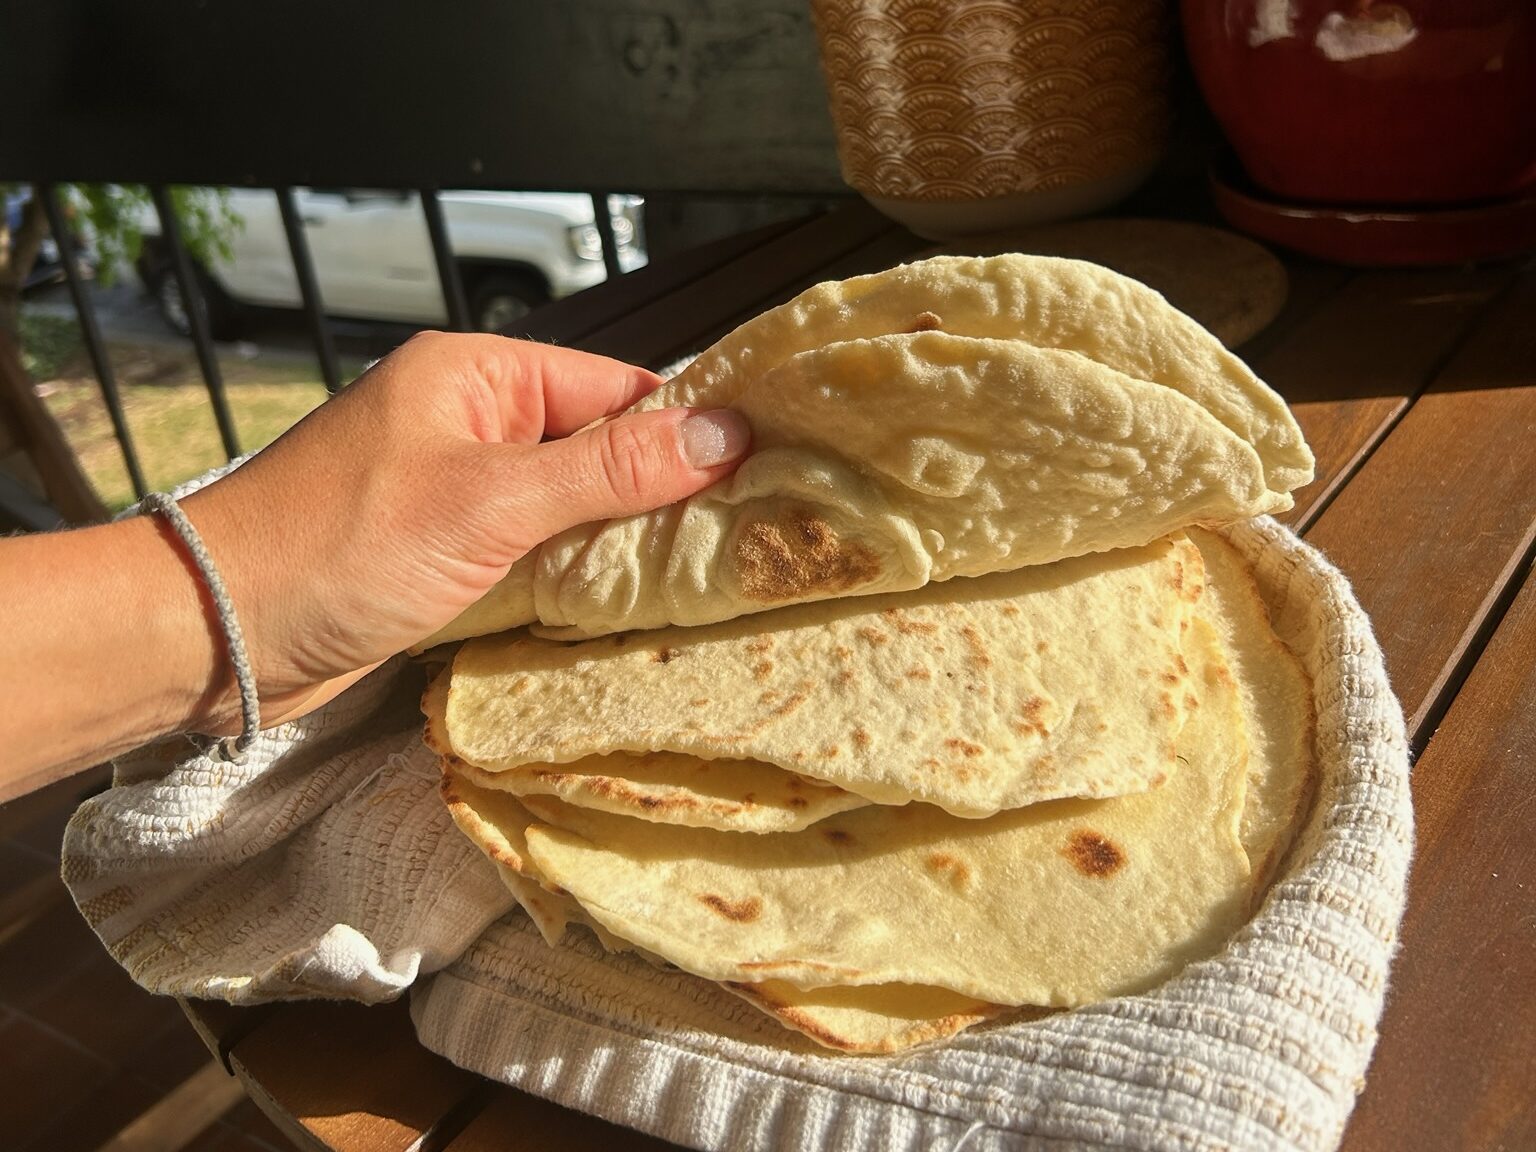
Homemade Pita
I literally dream about these homemade pitas. Mouthwatering, deliciousness that is a million times better than store-bought. It’s worth the time.
Me, you and Pita
When I posted the video of this recipe on my IG I did not expect so many people to want this recipe. Over 500 and counting have asked for it which is why I had to jump right in and write a blog for it so you all have a place to come get it. I think the reason it’s so popular is because it’s bread. Let me explain. Bread-homemade bread- has been bringing people together for centuries. Whether it’s through the collaborative process of baking, the sensory pleasures of fresh bread, or the act of sharing a homemade meal, homemade bread fosters a sense of community, warmth, and togetherness that resonates deeply across cultures and generations. So, I am immensely happy to be sharing this recipe with you all and I hope it bring you and your family and friend together. If you want to save this recipe easily, follow my Pinterest so you know exactly where the recipes are! Also, please forgive me for the lack of step by step pictures as I will add those soon when I remake this recipe, as I wanted to get this out in a hurry for you.
What inspired learning this recipe?
I feel like when you start cooking more from home and then from scratch, everything eventually starts to escalate. For instance, one day I’m wanting to learn how to make Greek-style meatballs, so I decide I need pita to go with my meatballs, obviously. I head to the store to pick up some pita bread, I find the bread. I turn it around to read the ingredients. This the moment when I decide I want to make things at home. The ingredients, most of the time are not clean. Usually if it has more than 7 ingredients, then I don’t buy it-unless they are ingredients I know what they are and understand. So, wanting to make something with quality flour and that is all around better for my family is important to me. This is what inspired me to learn how to make homemade pita bread and what continues to inspire me to learn more recipes.
What You will need
-A large mixing bowl
-Quality flour (I use King Arthur)
-Rubber spatula
-Quality olive oil
-Rolling pin
-Plastic wrap, or damp kitchen towel
The Ingredients
-2 Tsp Instant dry yeast
-2 Cups Warm water
-6 1/2 Cups Bread flour(or quality all purpose), +extra for rolling
-1 1/2 Tsp Sugar (helps activate the yeast)
-1 1/2 Tsp Salt
-4 Tbsp Olive oil + extra for pouring over and brushing
Method:
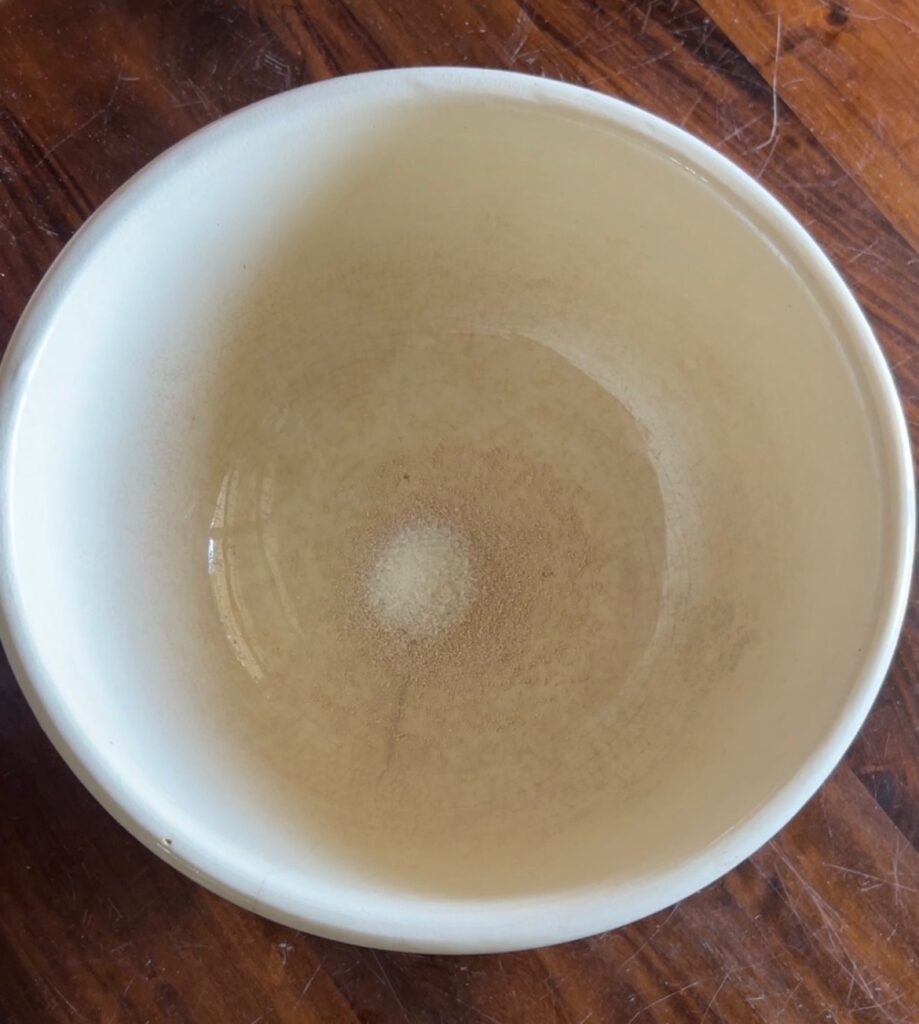
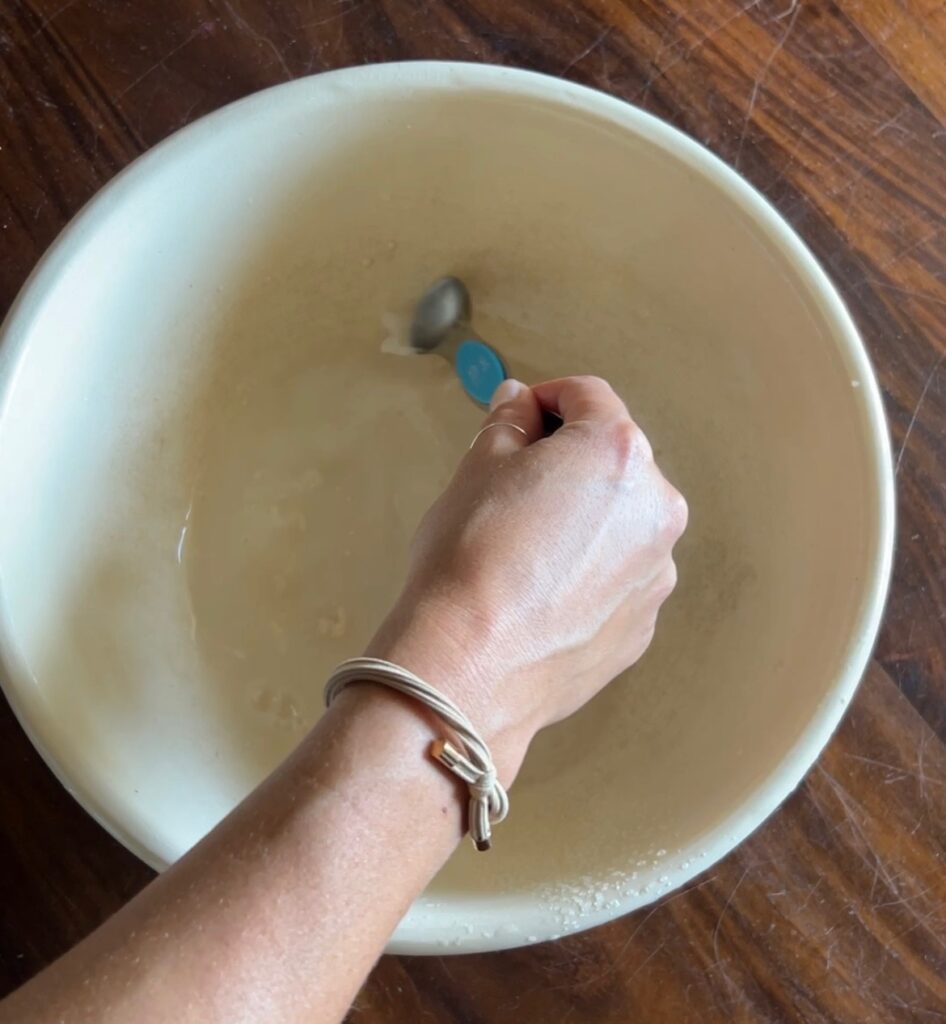
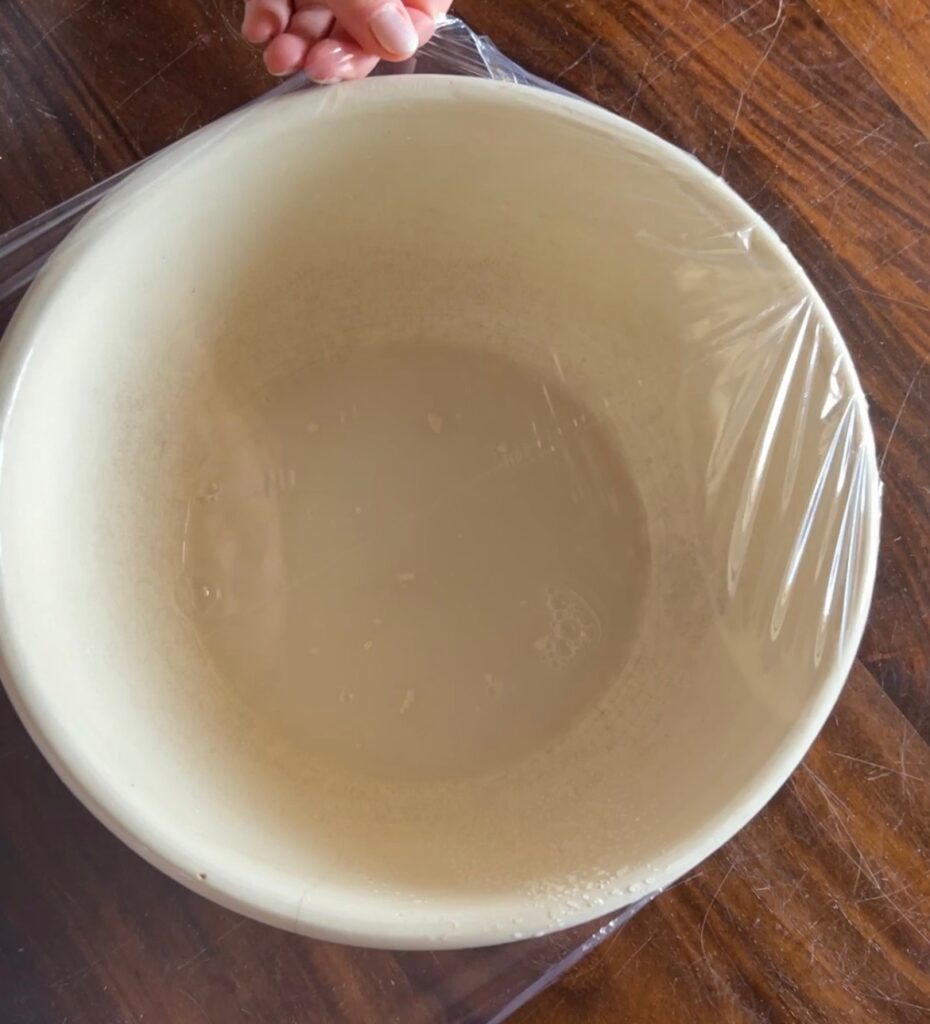
-In a large bowl, add the yeast, sugar, and warm water. Mix it well. Now, cover the bowl with plastic wrap and let it stand for about 5 minutes, until foam appears in bowl.
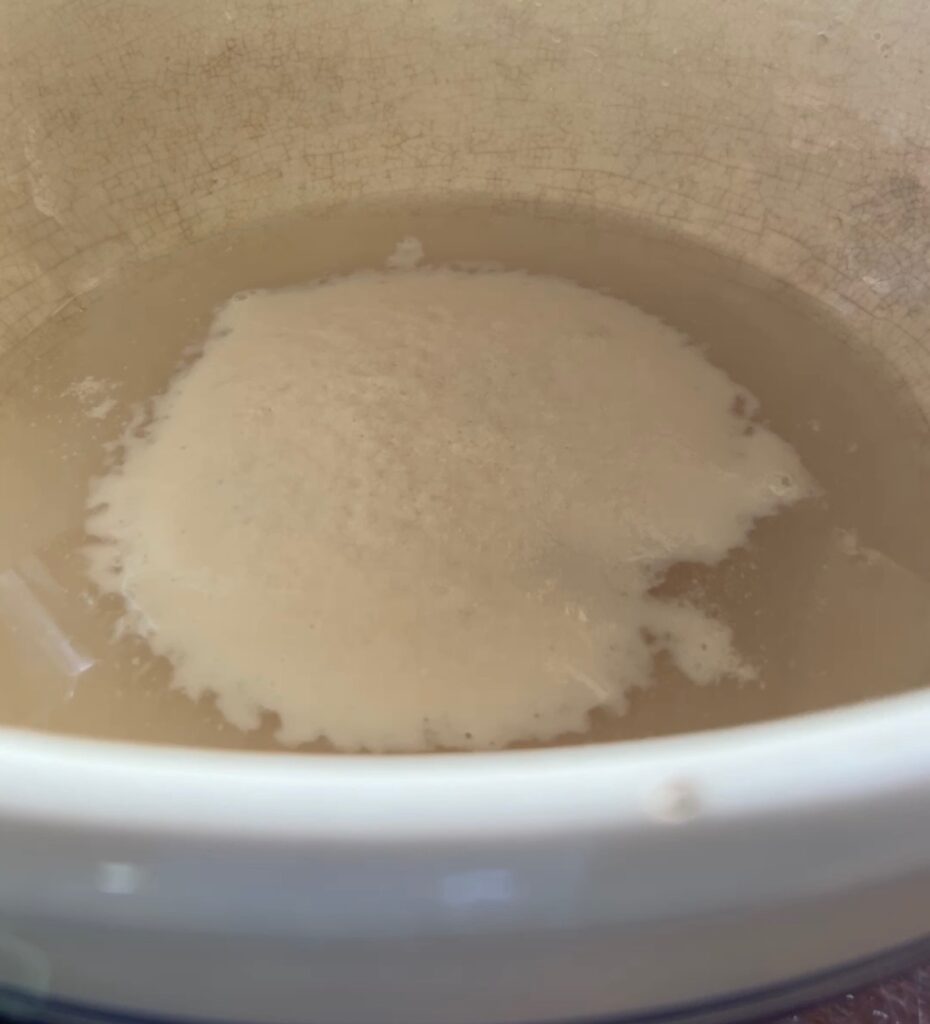
-You will know the yeast is activated because it will look like the picture on the left above.
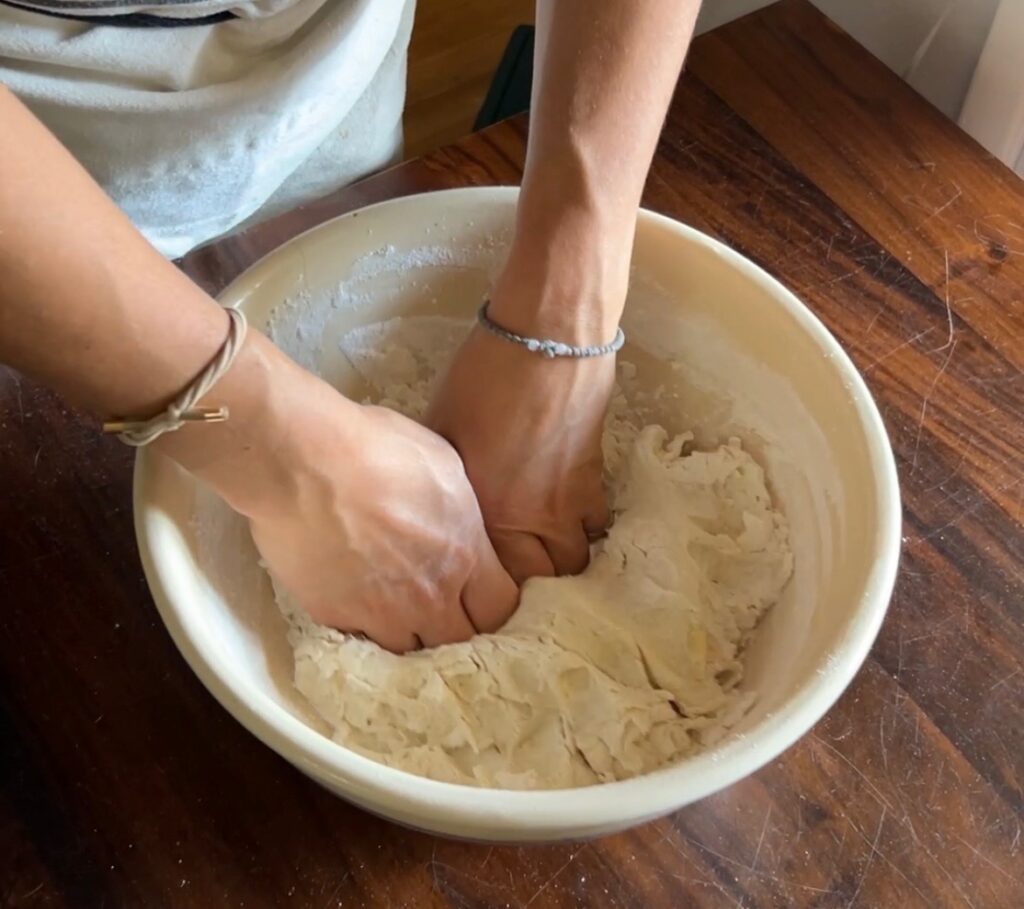
-Now you will be adding the quality flour, salt and olive oil to the mixture. Then mix well by hand, until combined.
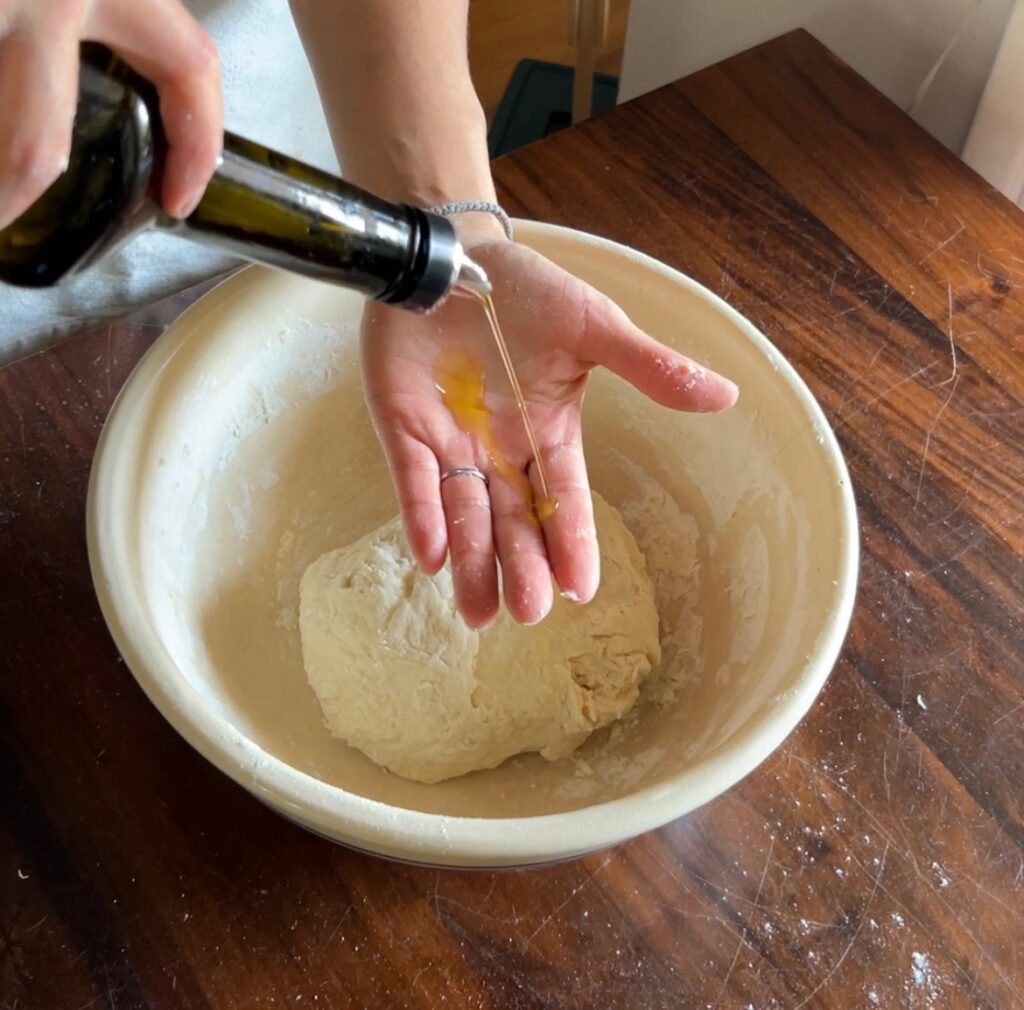
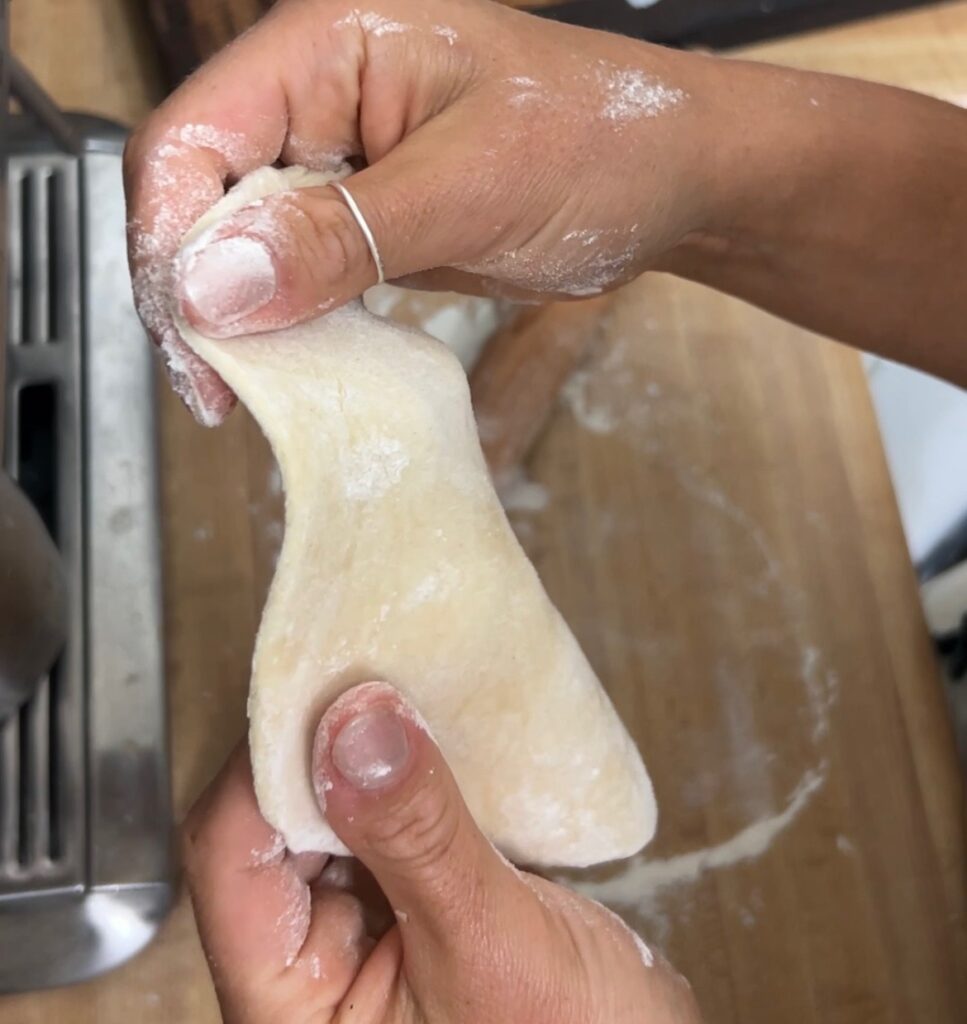
-Add a bit of olive oil and knead the dough for about 10 minutes. The mix will be sticky, you can add olive oil on your hands to prevent the stickiness. (As pictured above.)
-Place dough in an olive oiled bowl, cover with plastic wrap & let it rise for 60-90 mins, until doubled in size.
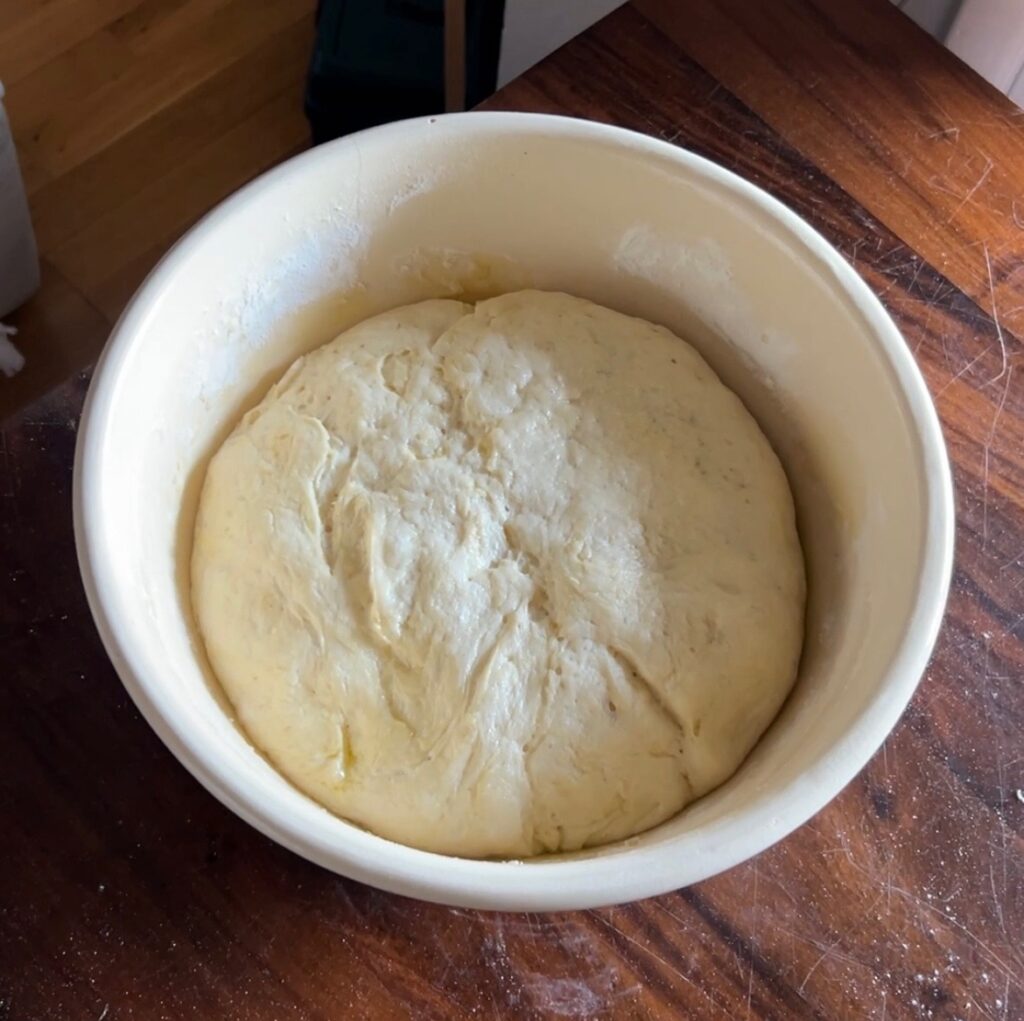
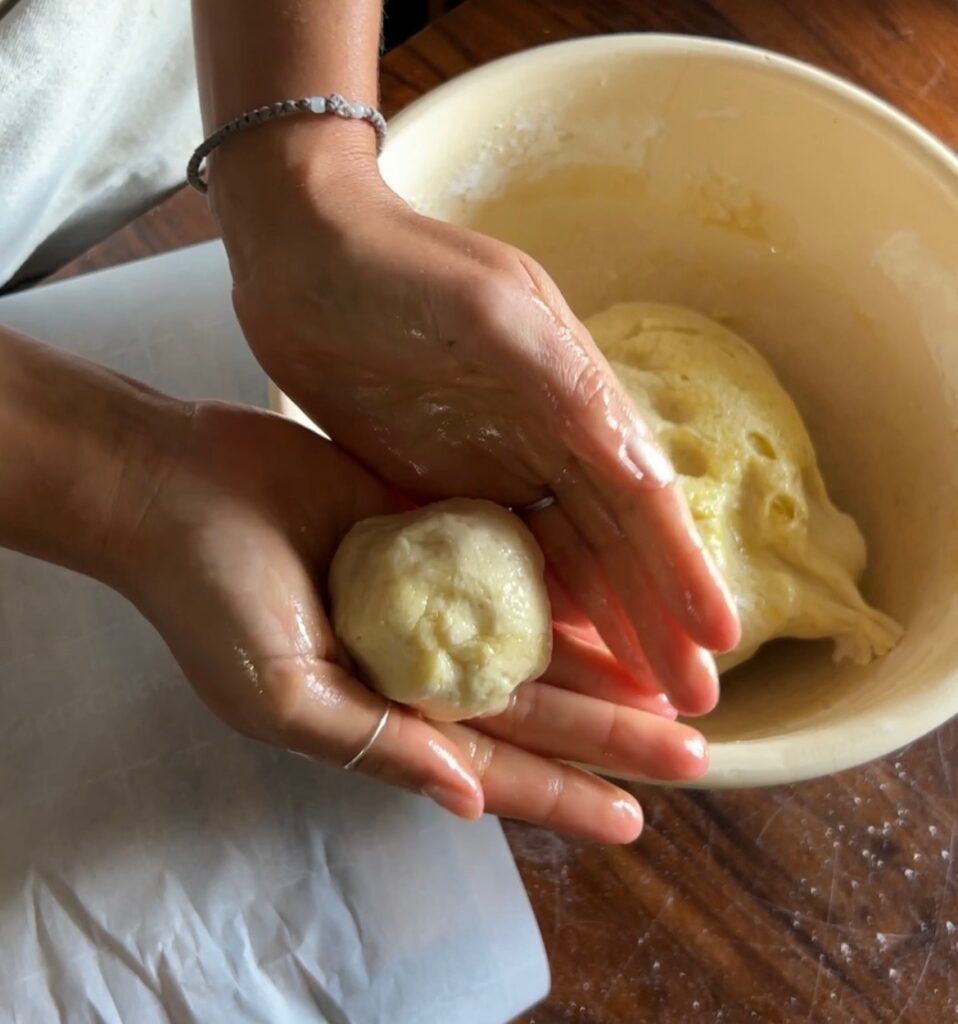
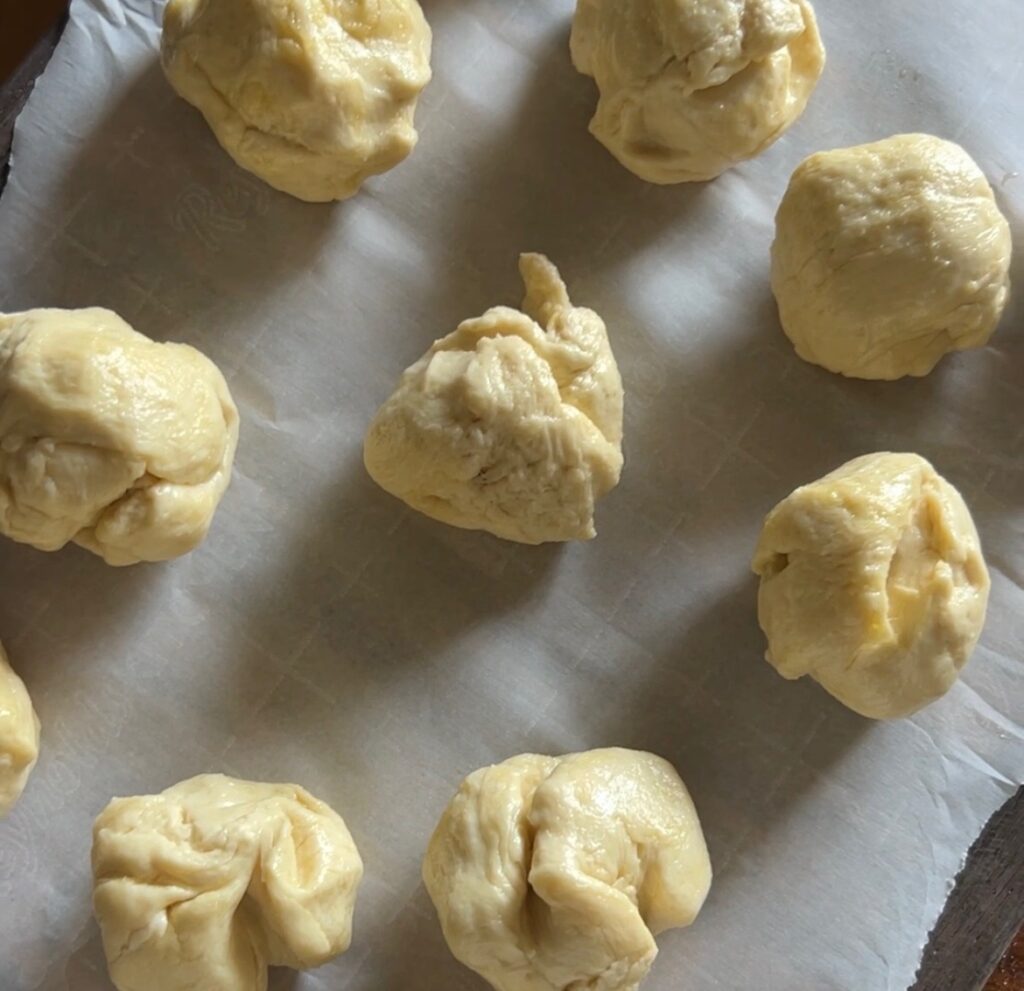
-The dough should look like the left hand picture when it has doubled in size. You can compare to the last set of photos above these to see the difference.
-Now you are going to divide the dough into equal little balls. Lightly flour work surface & roll 1 dough into a circular shape, as best as possible. For this step you want to remember not to make them too thin because pita needs to be a little thick and also bubble on the pan.
-Place a medium size flat pan on the stove top over high heat. When it’s good and hot, brush the pita very lightly with olive oil and place it on your pan. When I say lightly, I mean lightly, your dough already has a lot of olive oil inside.
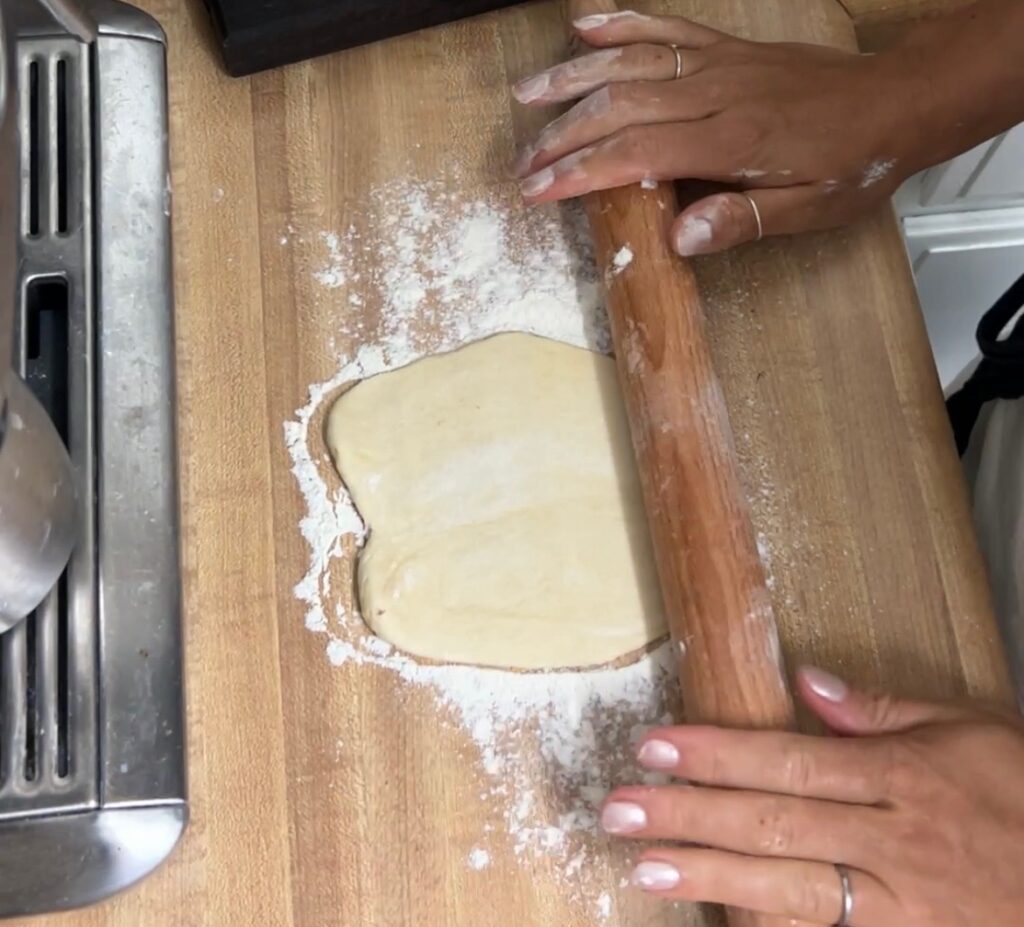
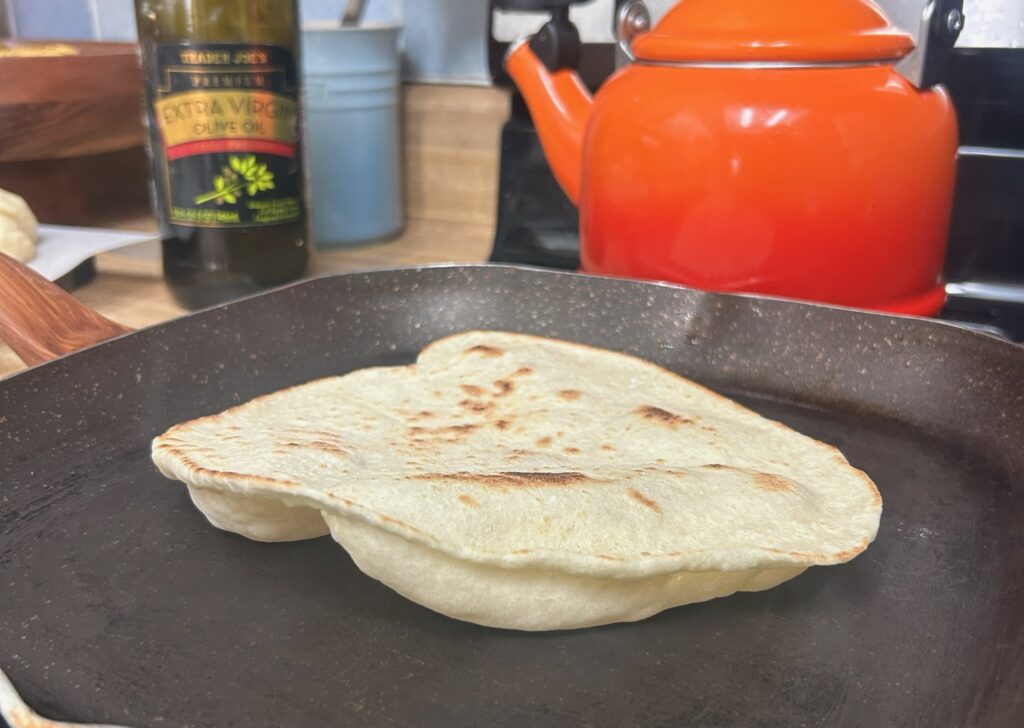
-Put your pita on the hot pan and cook for about 60-90 seconds, until bubbles start to appear. Then flip your pita and cook the other side for about another minute. You do not want it to burn. While that cooks you can roll out the next pita. If you feel confident about timing.
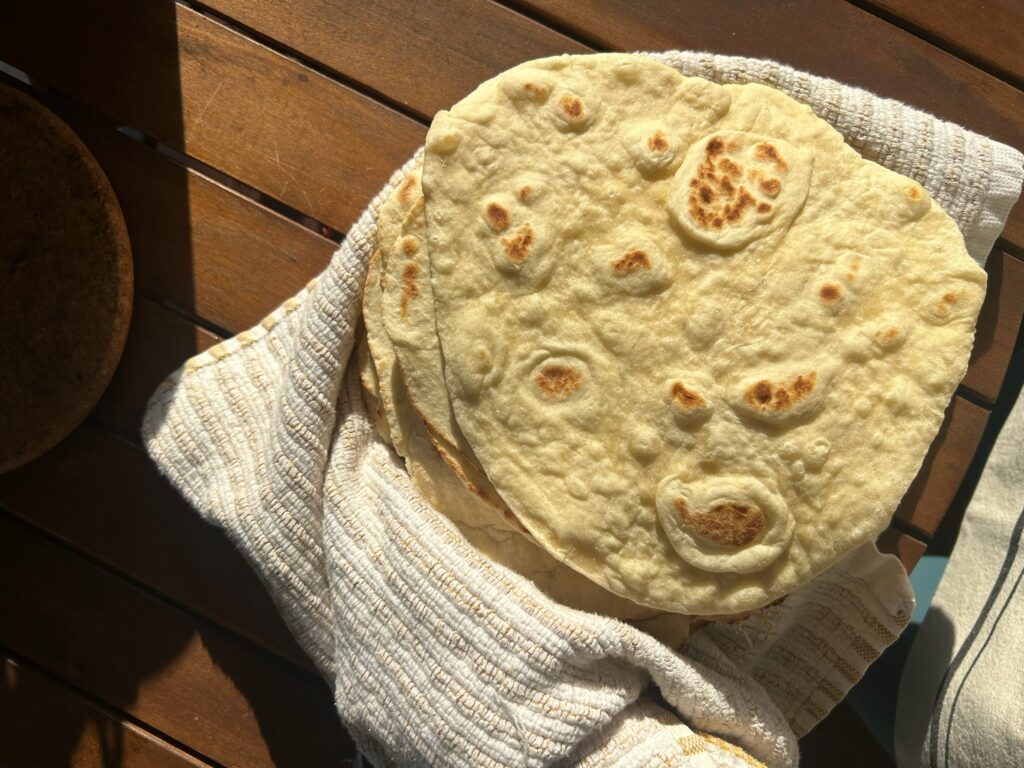
-Put your cooked homemade pita inside a clean kitchen tea towel and repeat till finished. Keep inside tea towel together to keep them warm and soft!
-Now they are ready to serve!
Other recipes you may like:
Greek Meatballs – These are my all time favorite, and go great with these pitas. The recipe is there in the caption, blog coming soon.
Homemade Tzatziki – Another must with these homemade pitas and also a great addition with the Greek meatballs I shared above. Again recipe in the caption of this one and on the blog soon.
Homemade Flour Tortillas – Another bready must. These are literally amazing, you must try.
Japanese Sweet Potato Gnocchi – Ever wanted to make Gnocchi from scratch? Here’s your how to!
Questions/Comments?
I love hearing from each and every one of you so please feel free to comment below how this worked out for you. Or if you have a question, or if you just want to say hi here!
Thank you so much for being here! I appreciate you all and your support!
The Best & Easiest Homemade PITA
Course: RecipesCuisine: Greek, Breads, PitaDifficulty: Medium2
hours15
minutesIngredients
2 Tsp Instant dry yeast
2 Cups Warm water
6 1/2 Cups Bread flour(or quality all purpose), +extra for rolling
1 1/2 Tsp Sugar (helps activate the yeast)
1 1/2 Tsp Salt
4 Tbsp Olive oil + extra for pouring over and brushing
Directions
- Put yeast & sugar in a large bowl & add warm water. Stir & leave for 5 mins, until foam appears in bowl.
- Add flour, salt & olive oil to the mix. Then mix by hands, until combined.
- Add a bit of olive oil & knead the dough for 10 mins. The mix will be sticky, you can add olive oil on your hands to make it better.
- Put dough in an olive oiled bowl, cover with plastic wrap & let it rise for 60-90 mins, until doubled in size.
- Divide the dough into equal pieces. Lightly flour work surface & roll 1 dough into a circle.
- Heat pan on high, when it’s hot, brush the pita very lightly with olive oil & place on pan.
- Cook for about 60-90 secs, until bubbles start. Then turn over & cook for a min. While that cooks roll out the next pita.
- Place pita inside a tea towel and then repeat the above steps until complete. Keep all the pitas in the tea towel to keep warm!
- You are done! they are ready to serve.!
