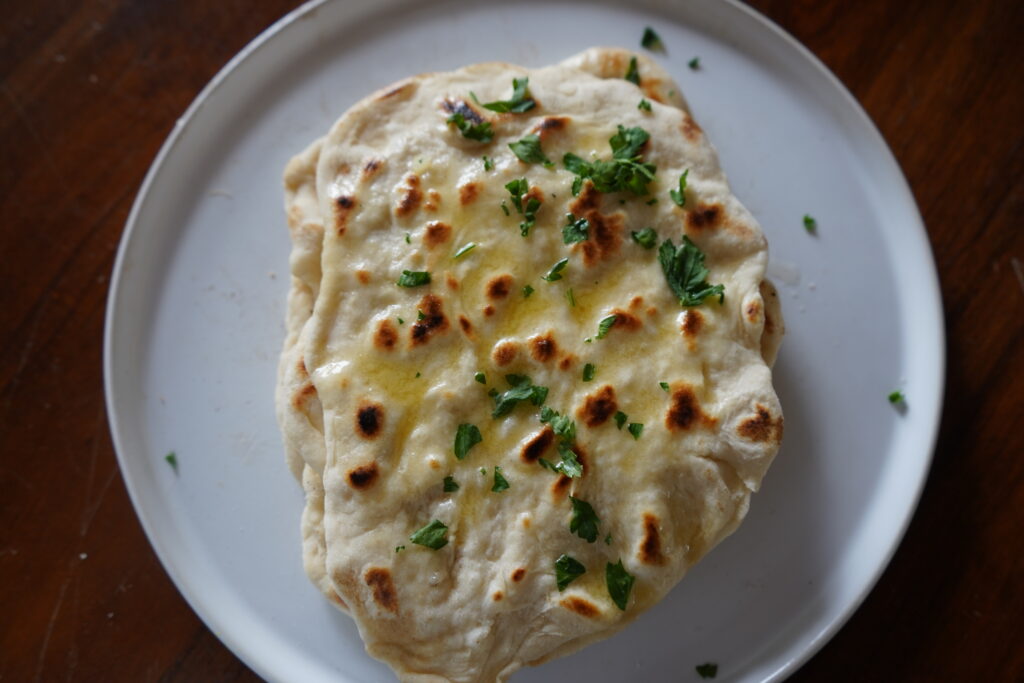
Homemade Naan Has never been so easy.
If you love Indian food, making this homemade naan recipe is a game-changer! This recipe is simple, clean, and a must-have for your cooking repertoire. Store-bought naan often contains seed oils and unnecessary additives, but homemade naan is fresh, flavorful, and made with wholesome ingredients. It’s soft, fluffy, and perfect for scooping up curries, dipping in sauces, or even as a sandwich (I made my husband a naan sandwich today). Ditch the store-bought version and bring authentic, healthy naan to your table!
Breads on the Table
We are getting into this series really fast here, before Christmas is upon us!! What I love about bread is the ancient and meaningful tradition of make bread for the family. So, I am every excited to share all my bread and self taught knowledge!
With that being said, welcome to “The Table”. I call it “The Table” because it’s Brit’s Table and I’m Brit and my community of beautiful positive, souls are the “Table”. It’s this community so thank you for being a part of it.
With all that to stay let’s move on to my links and where you can find me (more below).
I am now an Amazon affiliate, so I want to disclose that I do have links to products I use in case you guys are curious! Now here’s the part where I drop all my links to my socials for you. Appreciate you!
The first stop is always IG. IG is my stomping grounds, I am there most often to talk on my stories and respond to DMs and comments. So, if you ever want to get in touch with me, my DMs are a great place to go!
Pinterest is the best place to save these recipes. You can put them in a folder and keep it all organized!
What You May Need:
- Cast Iron Pan – I have a Lodge one and I love it. You can make naan on a a regular pan but it doesn’t cook the same and won’t be exactly the same! But that’s ok! I did that for years until I go my cast iron. – The one I have.*
- Mixing Bowls – I used stainless steel in the pictures, but that’s because my ceramic one was being used by my sourdough bagels… So, if I were you I would get ceramic ones or glass for mixing breads.
- Quality Extra Virgin Olive Oil – <- 15% off link – Honestly, in the kitchen it’s just a must. A lot of cheaper olive oils you find in store can be cut with other oils, so if you have the ability and the capital, it should be at the top of your list of things to not skimp on!
I linked the olive oil I use and recommend, it’s Greek, cold pressed and harvested young for potency and flavor. - Silicone Spatulas – If you don’t already have them, you will need some! What I use.*
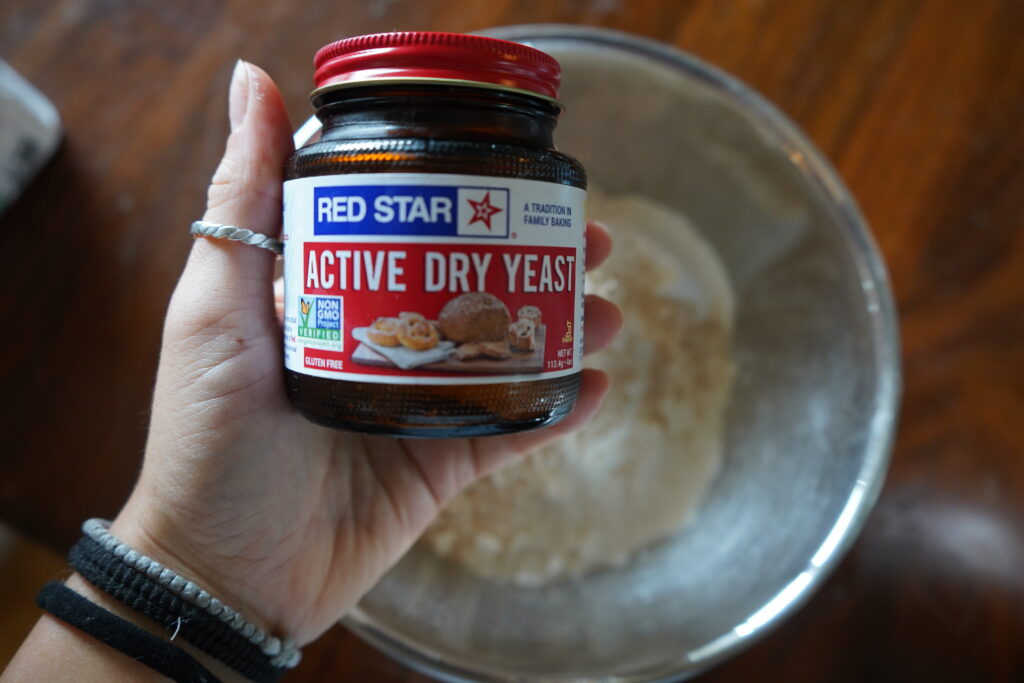
- Active Dry Yeast – I got mine at whole foods but you can also order it here.
Also just a tip on the yeast. but a container, after it’s opened it needs to be stored in the fridge!
The Recipe:
Ingredients:
- 2 Cups of Organic Bread Flour
- 1/2 Cup Warm Water
- 1/2 Tbsp Active Dry Yeast
- 2 Tsp Kosher Salt – The salt I use
- 1/4 Cup + 2 Tbsp of Greek Yogurt or Plain Yogurt – I prefer Greek.
- 2-4 Tbsp Melted Butter
Method:
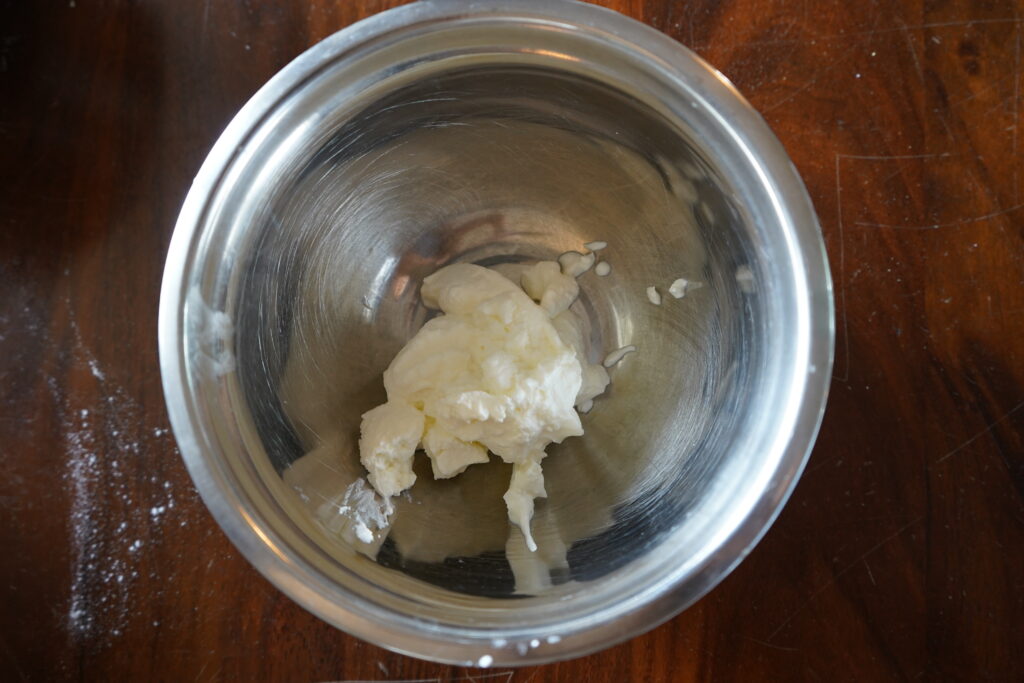
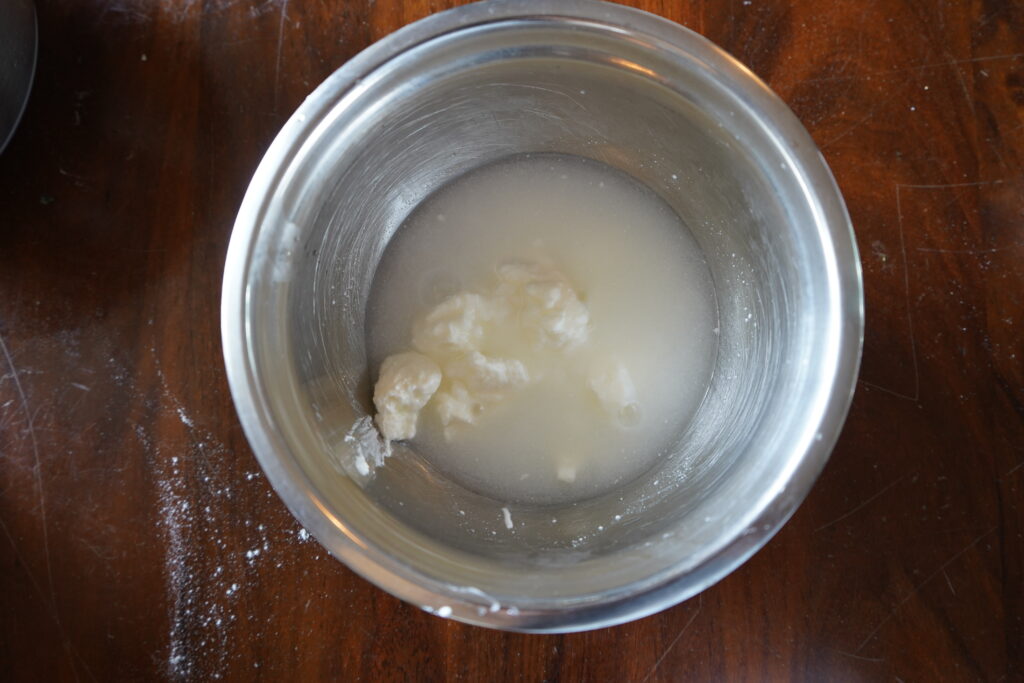
- In a small mixing bowl, add the yogurt and warm water. Mix well.
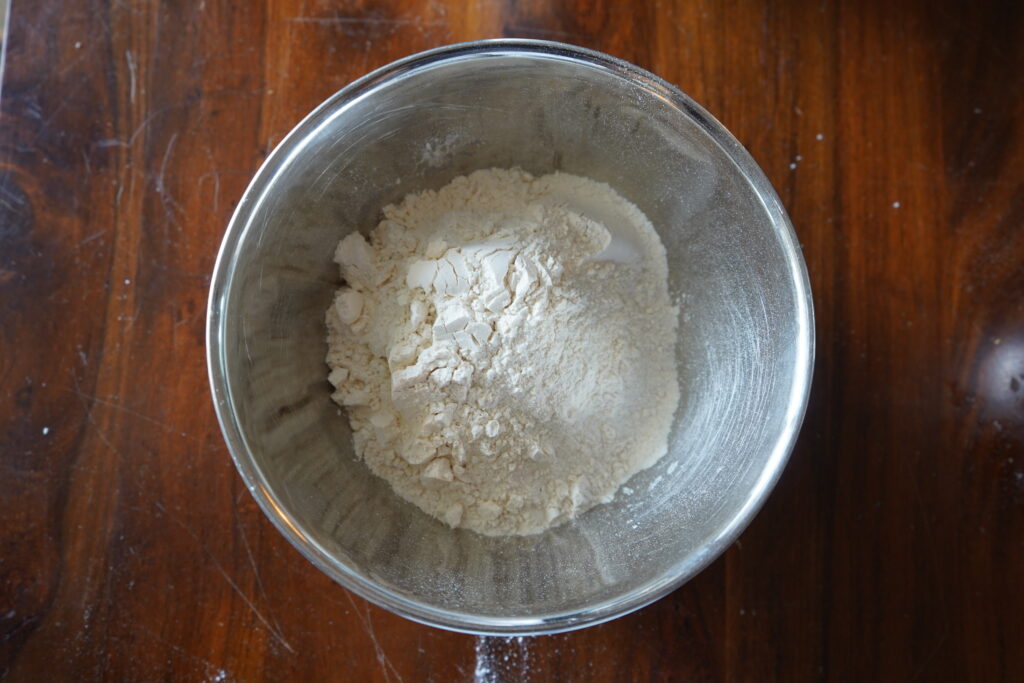
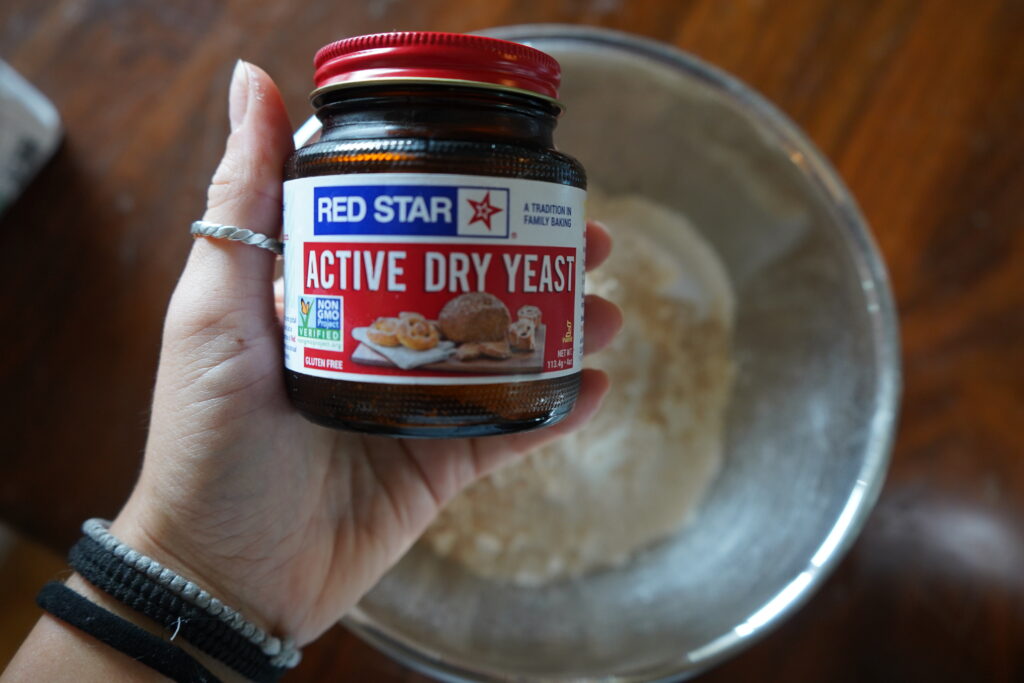
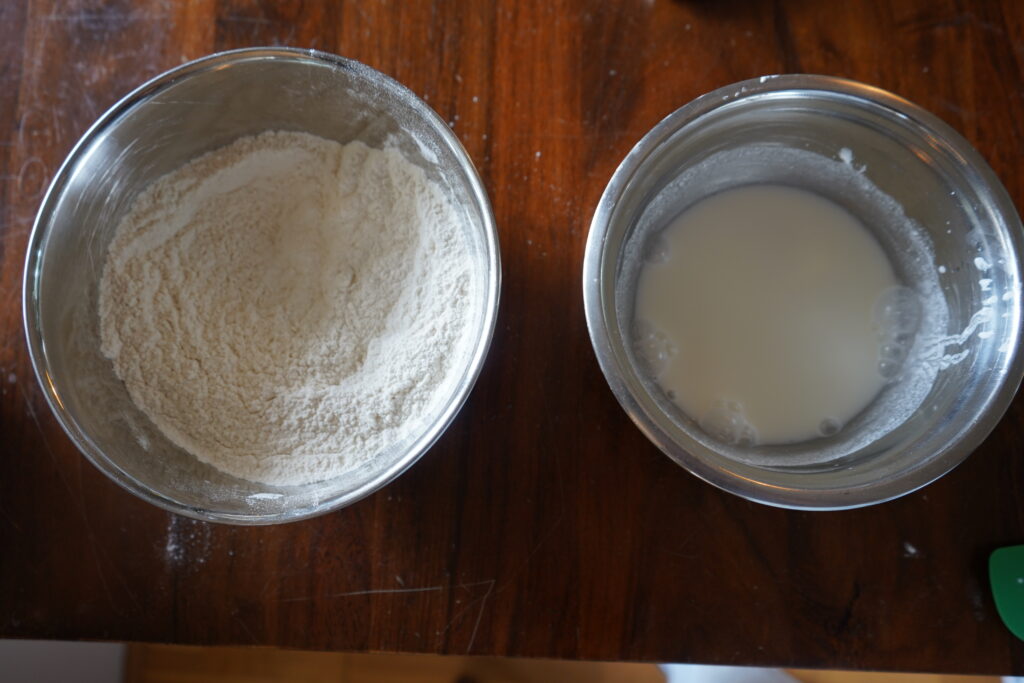
- In a medium mixing bowl add the bread flour, salt and yeast. Give that a good stir.
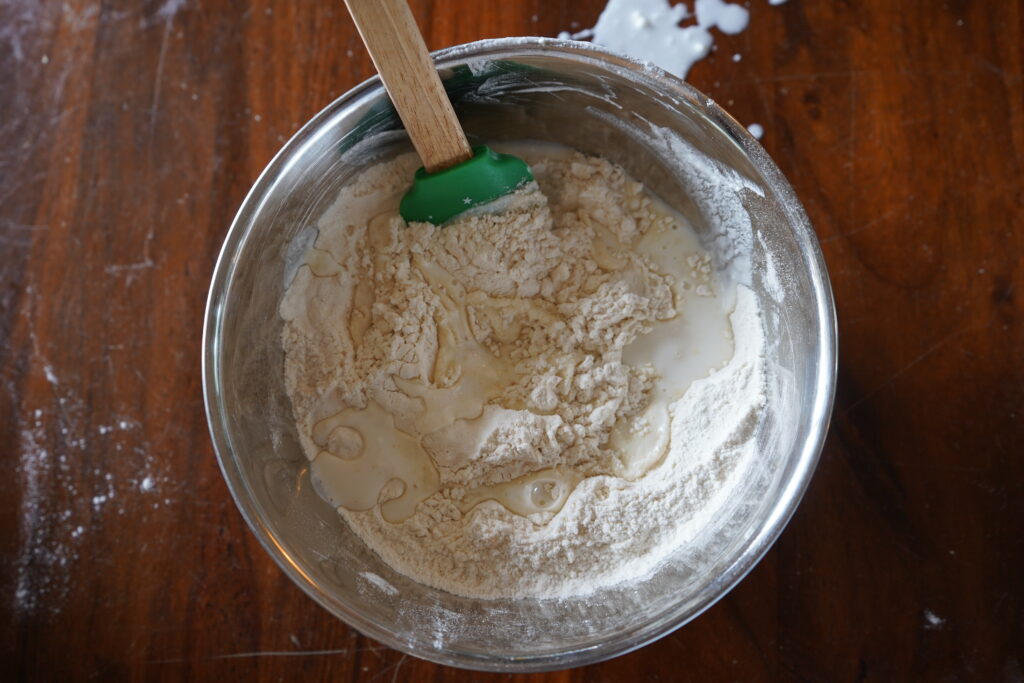
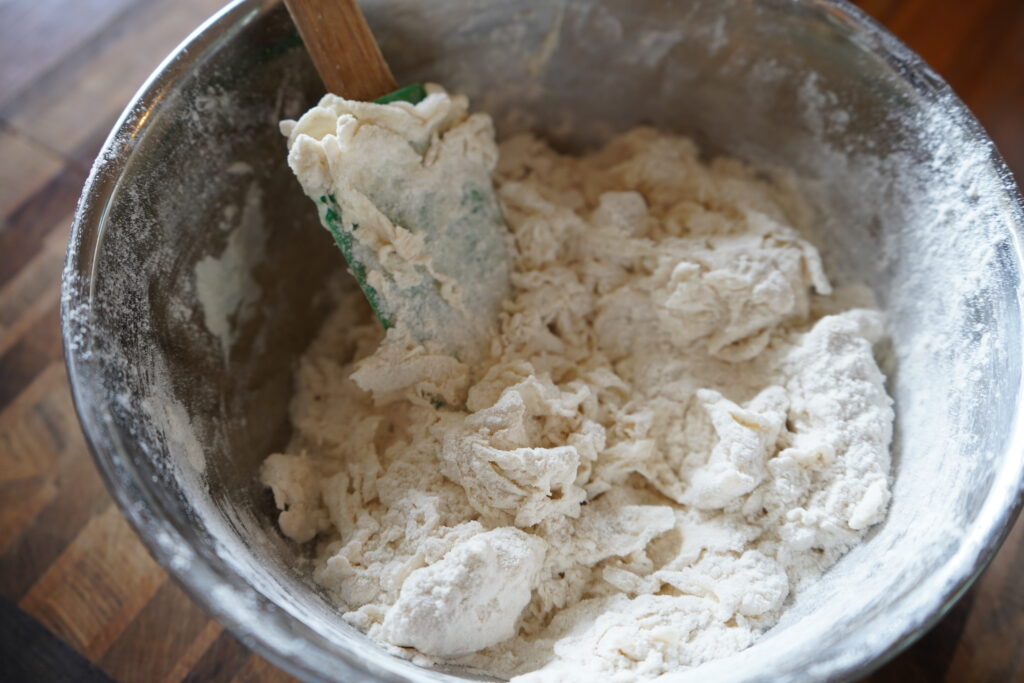
- Now you are doing to add the wet mixture to the flour/yeast mixture and start stirring. It will look really clumpy and not together at first. That’s normal.
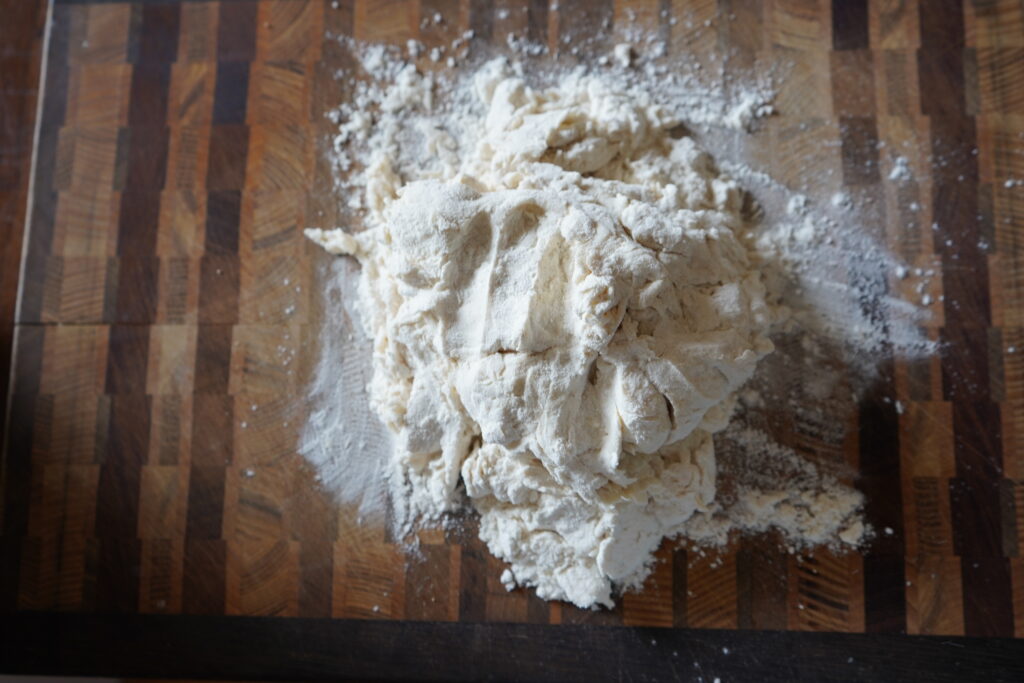
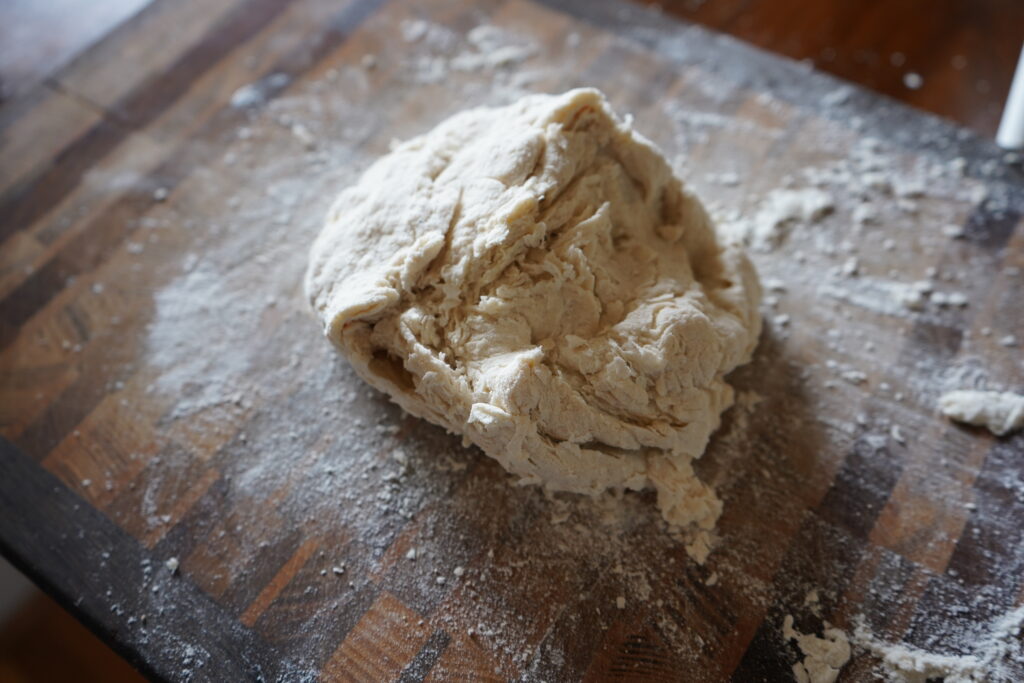
- Knead with your hands in the bowl or on a floured work surface until all the dough in in a nice ball. It should be a bit sticky. Knead for about 5 minutes.
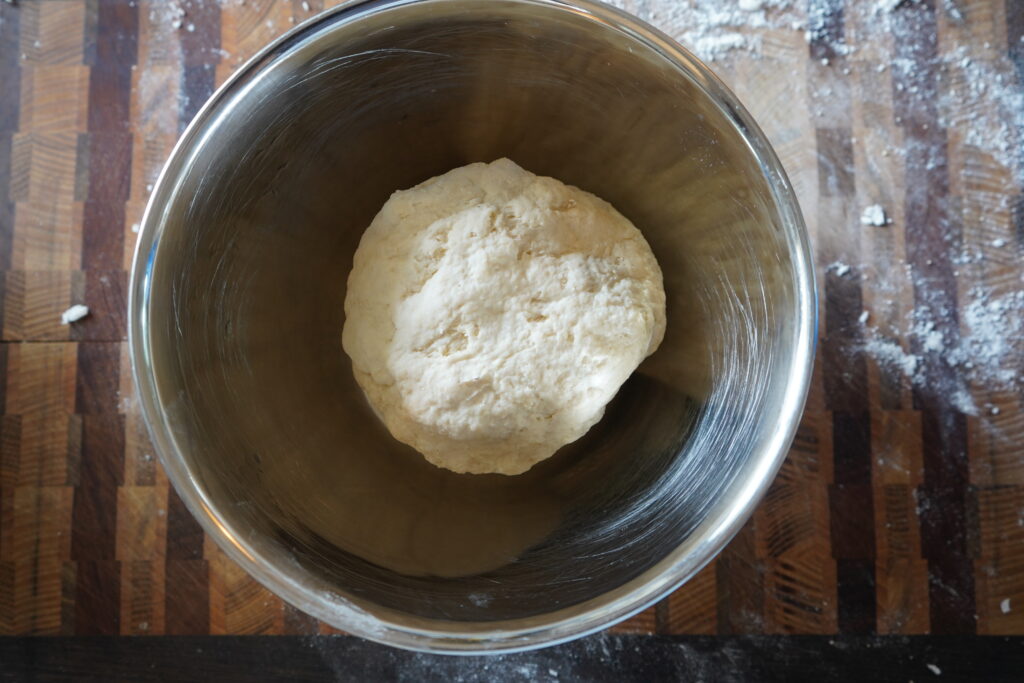
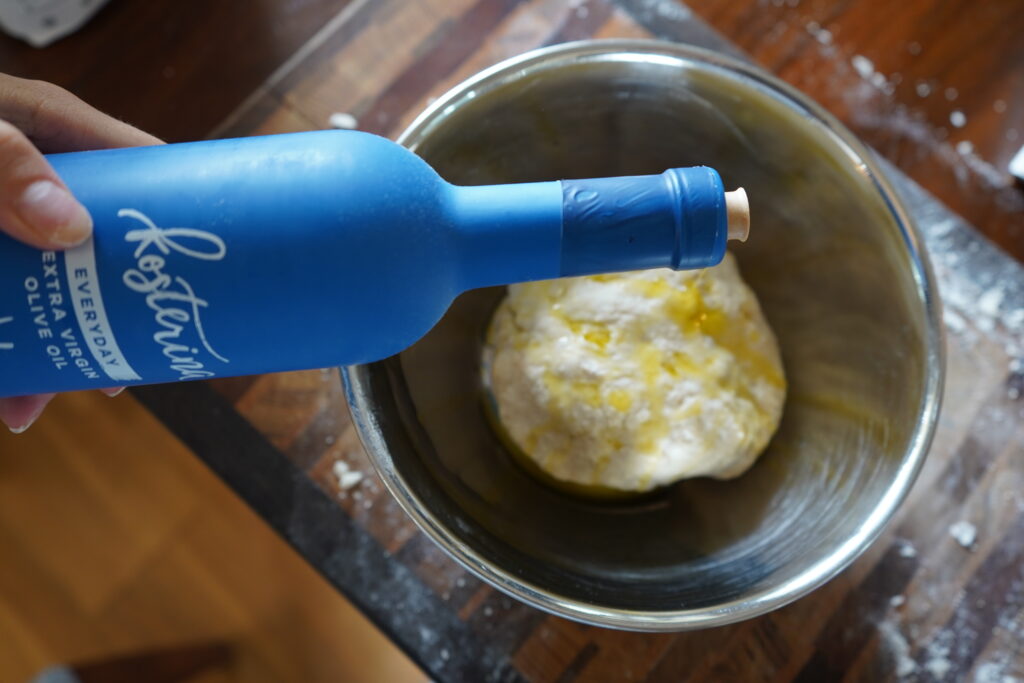
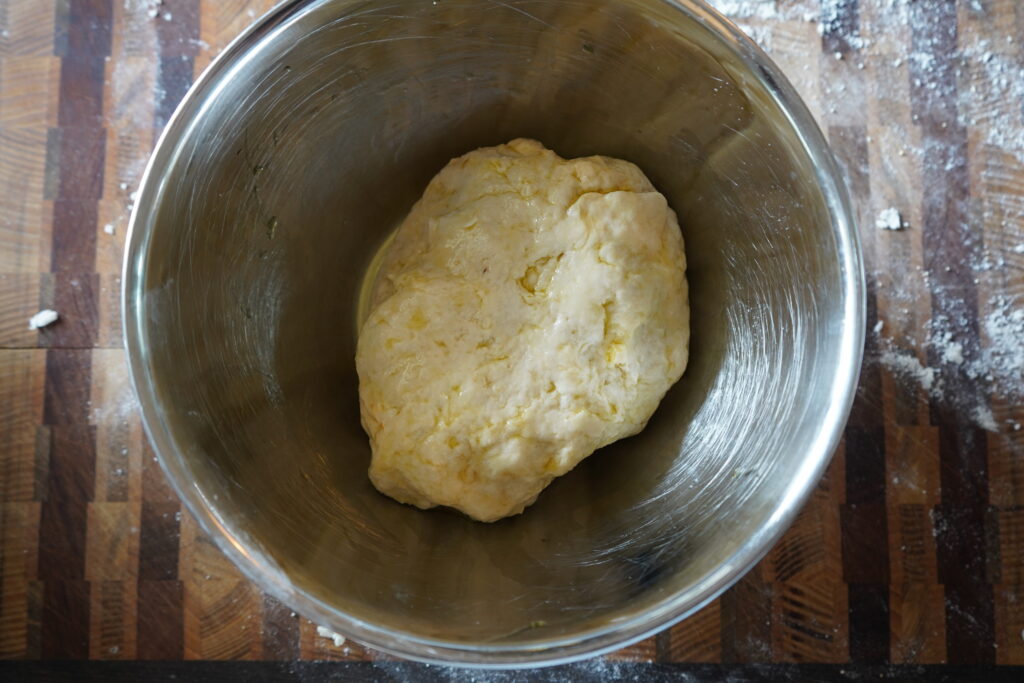
- Place the dough homemade naan dough ball back in the bowl and cover it with about 2 tbsp of olive oil. Rub the dough with your hands and make sure it is covered.
- Cover the bowl with plastic wrap and let it rest for about 1 hour.
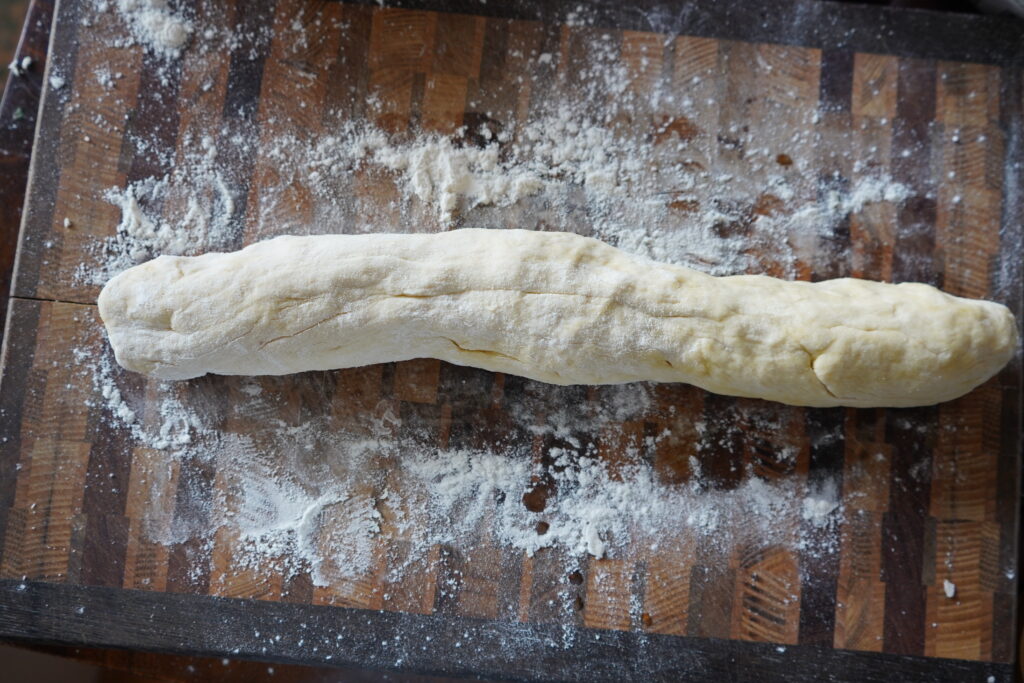
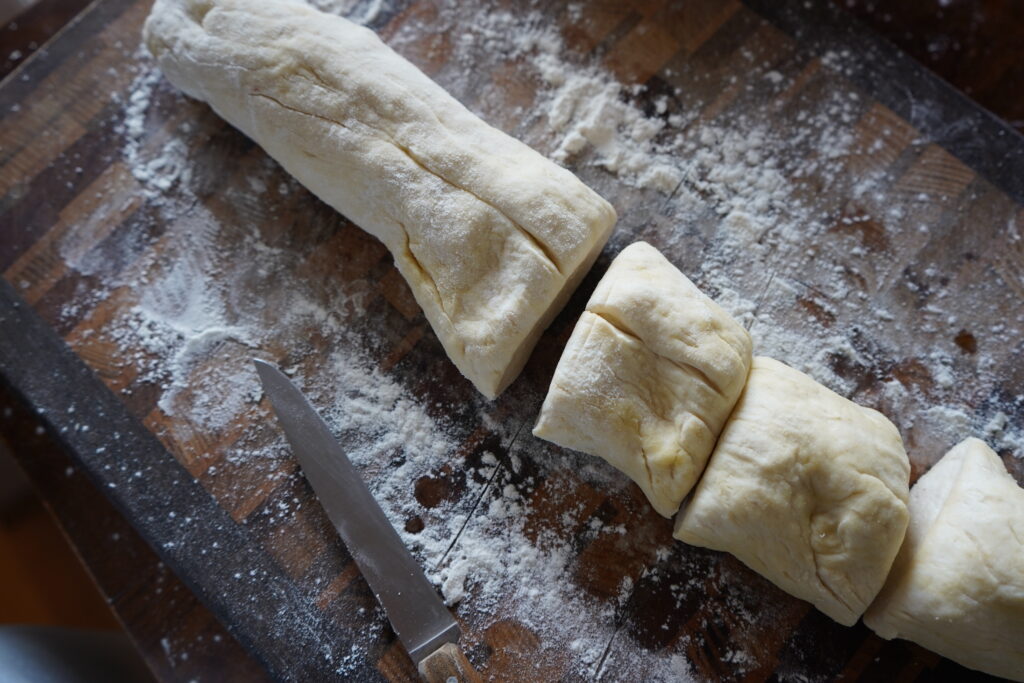
- Take your dough out on a floured surface and mold into a longish, rectangular, thing.
- Cut it into 4 large pieces or 6-8 small pieces. [I wanted smaller naans not huge ones].
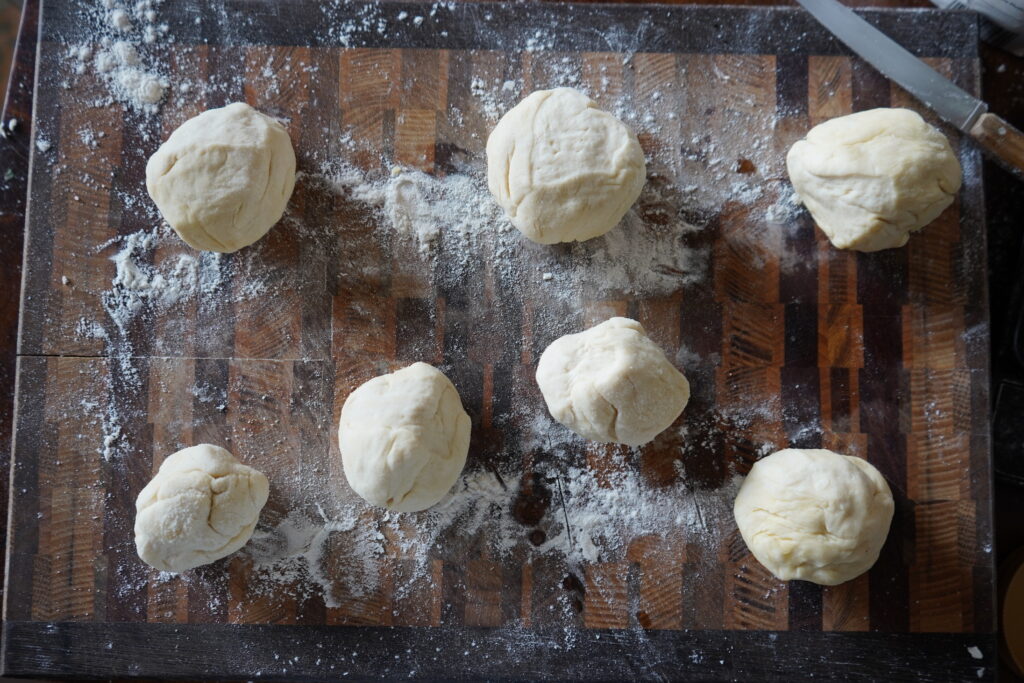
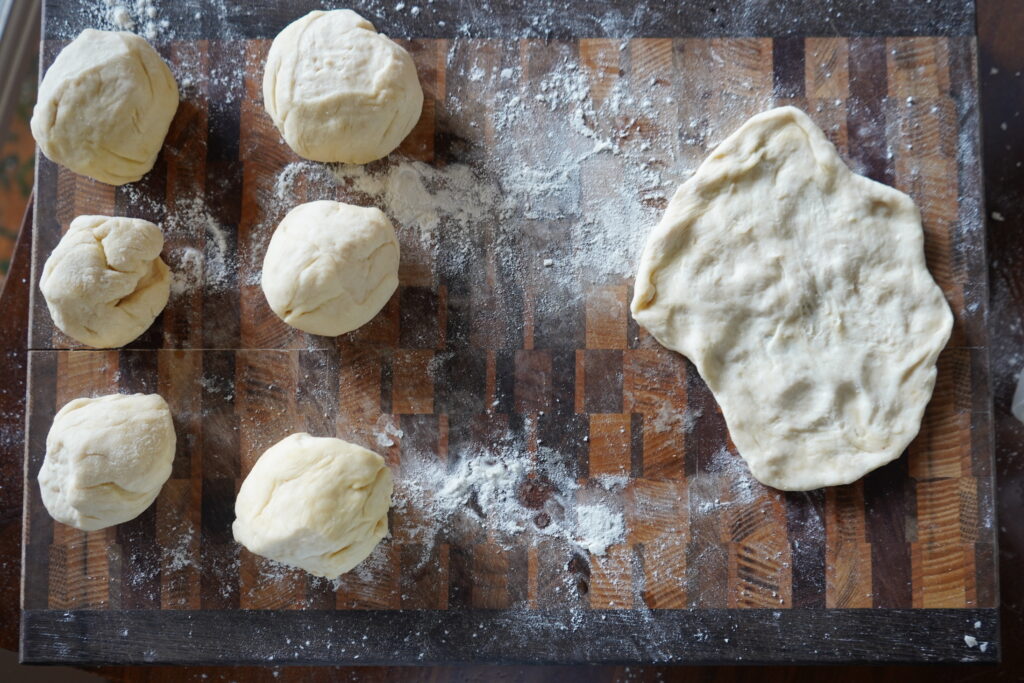
- Now roll the dough pieces into balls. If the dough is too sticky you can add flour, but don’t go over board.
- Then you are going to pull and dough ball out with your hands but don’t make holes. You don’t need a rolling pin for this, you just pull the dough out and smash it down with your hands on the cutting board. [It should look something like the above photo].
*Also if the dough is not being easy to work with, you can let it rest for a bit before trying to shape it.
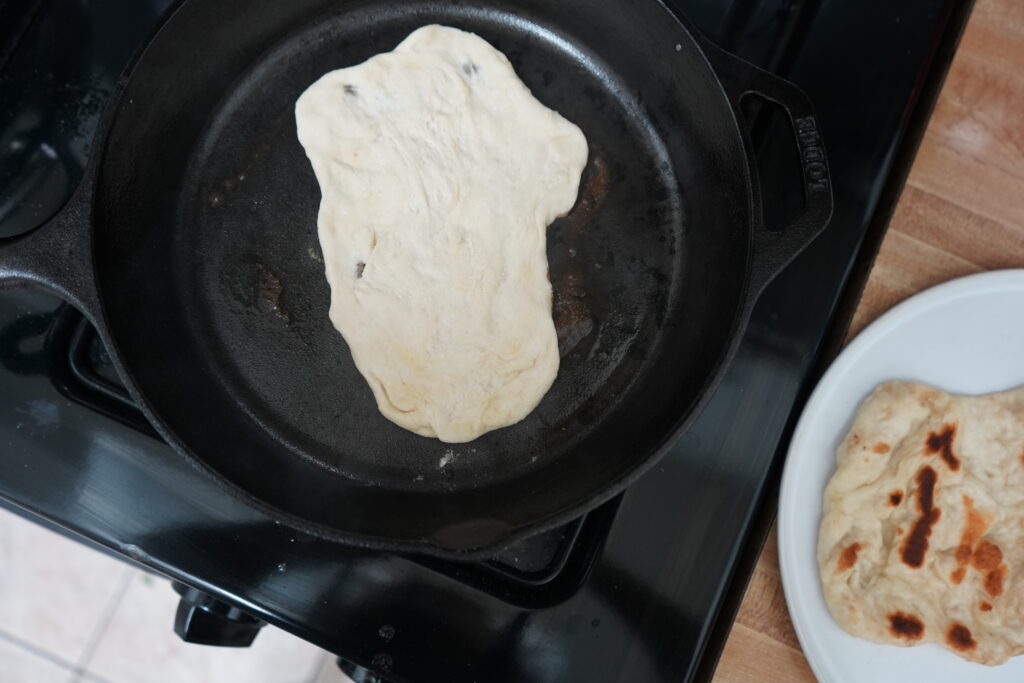
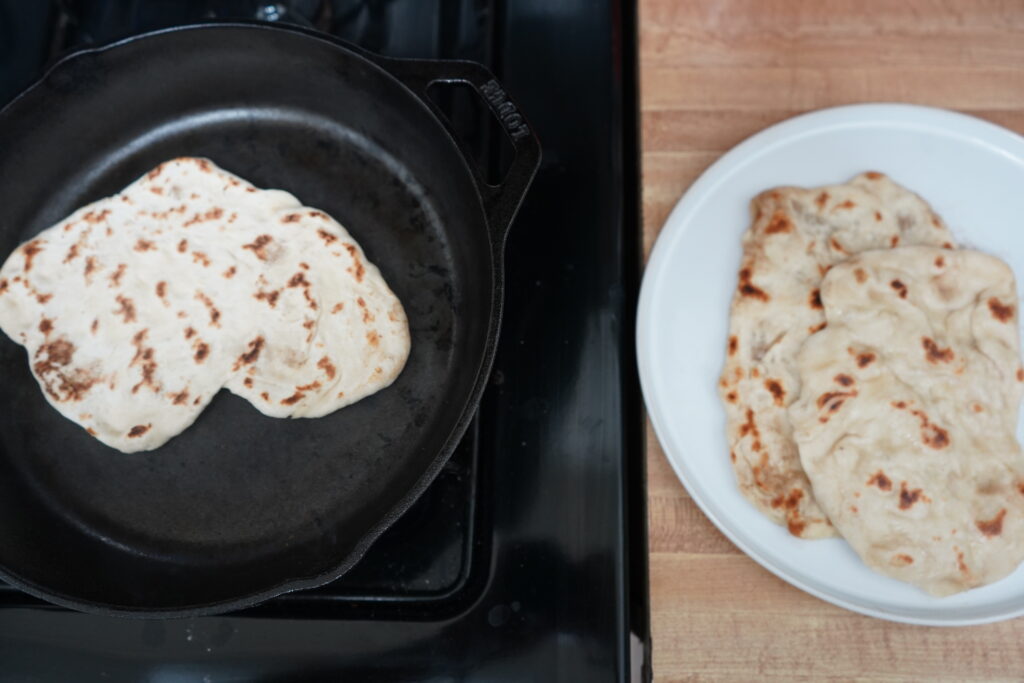
- Now we are going to heat our cast iron pan to high, let it get good and hot, then turn it down to medium. *If you are using a regular pan just heat it to medium and leave it on medium.
- Place our naan on it for 30-60 seconds on each side! Check to make sure you don’t burn it but it can have the darker spots.
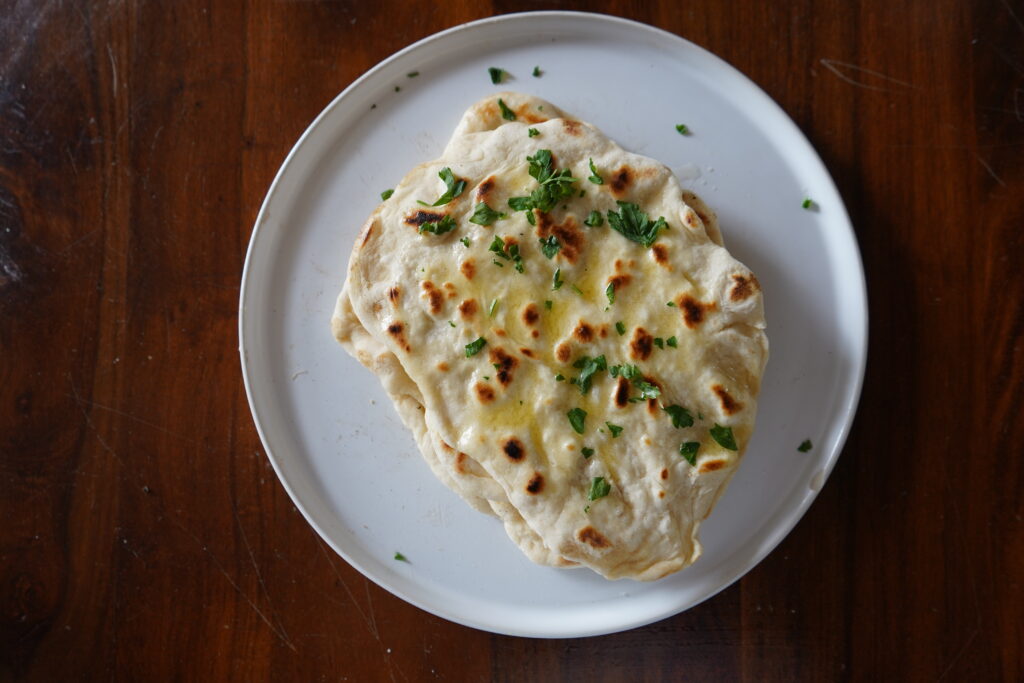
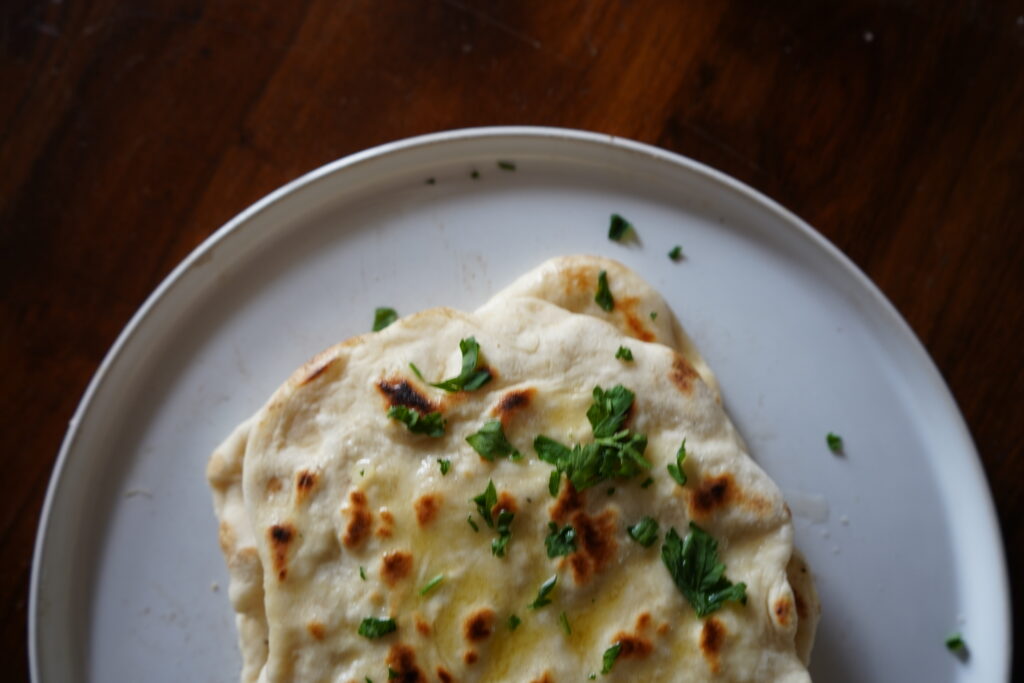
- When you plate it rub butter on it and top it with cilantro! Then keep watching your next one and do the same with all of them.
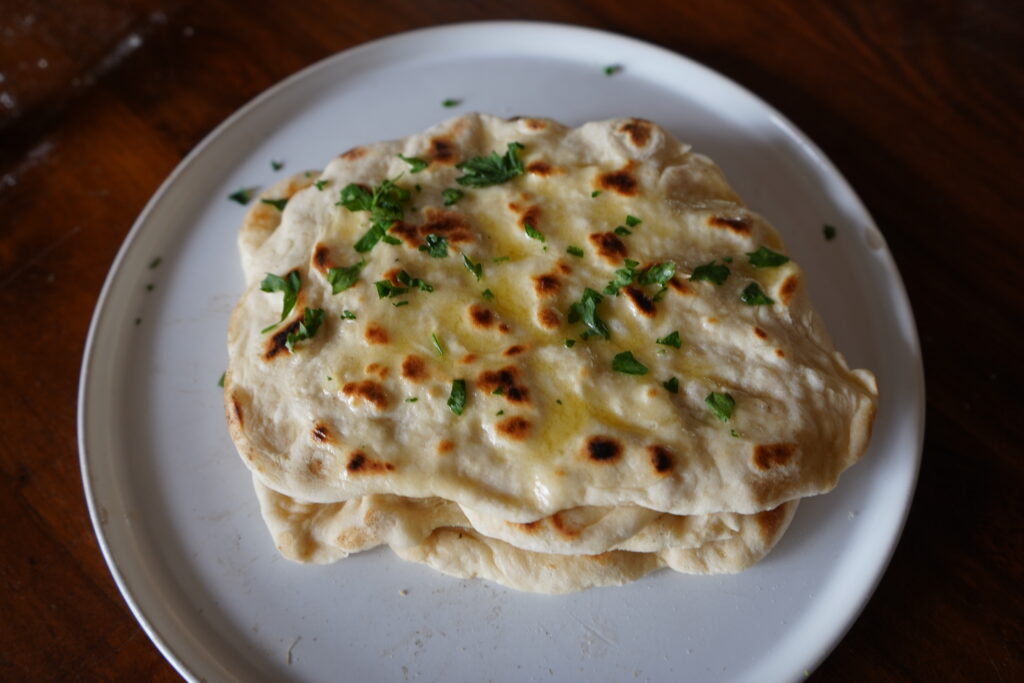
- You are finished!! These are so simple and way too good not to make at home! Hope you enjoyed!!
Questions/Comments?
I hope this Homemade Naan Bread served you and that you paired it with amazing curries!
Let me know what you paired it with!
I want to say that I love hearing from each and every one of you. So, please feel free to comment below if you have a question, or if you just want to say hi!
Don’t forget to share your creations on Instagram and tag me so I can see your delicious breads!
Thank you so much for being here! I appreciate you all and your support!
Recipes you will love:
Crockpot Chicken Meatball Curry – Would be great paired with this Naan!
Homemade Flour Tortillas – The easiest to make.
Sourdough Zucchini Bread – Made with sourdough discard.
Garlic Naan Recipe
Ingredients
- 2 Cups of Organic Bread Flour
- 1/2 Cup Warm Water
- 1/2 Tbsp Active Dry Yeast
- 2 Tsp Kosher Salt – The salt I use
- 1/4 Cup + 2 Tbsp of Greek Yogurt or Plain Yogurt – I prefer Greek.
- 2-4 Tbsp Melted Butter
Instructions
- In a small mixing bowl, add the yogurt and warm water. Mix well.
- In a medium mixing bowl add the bread flour, salt and yeast. Give that a good stir.
- Now you are doing to add the wet mixture to the flour/yeast mixture and start stirring. It will look really clumpy and not together at first. That’s normal.
- Knead with your hands in the bowl or on a floured work surface until all the dough in in a nice ball. It should be a bit sticky. Knead for about 5 minutes.
- Place the dough homemade naan dough ball back in the bowl and cover it with about 2 tbsp of olive oil. Rub the dough with your hands and make sure it is covered.
- Cover the bowl with plastic wrap and let it rest for about 1 hour.
- Take your dough out on a floured surface and mold into a longish, rectangular, thing.
- Cut it into 4 large pieces or 6-8 small pieces. [I wanted smaller naans not huge ones].
- Now roll the dough pieces into balls. If the dough is too sticky you can add flour, but don’t go over board.
- Then you are going to pull and dough ball out with your hands but don’t make holes. You don’t need a rolling pin for this, you just pull the dough out and smash it down with your hands on the cutting board. [See article for reference].
- *Also if the dough is not being easy to work with, you can let it rest for a bit before trying to shape it.
- Now we are going to heat our cast iron pan to high, let it get good and hot, then turn it down to medium. *If you are using a regular pan just heat it to medium and leave it on medium.
- Place our naan on it for 30-60 seconds on each side! Check to make sure you don’t burn it but it can have the darker spots.
- When you plate it rub butter on it and top it with cilantro! Then keep watching your next one and do the same with all of them.
- You are finished!! These are so simple and way too good not to make at home! Hope you enjoyed!!