

Homemade Marshmallows – Healthy ones!
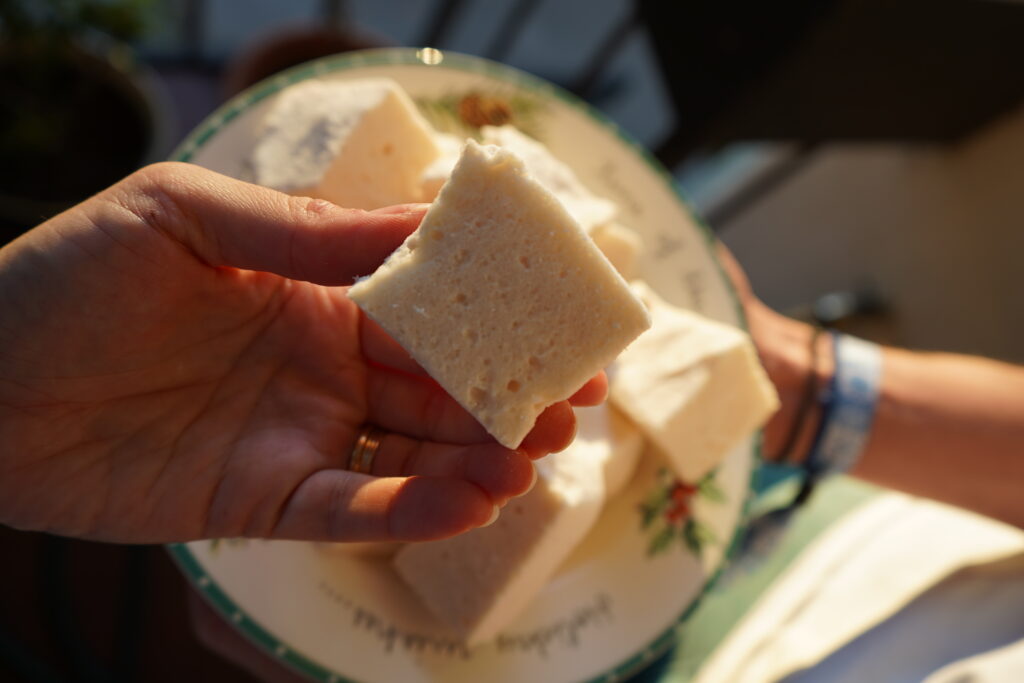
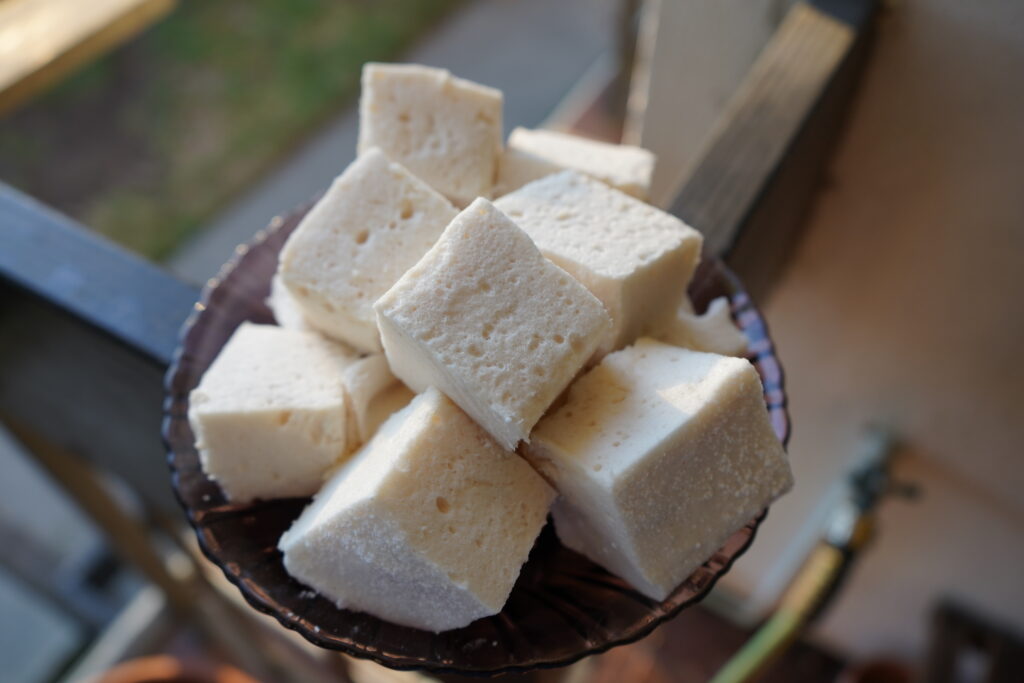
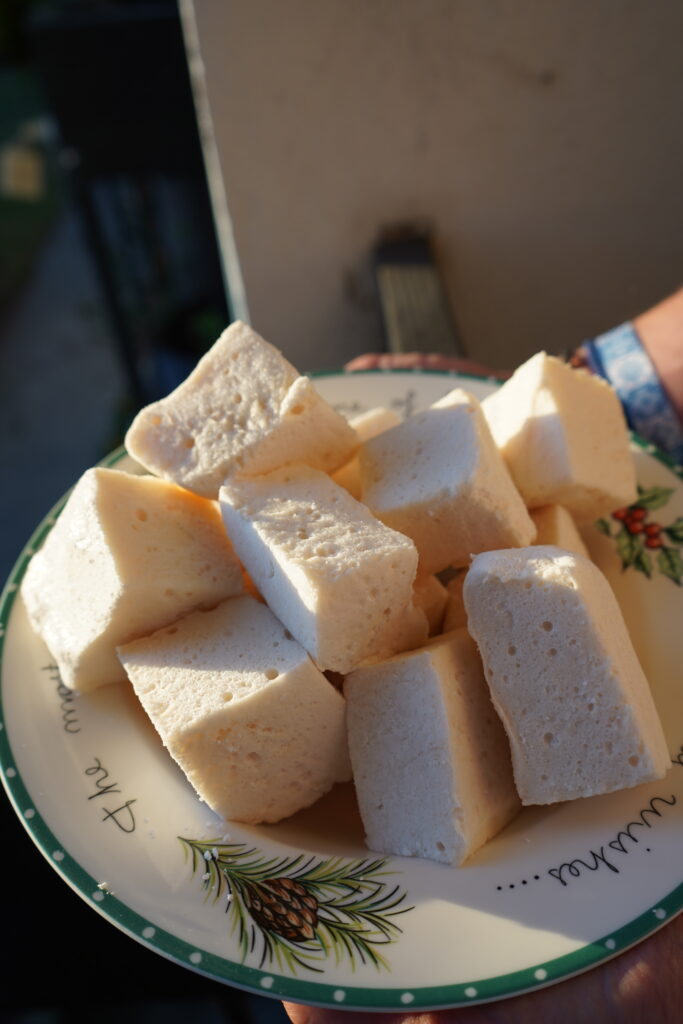
Making your own homemade marshmallows is so much easier than you think and so worth it. These marshmallows are fluffy, sweet, and healthy. You will never go back to buying marshmallows again.
Healthy Marshmallows
Welcome back to the Table. I am overjoyed to share this recipe with you! During my pregnancy, I have had at least one of these marshmallows every day. It has been a part of my nutrient-dense hot chocolate recipe. Being 34 weeks pregnant as I write this, I can say I indeed had it this morning in my hot cacao and I just can’t have it without the marshmallows.
I hope you and your kiddos love this recipe as much as I do.
I am also now an Amazon affiliate, so I want to disclose that I do have links to products I use in case you guys are curious! Now here’s the part where I drop all my links to my socials for you. Appreciate you!
If you want to get a hold of me, IG is the spot to find me. I am there most often to talk on my stories and respond to DMs and comments. So, if you ever want to get in touch with me, my DMs are a great place to go!
Pinterest is the best place to save these recipes. You can put them in a folder and keep it all organized!
What inspired this recipe?
I had seen some people online for a while, making marshmallows, and I was always really intrigued to do the same! When it comes to new recipes, sometimes it can feel daunting when you have never made it before.
This is what had stopped me from trying right away, but of course, the moment you do it, it’s so much easier than you realize.
Not only do they look cute and yummy, but marshmallows (when made with the right ingredients are extremely nutrient-dense! I am always on the hunt for nutrient-dense/healthy things to add to my diet. I will dive more into the specifics on why they are good for you below.
What you will need for this recipe:
- KitchenAid Stand Mixer – This isn’t the exact one I have, but it is really close. This just makes your life so much easier because you do have to whip it for a while.
- KitchenAid Hand Mixer – I do recommend either buying this on the stand mixer if you don’t already have one, because it will break your arm and take you forever to do it by hand with a whisk.
- Quality Parchment Paper – This is to line the dish you are going to use to put your marshmallows in. I always use quality, unbleached, natural parchment paper.
- Arrowroot Starch/Flour -The starch is necessary to dust on the parchment paper before pouring the marshmallow in and for dusting the top to ensure it doesn’t stick to anything while it solidifies.
- Fine Mesh Strainer – We use this for the arrowroot starch for dusting!
- Sauce Pan – I use this Cuisinart one, stainless steel, and it works great for pouring.
Why Homemade Marshmallows have health benefits: Gelaton
What gelatin is
Gelatin is derived from collagen, which comes from the connective tissue, skin, and bones of animals. When collagen is gently cooked and then dried, it becomes gelatin.
Your body actually breaks gelatin back down into collagen-building amino acids.
Key amino acids in gelatin (and why they matter)
- Glycine
-Supports gut lining repair
-Calms the nervous system → can help with sleep quality
-Supports detoxification in the liver
-Helps balance blood sugar when paired with carbs - Proline
-Essential for collagen production
-Supports skin elasticity and joint repair
-Plays a role in tissue healing - Hydroxyproline
-Critical for connective tissue strength
-Helps maintain healthy skin, cartilage, and tendons
Gut health & digestion
-Strengthen the intestinal lining
-Support stomach acid production
-Improve the digestion of proteins
Joint & connective tissue support
-Joint cushioning
-Cartilage repair
-Ligaments and tendons
There is so much more it supports, but I will leave you with these for now!
The Recipe:
Ingredients:
- 1/2 Cup Pure Maple Syrup (Quality, no Mrs.Butterworth shit)
- 1 Cup of water, divided
- 1Tsp Vanilla Extract
- 4 Tbsp Pure Gelaton
Method:
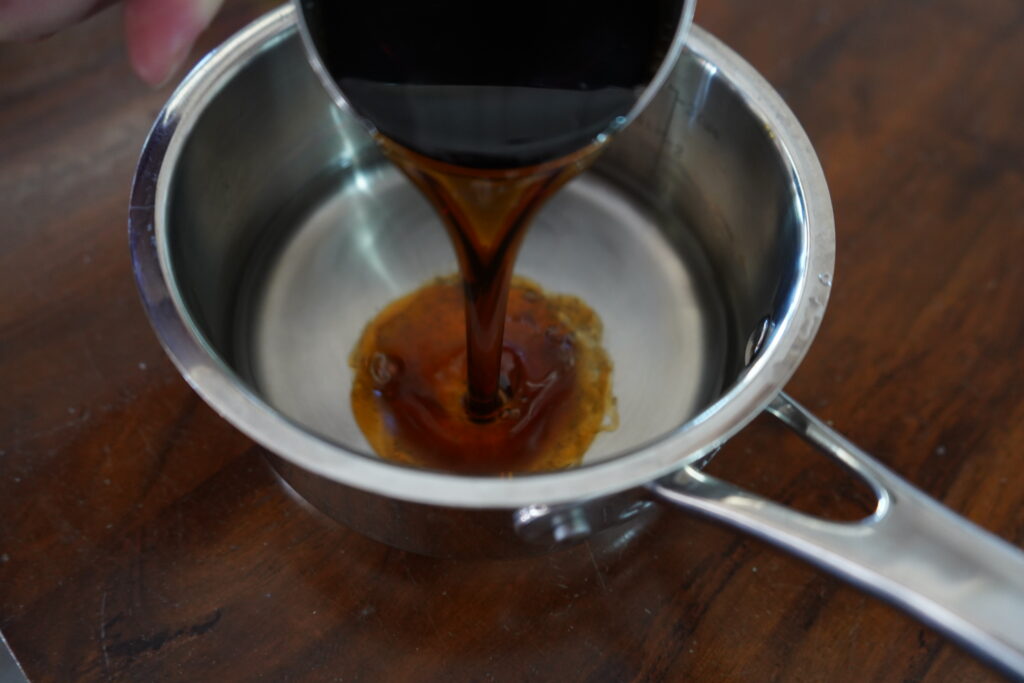
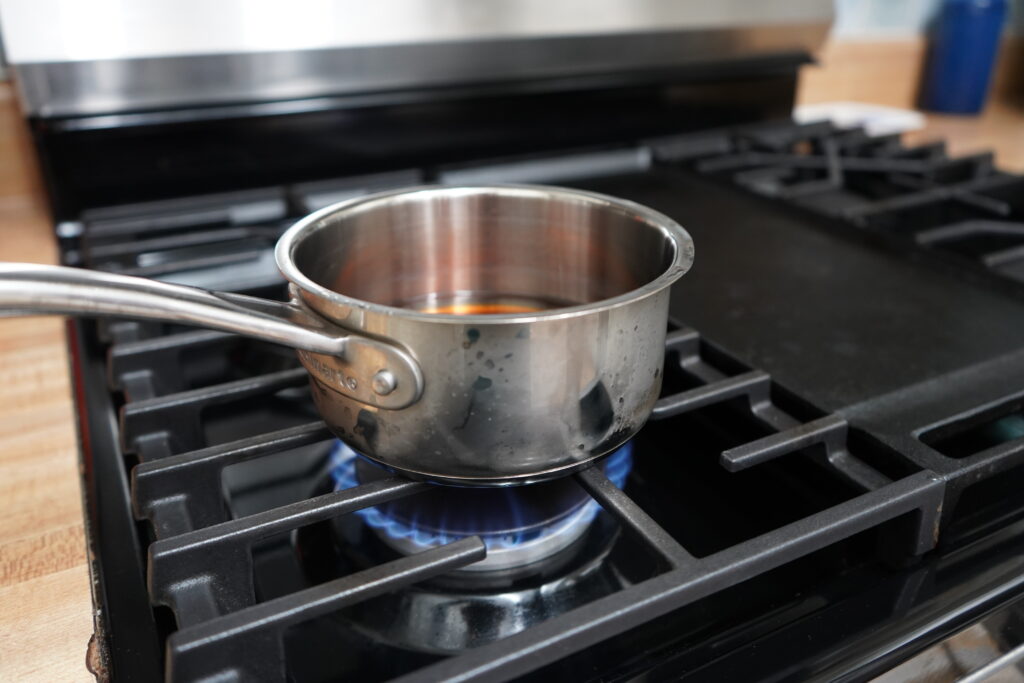
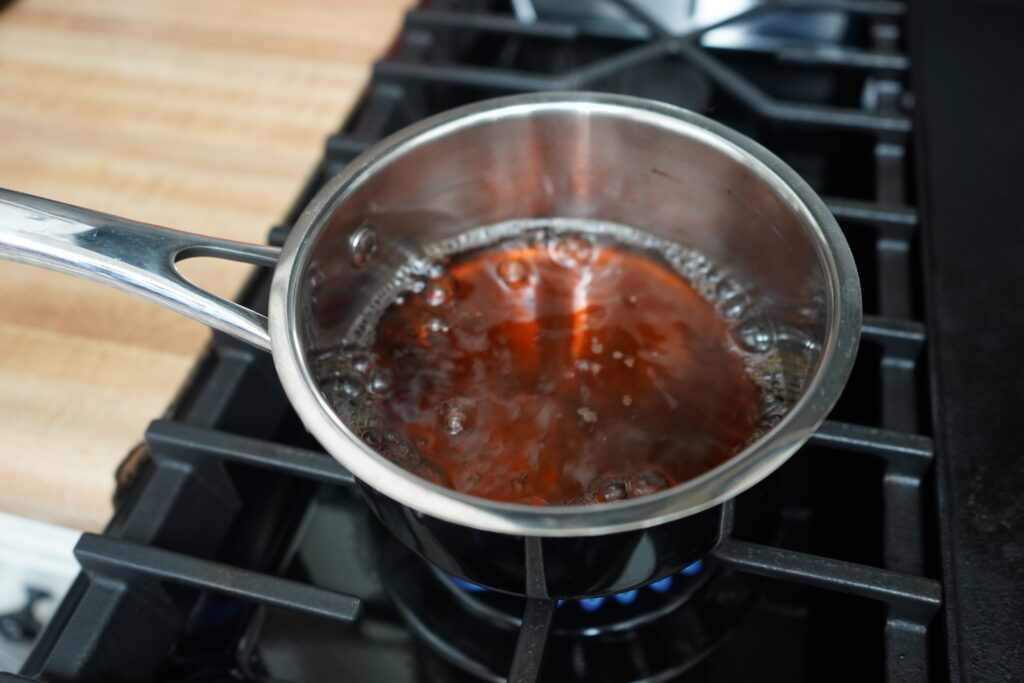
- Step one, we are going to add a 1/2 cup of water to the saucepan, followed by our 1/2 cup of maple syrup.
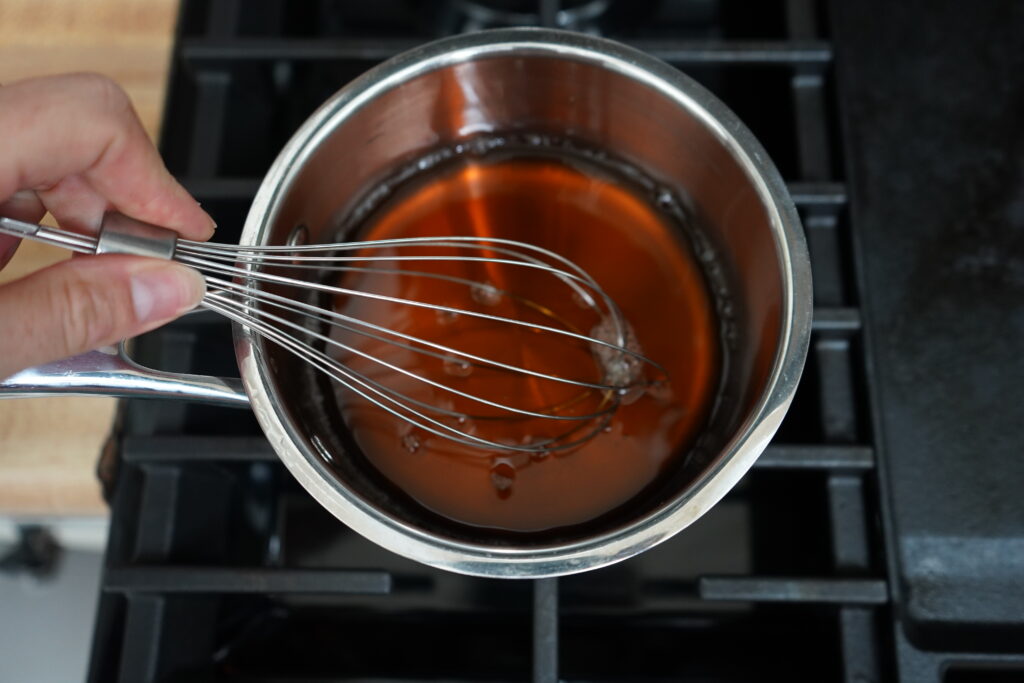
- Place that on the stove over medium heat, whisk until combined, and bring to a boil.
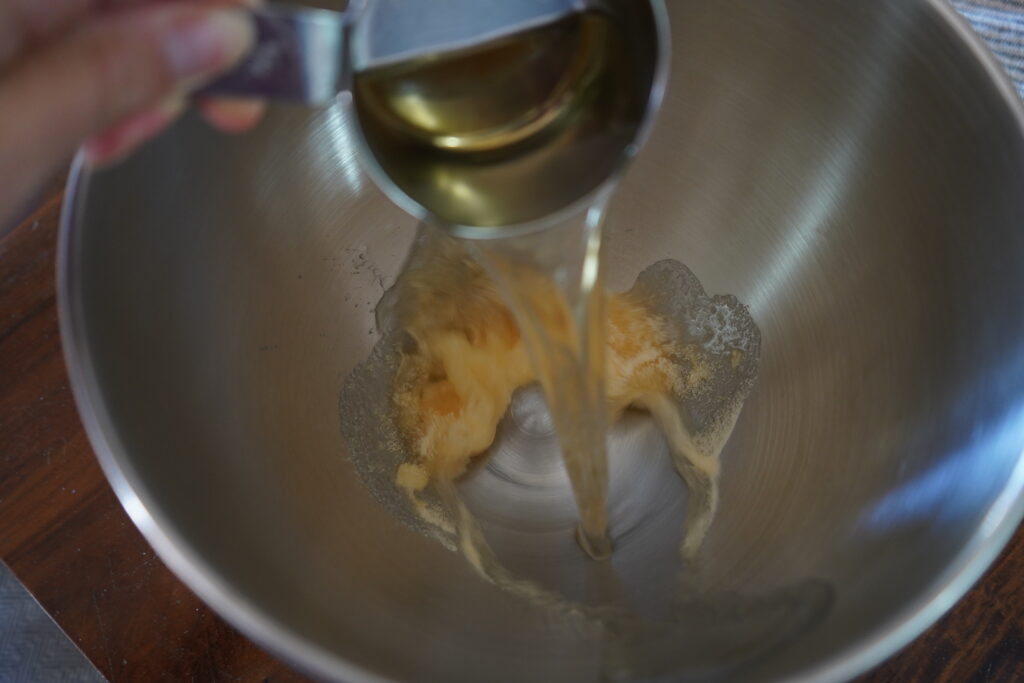
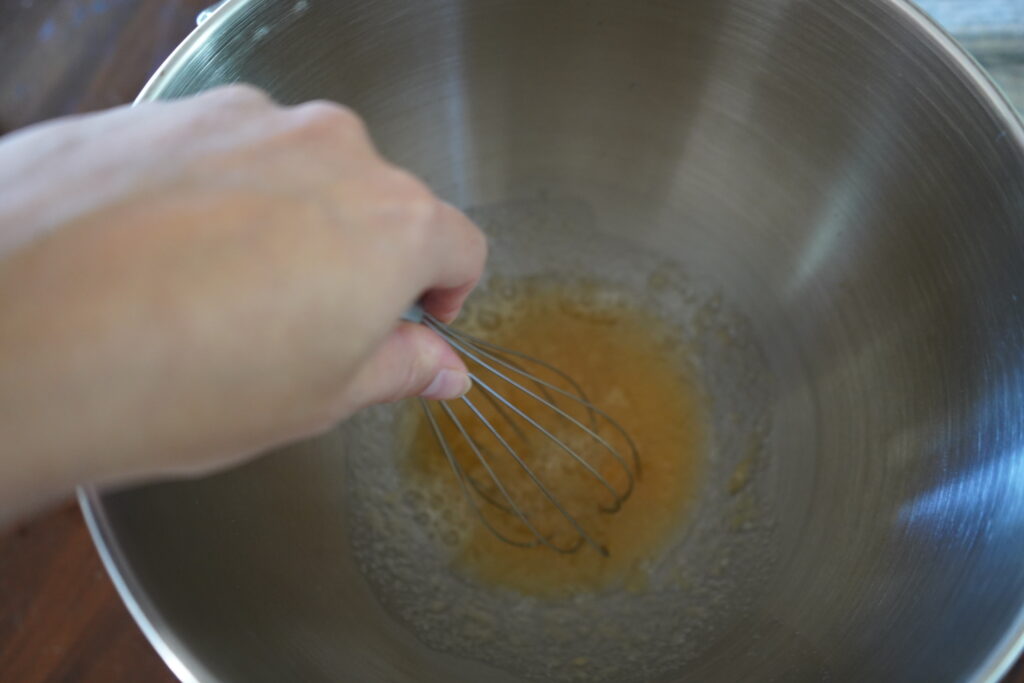
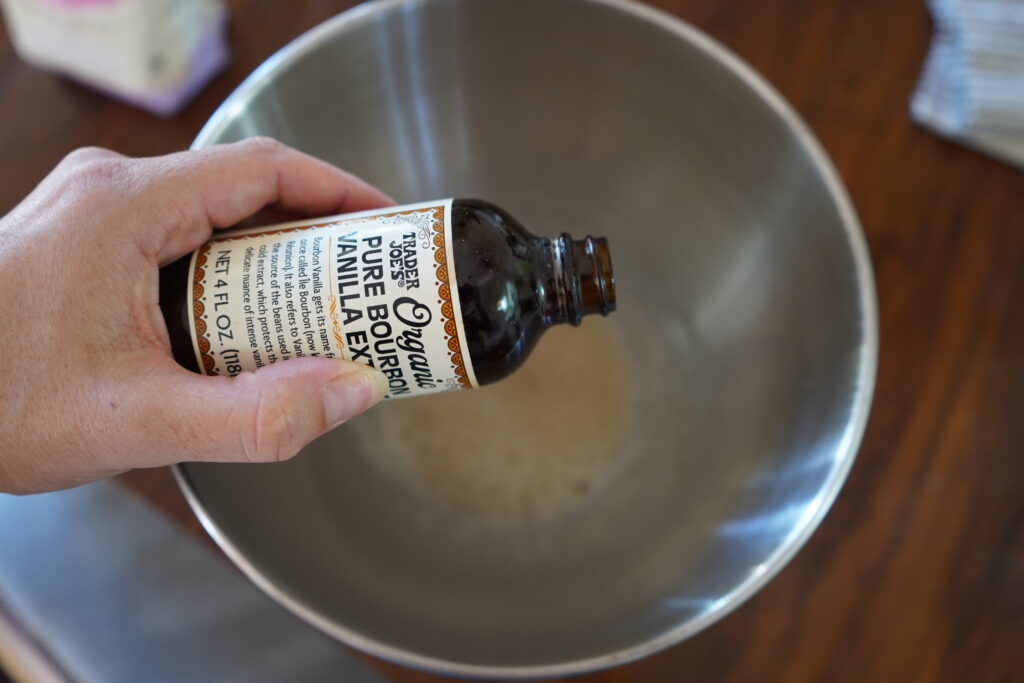
- Now we are going add our 4 tbsp of gelatin to your stand mixer bowl, followed by 1/2 a cup of water. Whisk well. Add tsp vanilla extract, whisk until combined.
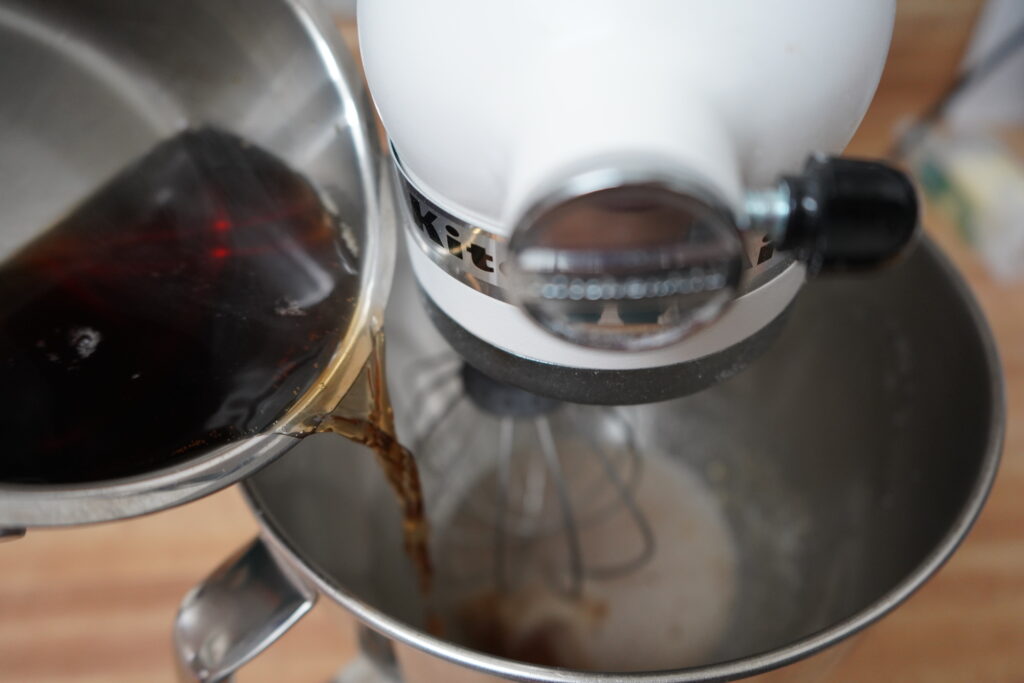
- Once the maple/water mixture has started to boil, add it to the stand mixer and set the stand mixer to low as you slowly pour in the maple mixture.
- Slowly raise the speed to 8.
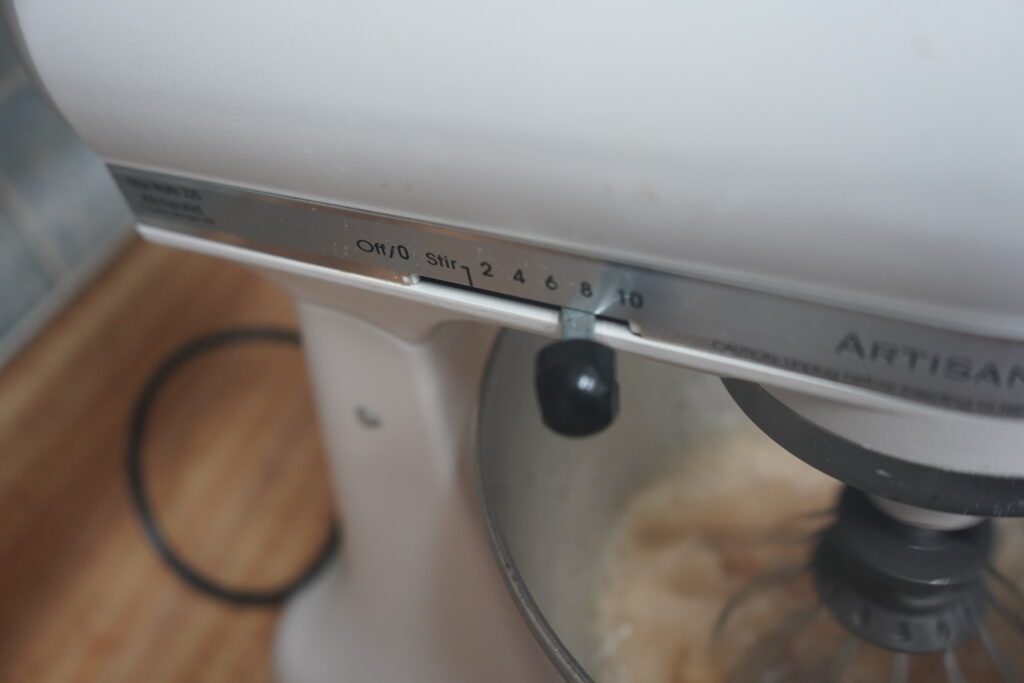
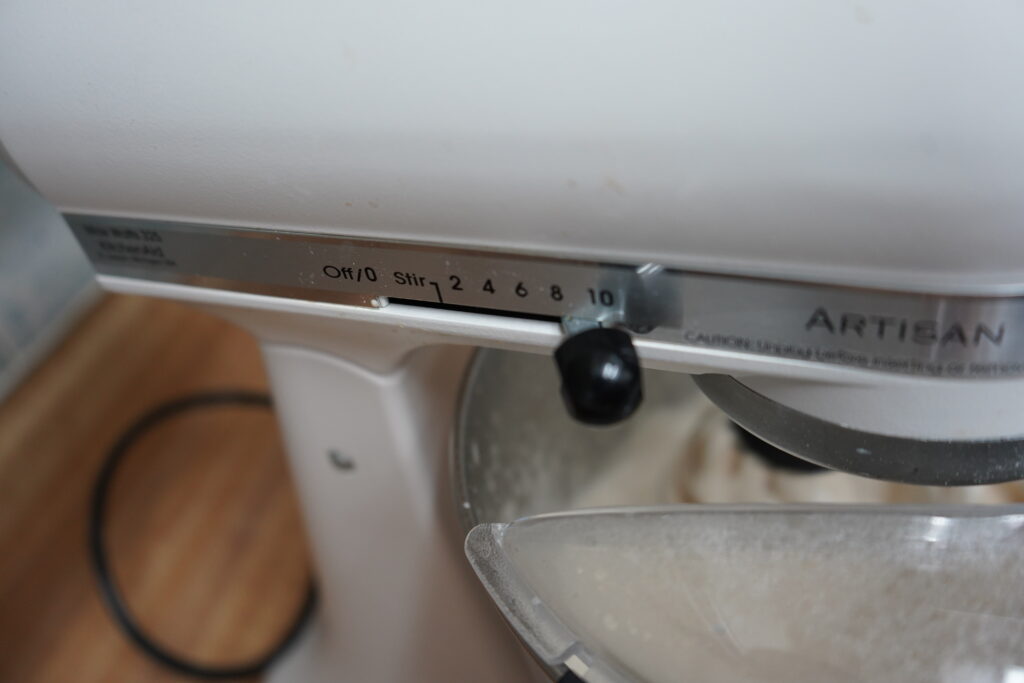
- You’re going to let that run at an 8 for about 5 minutes, then gradually turn it up to 10. Make sure you put the shield on so the marshmallows don’t spray out.
- It can take a bit of time for the marshmallows to reach the correct consistency. Just keep an eye on them.
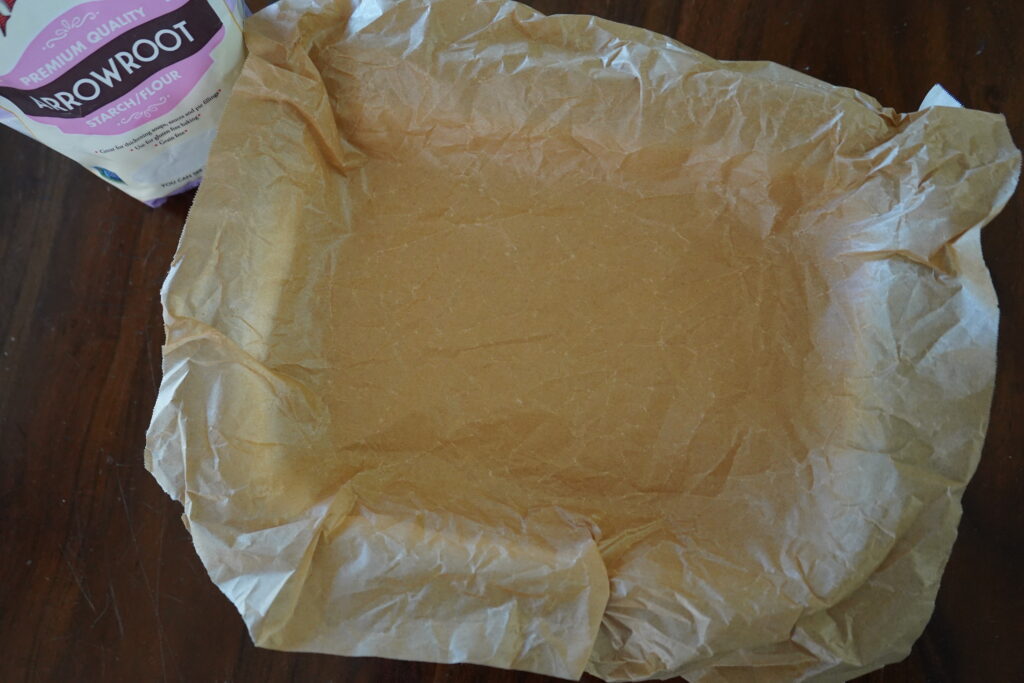
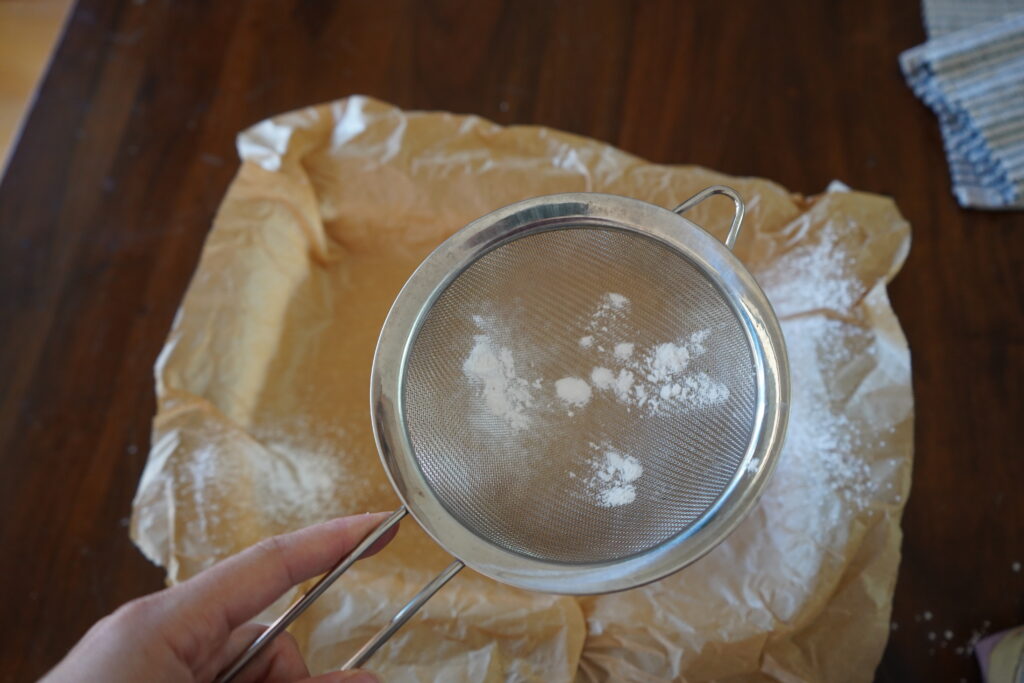
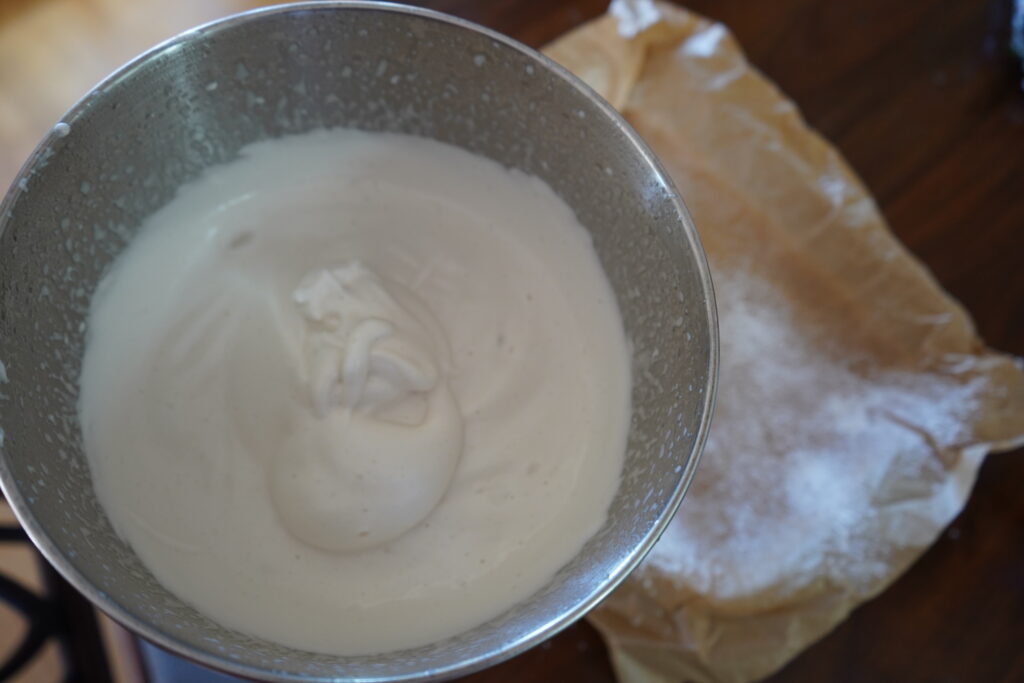
- While that’s going I like to line a deepish baking dish with parchment paper and then sprinkle the arrowroot powder. This will prevent the marshmallows from sticking.
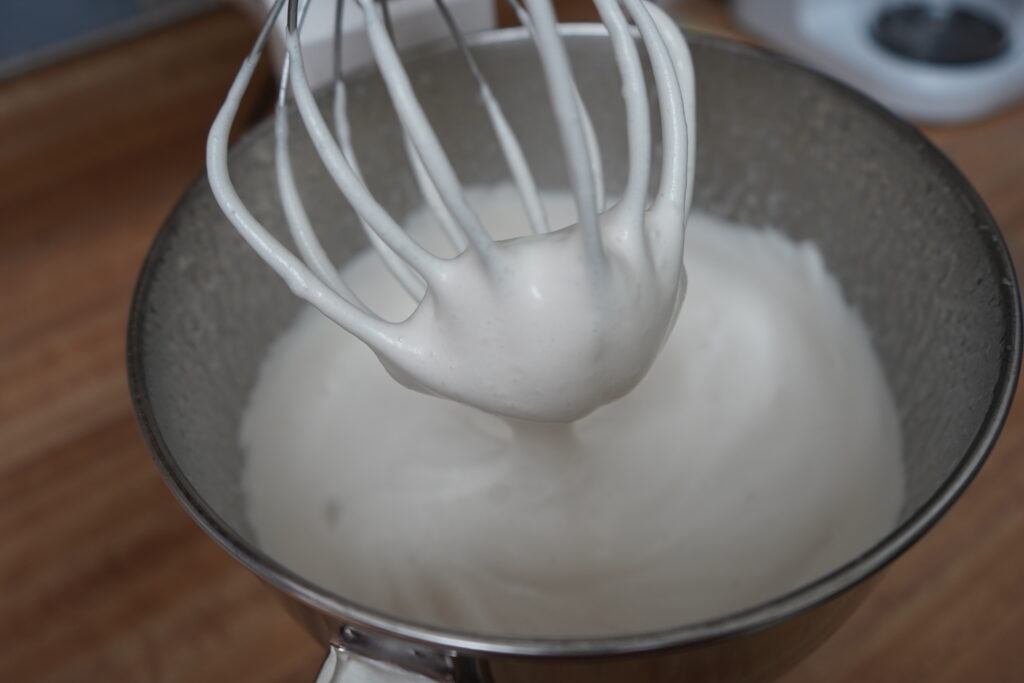
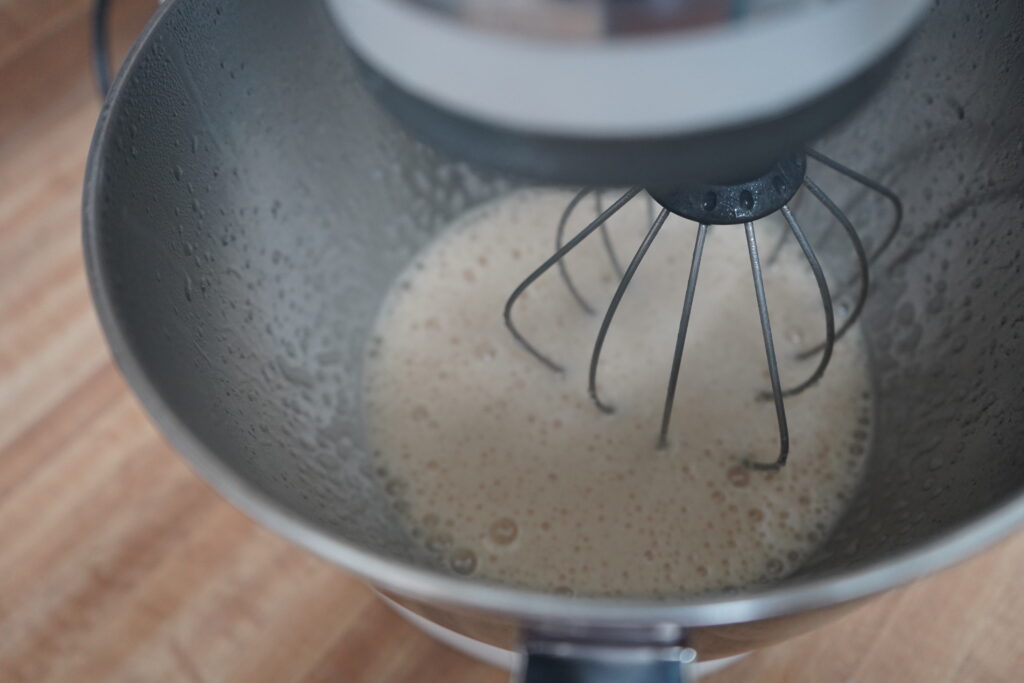
- When the marshmallow consistency is right, it should look like the picture above. It needs to stick to the whisk and not be watery. You also don’t want it so stiff that you can’t pour it out. (It is a lot of trial and error in the beginning, and that’s OK!)
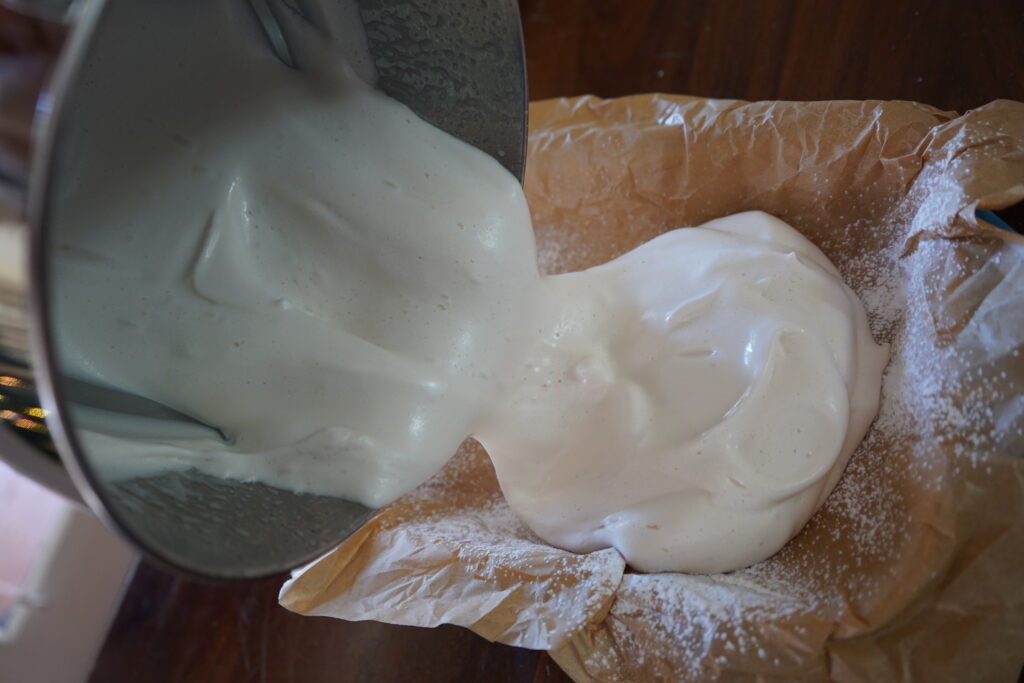
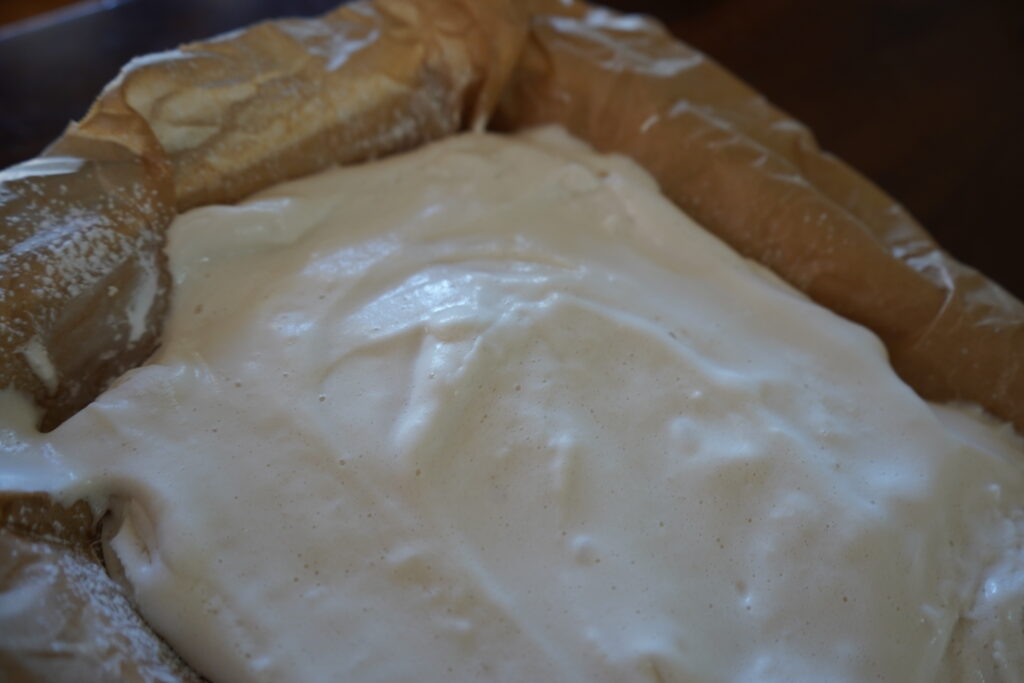
- This is where you have to be quick. The marshmallows start to harden super fast, so pour them in and smooth them out ASAP.

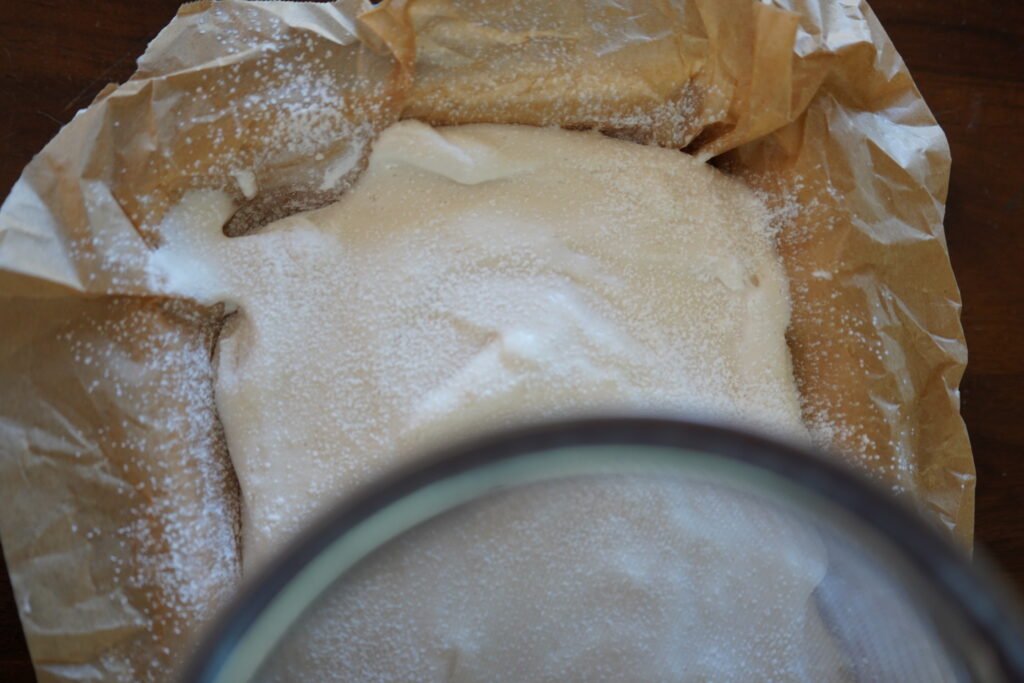
- Now you are going to sprinkle the arrowroot powder over the marshmallows.
- Cover with plastic wrap and keep in the fridge for 4 hours until hardened properly.

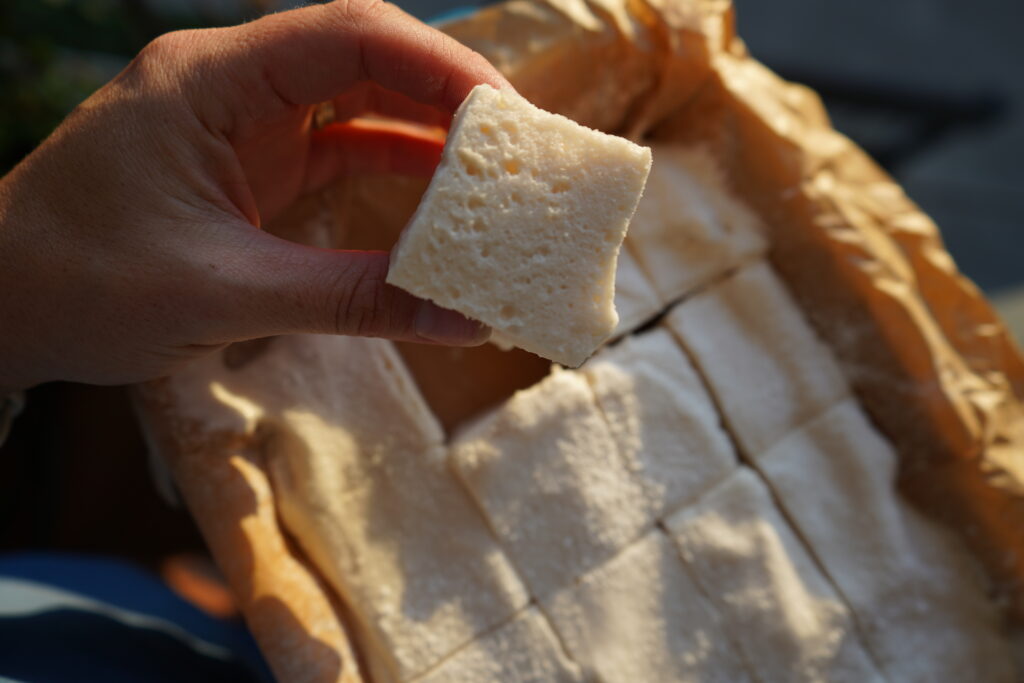
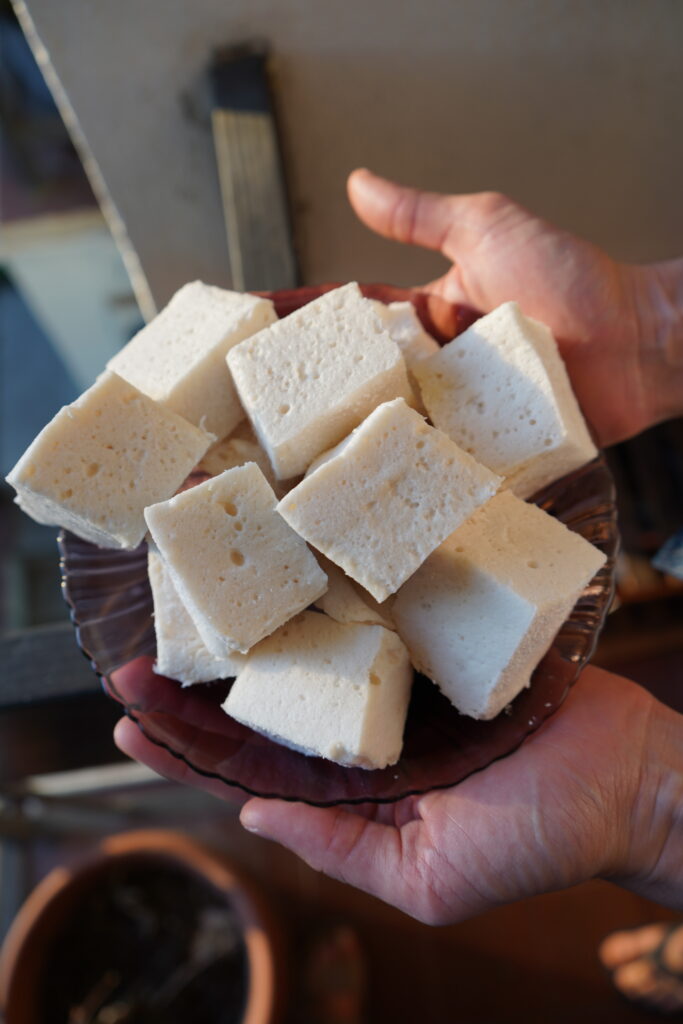
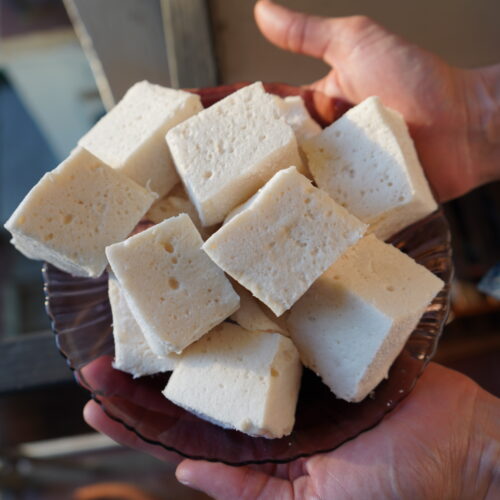
- After 4 hours-ish, they are ready to be cut up and enjoyed!
- These homemade marshmallows will be good in an airtight container on the counter for a weekish. But I recommend keeping them in the fridge in an airtight container, as they last longer and stay fresher!
This Recipe/Questions/Comments
I hope you all absolutly loved these homemade marshmallows! Not only are they super yummy, but again super healthy for you, UGH, I love recipes like this.
To conclude this blog, if you have the time, please leave me a comment! It really helps me out and propels my site forward, and helps me continue to bring recipes like this to you!
Don’t forget to share your creations on Instagram and tag me @brits_table so I can see your delicious recipes!
Thank you so much for being here! I appreciate you all and your support!
Other Healthy Recipes To Try:
Bone Broth – But in an Instant Pot, way faster, and still amazing health benefits.
Date Balls – Healthy snack/dessert, super yummy.
Loaded Egg Salad – This is one of my favorite breakfasts, nutrient-dense and packed with flavor.
Homemade Marshmallows
Equipment
- Stand mixer
- Hand mixer
Ingredients
- 1/2 Cup Pure Maple Syrup Quality, no Mrs.Butterworth shit
- 1 Cup of water divided
- 1 Tsp Vanilla Extract
- 4 Tbsp Pure Gelaton
- Arrowroot Powder for dusting
Instructions
- Step one, we are going to add a 1/2 cup of water to the saucepan, followed by our 1/2 cup of maple syrup.
- Place that on the stove over medium heat, whisk until combined, and bring to a boil.
- Now we are going add our 4 tbsp of gelatin to your stand mixer bowl, followed by 1/2 a cup of water. Whisk well. Add tsp vanilla extract, whisk until combined.
- Once the maple/water mixture has started to boil, add it to the stand mixer and set the stand mixer to low as you slowly pour in the maple mixture.
- Slowly raise the speed to 8.
- You’re going to let that run at an 8 for about 5 minutes, then gradually turn it up to 10. Make sure you put the shield on so the marshmallows don’t spray out.
- It can take a bit of time for the marshmallows to reach the correct consistency. Just keep an eye on them.
- While that’s going I like to line a deepish baking dish with parchment paper and then sprinkle the arrowroot powder. This will prevent the marshmallows from sticking.
- When the marshmallow consistency is right, it should look like the picture above. It needs to stick to the whisk and not be watery. You also don’t want it so stiff that you can’t pour it out. (It is a lot of trial and error in the beginning, and that’s OK!)
- This is where you have to be quick. The marshmallows start to harden super fast, so pour them in and smooth them out ASAP.
- Now you are going to sprinkle the arrowroot powder over the marshmallows.
- Cover with plastic wrap and keep in the fridge for 4 hours until hardened properly.
- After 4 hours-ish, they are ready to be cut up and enjoyed!
- These homemade marshmallows will be good in an airtight container on the counter for a weekish. But I recommend keeping them in the fridge in an airtight container, as they last longer and stay fresher!
