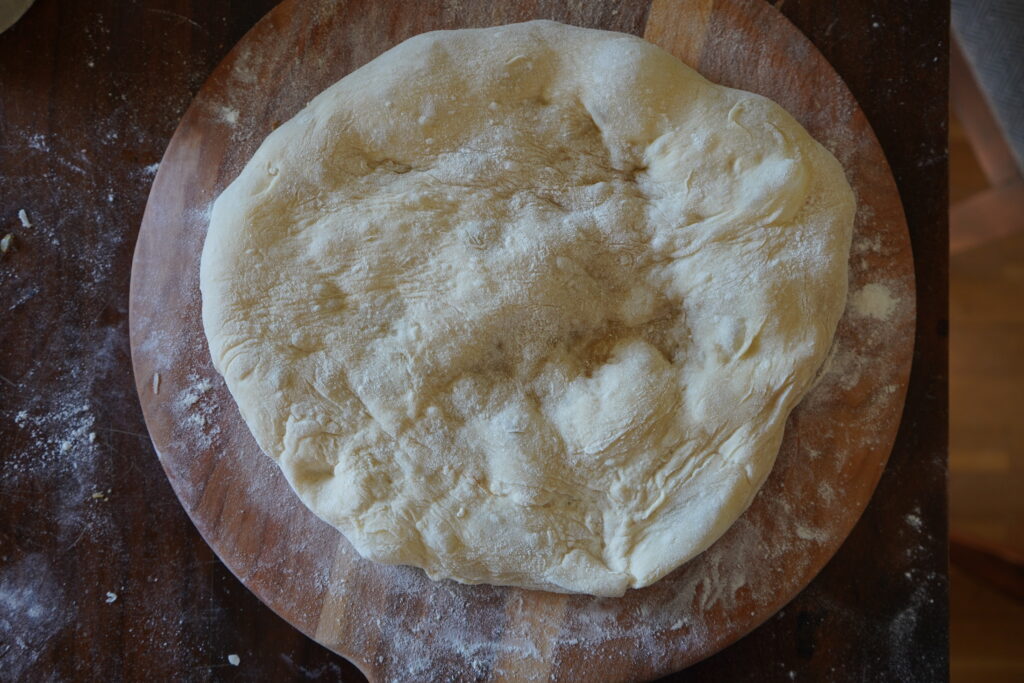
Sourdough Pizza Dough
The natural progression of learning to bake a sourdough loaf is of course to make sourdough pizza dough or crust. And this is the recipe for you. With the step by step, simple instructions you will be making your own sourdough pizza crust before you know it!
Welcome to the Table
Welcome to back to the bread series!!! This blog is all about the sourdough pizza dough. AH, finally. My goal in all my recipes is to simplify and make it easy for anyone to make bread or delicious food from scratch! I hope this pizza recipe graces your table!
With all that to stay, let’s move on to my links and where you can find me (more below).
I am now an Amazon affiliate so want to disclose that I do have links to products I use in case you guys are curious! Now here’s the part where I drop all my links to my socials for you. Appreciate you!
The first stop is always IG. IG is my stomping grounds, I am there most often to talk on my stories and respond to DMs and comments. So, if you ever want to get in touch with me, my DMs are a great place to go! Also, if you have a bread question hit me up.
Pinterest is the best place to save these recipes. You can put them in a folder and keep it all organized!
The final spot, where big things are happening… YouTube. I am starting long form content on there and will be doing tutorials on cooking. Super excited about this and would love to see you over there.
Why homemade pizza dough?
Once you start down this rabbit hole of making things from scratch and learning how to make bread its like a gateway drug. You start reading labels to everything, researching what things mean, start realizing how f*&ked up our processed food is and then you realize you need to make a change!
This recipe is just like any other recipe I make. When feeding myself and family, I want to feed us the best quality and not poison us with harmful ingredients.
So, one day I wanted pizza (I think you know where this is going). I look at the pizza doughs at the store. Literally full of crap that has no business being in pizza. I go home and set out to make my own. My preference to use sourdough because I like the long fermentation process that helps get rid of a lot of the gluten.
I make this recipe. Now I make pizza whenever we want with ease and never have to worry about what’s in it when I make it myself! I hope this sourdough pizza dough makes it to your table, and, ultimately, bellies.
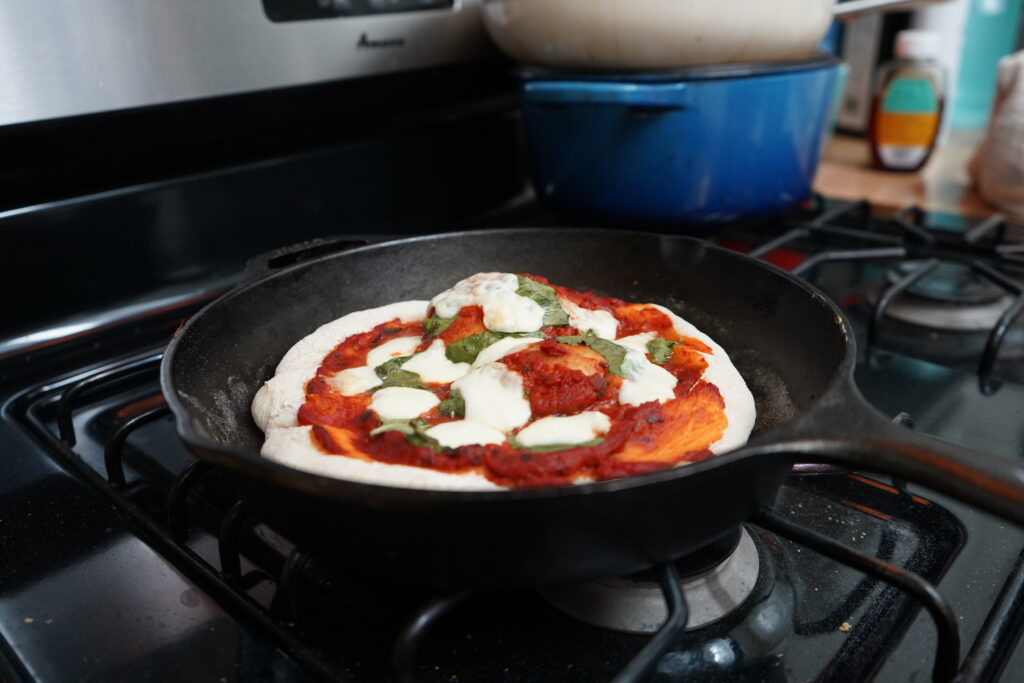
What you will need for this recipe:
- Cast Iron Pan or Baking Steel or Baking Sheet with parchment paper on top. I have both a cast iron pan and baking steel and if you have the money a baking steel is definitely worth it!
- Rolling Pin – You don’t have to but if you like your dough a little thinner, use a rolling pin just a bit is helpful.
- Dough Scraper – This is necessary to help shape the dough. This is a good one.
- Quality Extra Virgin Olive Oil -> 15% off. You all know that quality olive oil is a non-negotiable for me. So many olive oils are cut with other oils, like seed oils and sh*t. Kosterina is clean, 100% Greek olive oil, cold pressed and harvested early for potency.
Sourdough Starter
So, if you don’t already have a starter you are going to need one. It is critical for the recipe and there is literally no way around it. You have a few options.
1. You can make your own, this can take up to a week to 9 days! It will take time and patience and a lot of trial and error if it’s your first time.
2. If you have a friend, acquaintance or co-worker who is already doing sourdough, you can ask them for a jar of discard. From here you can make this one your “mother” and keep it alive.
3. I also have my very own starter that I have had for 5 years, that I got from a homestead woman in Quebec, Canada. It is extremely potent and has provided me with the best of sourdough.
I have dehydrated my starter at its most active moment and now sell it to help people in their sourdough journey. It comes with detailed instructions on how to rehydrate it. Hope this is helpful!! Get The Starter!!
The Recipe:
The Ingredients:
- 150g Active Sourdough Starter
- 10g Salt
- 2 Tbsp Extra Virgin Olive Oil
- 500g All Purpose Organic Flour – I use King Arthur
- 350g Warm Water
Method:
The Afternoon Before
To activate the starter
100g starter , 25g warm water , 25g organic bread flour
- In the afternoon take your “mother” [the starter you always keep] out of the fridge and allow her to get to room temperature.
- When your mother is at room temperature take a separate glass jar and pour 100g or starter into that jar. [Feed your mother as usual and allow to full activate before storing in the fridge].
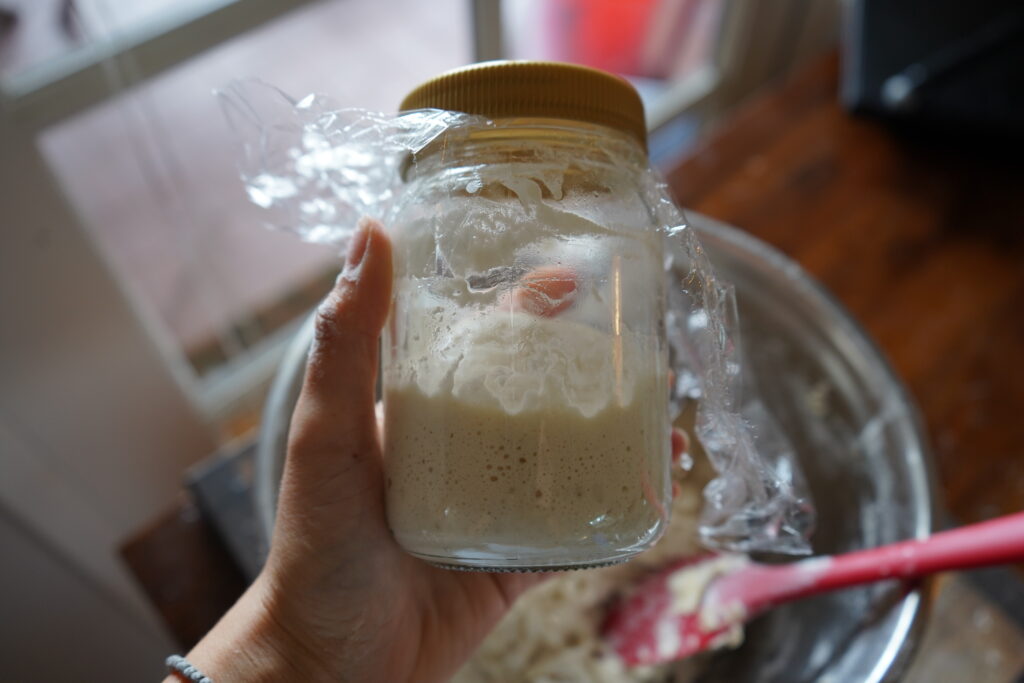
- In your new jar with starter, add 25g flour and 25g warm water. Mix well with a rubber spatula. Put a lid and then wait for it to reach peek activity. You will see a lot bubbles. [As pictured above].
It could take 2-4 hours to reach it’s peek, depending on how cool/warm your house is.
The Dough Recipe:
You can start the dough at the same time you mix the starter and just let the dough sit until the starter is ready.
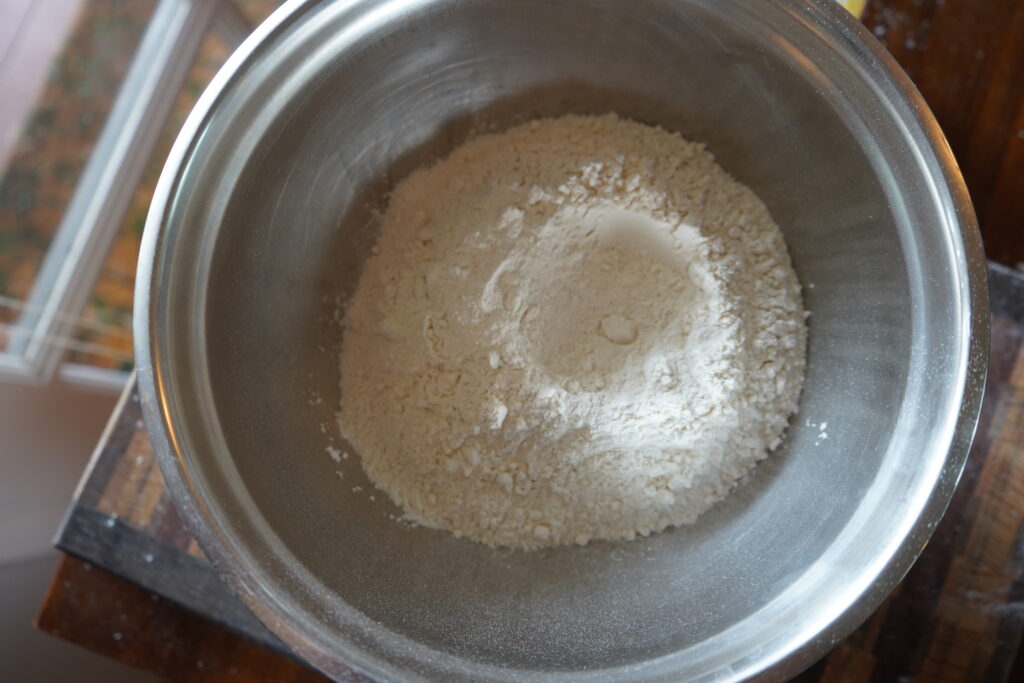
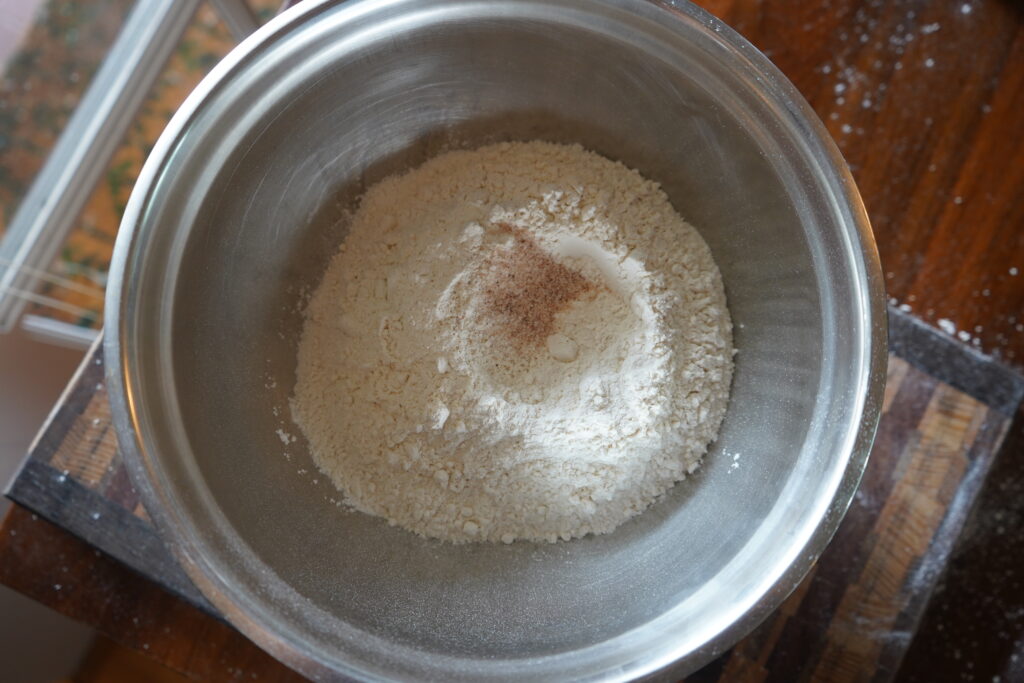
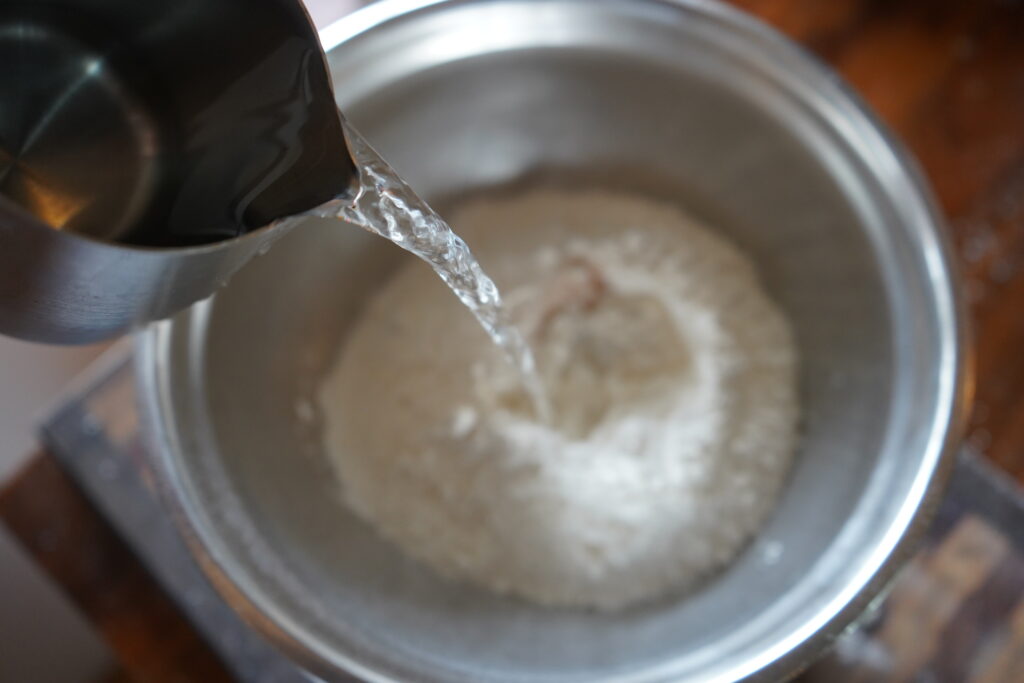
- First we are going to add our flour to our mixing bowl, followed by salt then our warm water.
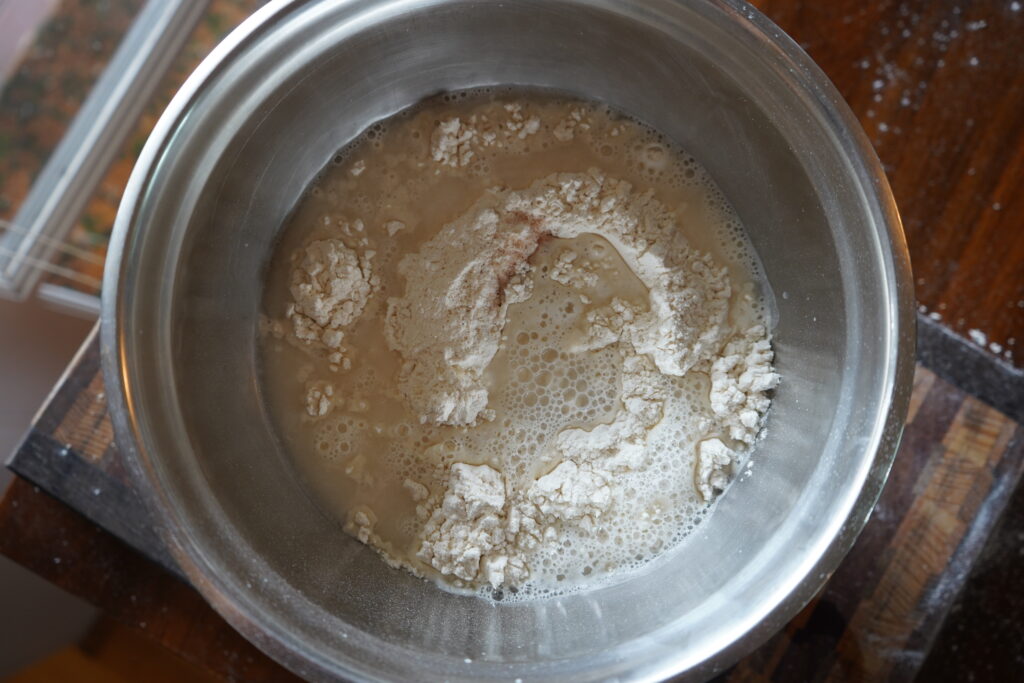
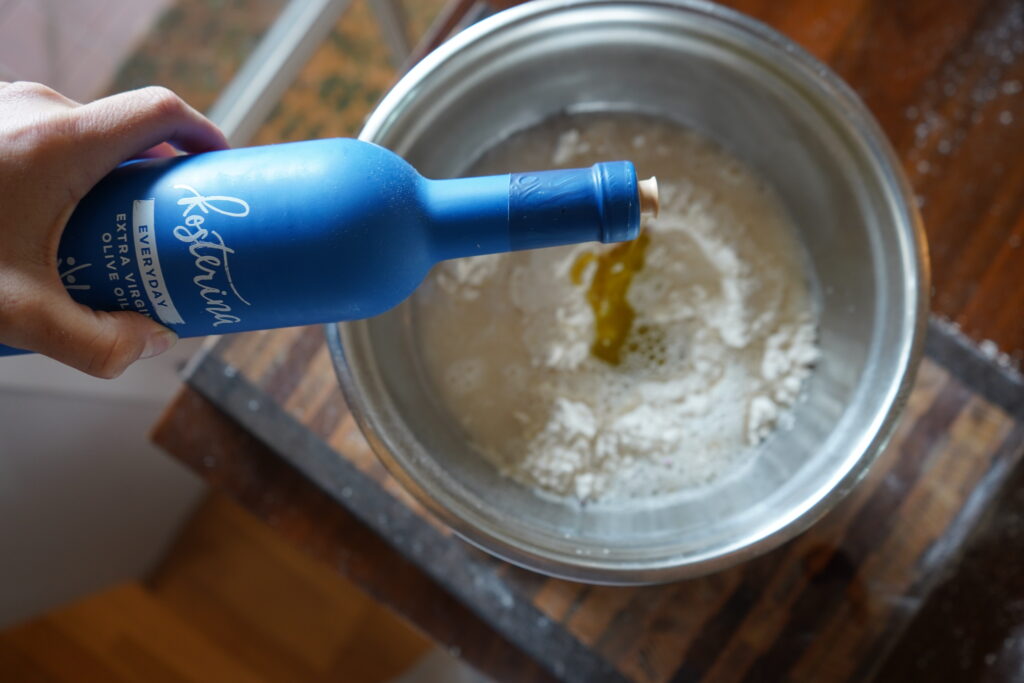
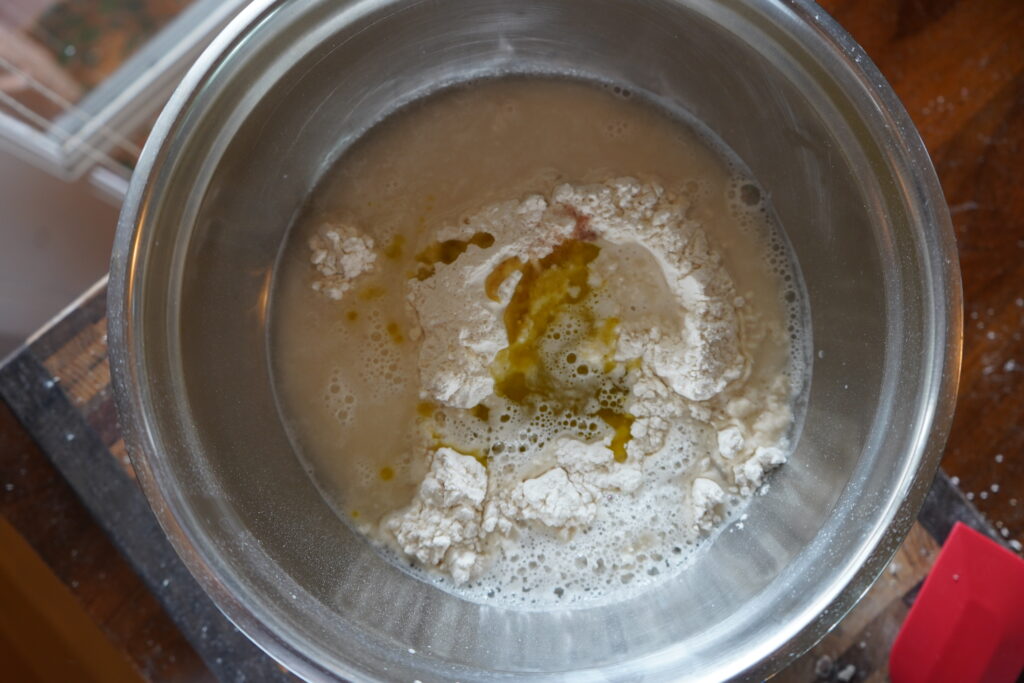
- Now you will add your olive oil.
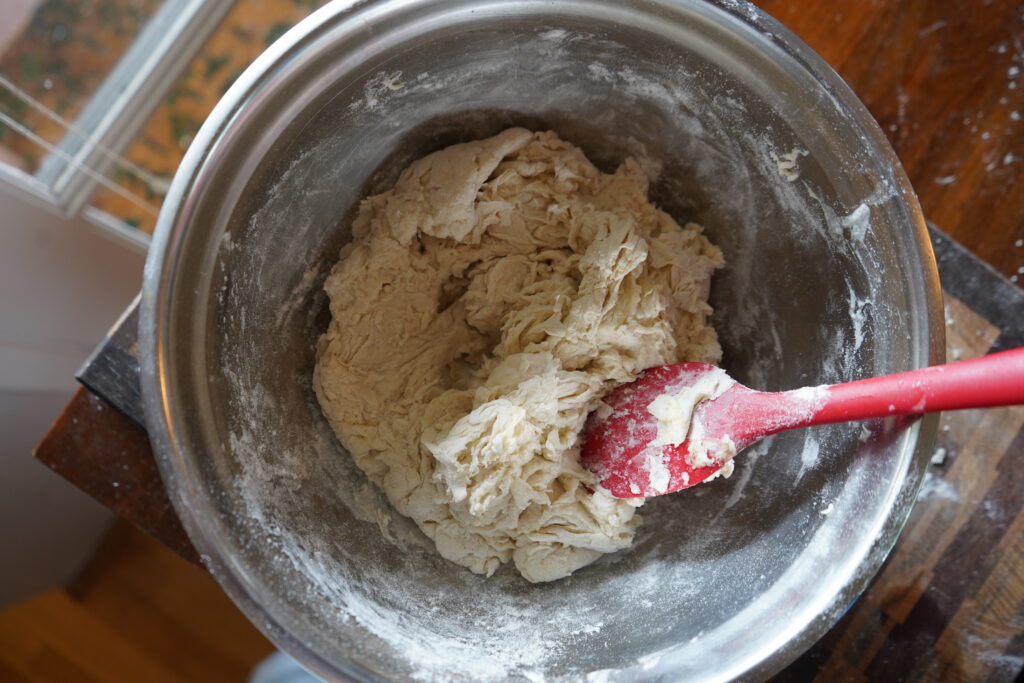
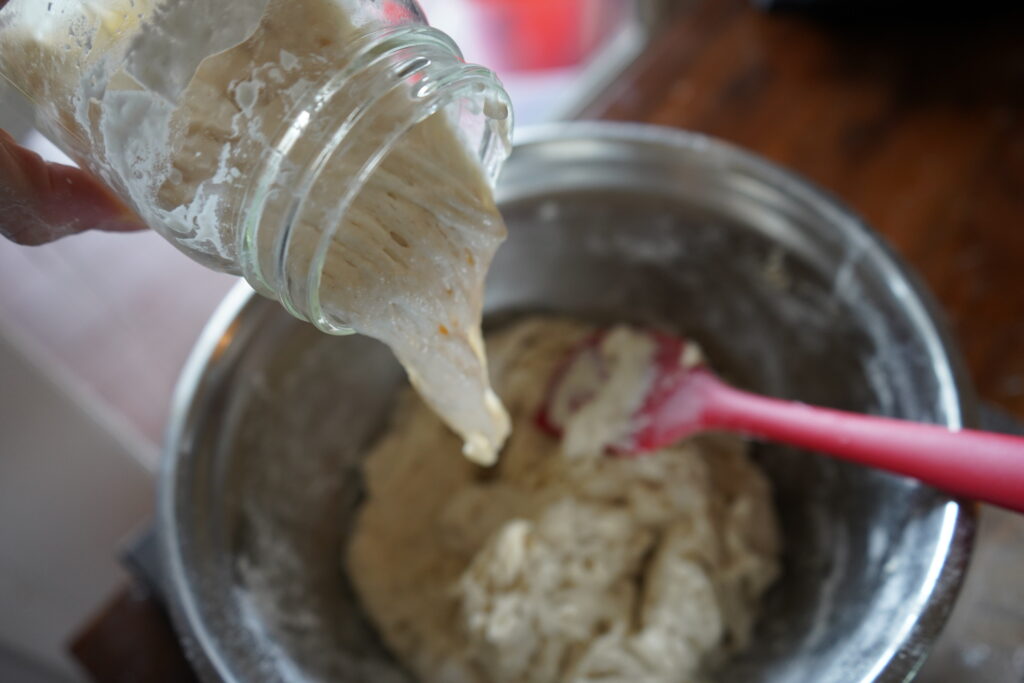
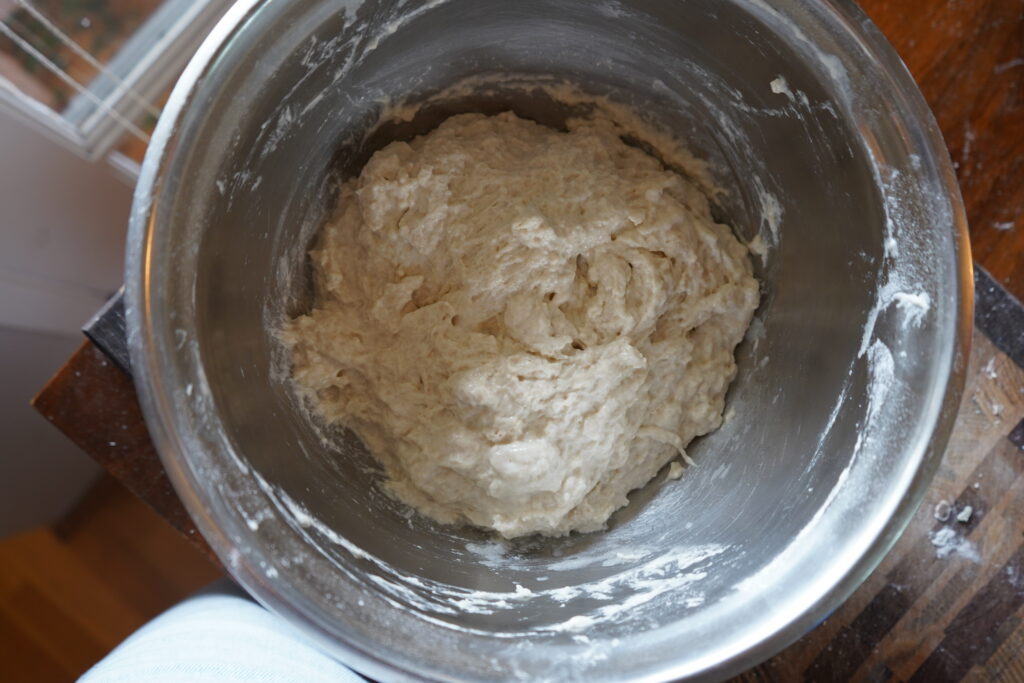
- Mix that well and when your starter is ready, add your starter to the dough. Mix until completely incorporated.
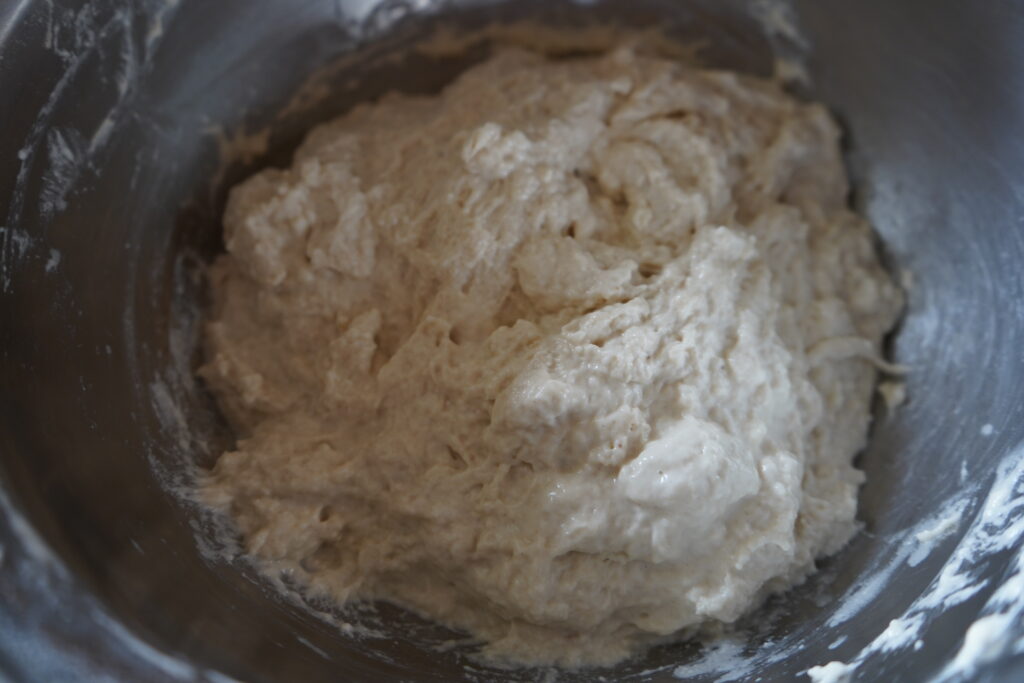
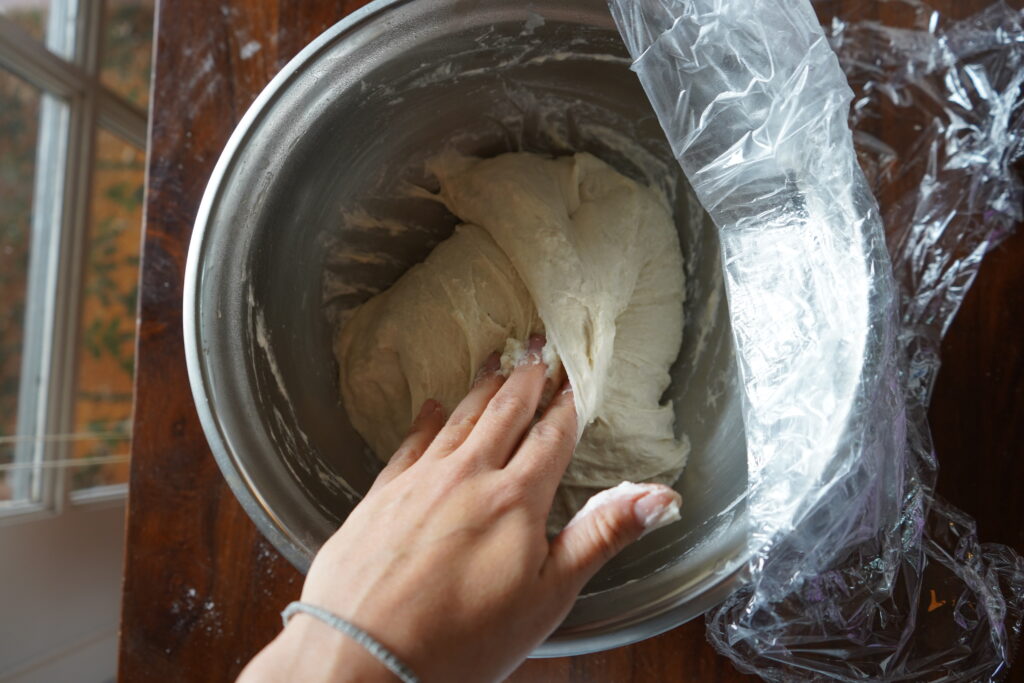
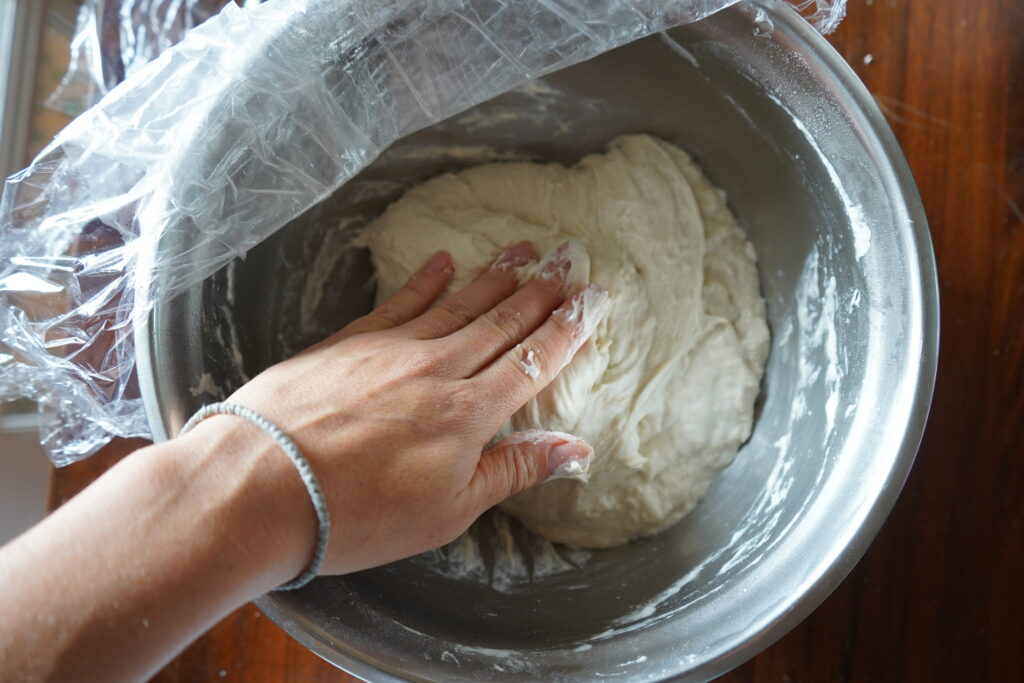
- Cover your bowl with plastic wrap and let it rest for one hour.
- After the hour of rest, stretch and fold the dough 4 times, cover and let rise overnight.
- In the morning, place the dough bowl in the fridge until 30 minutes before you are ready to work it.
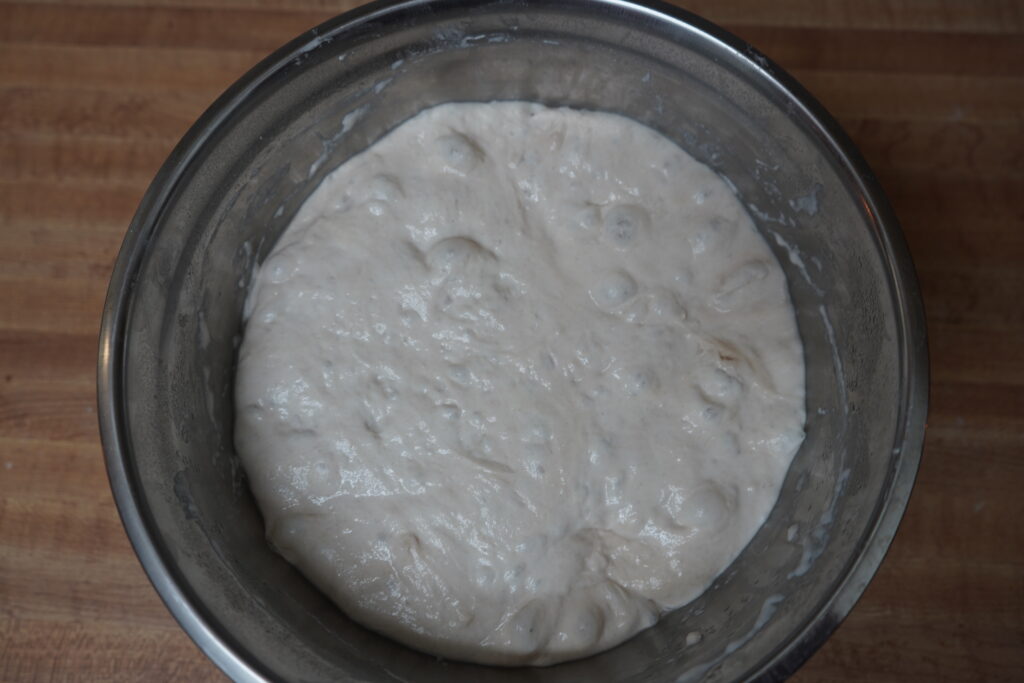
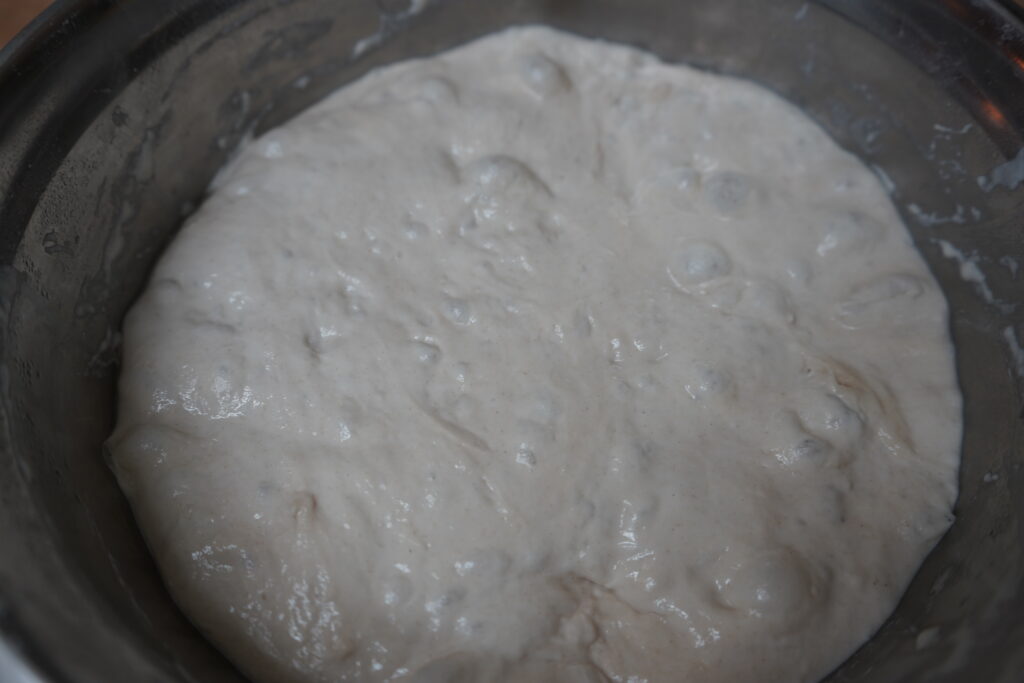
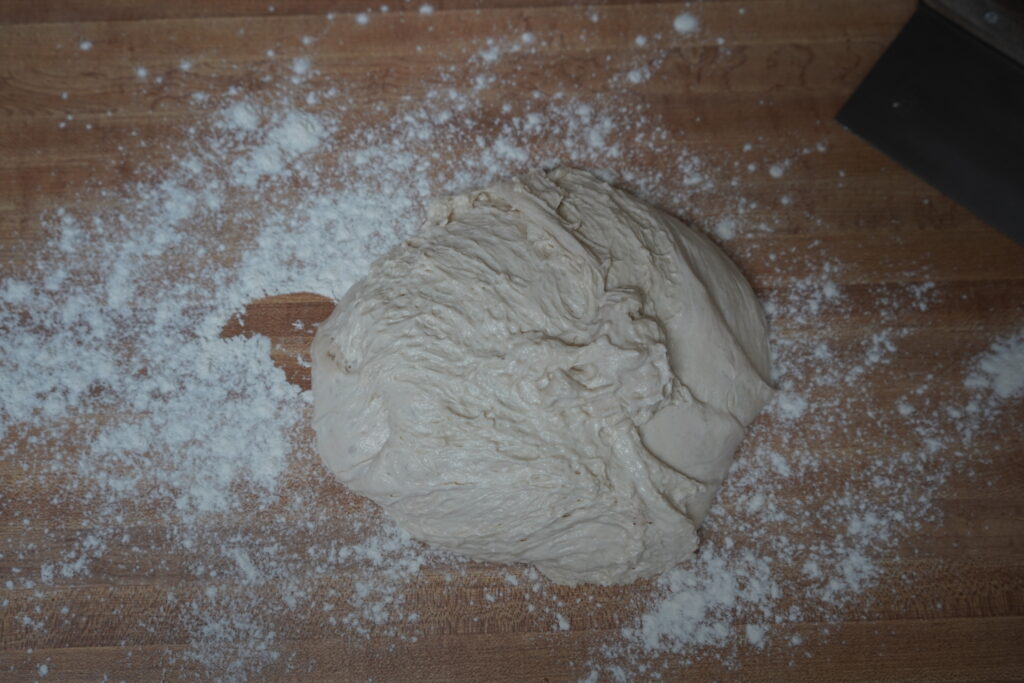
- Take out the dough from the fridge 30 minutes before you’re ready and preheat the oven to 450f. Now you will either add your baking steel to the oven and let it get hot or the lodge cast iron pan.
If you are using a baking tray, you don’t need to heat it before. - Flour your work surface and pour your dough out onto the flour.
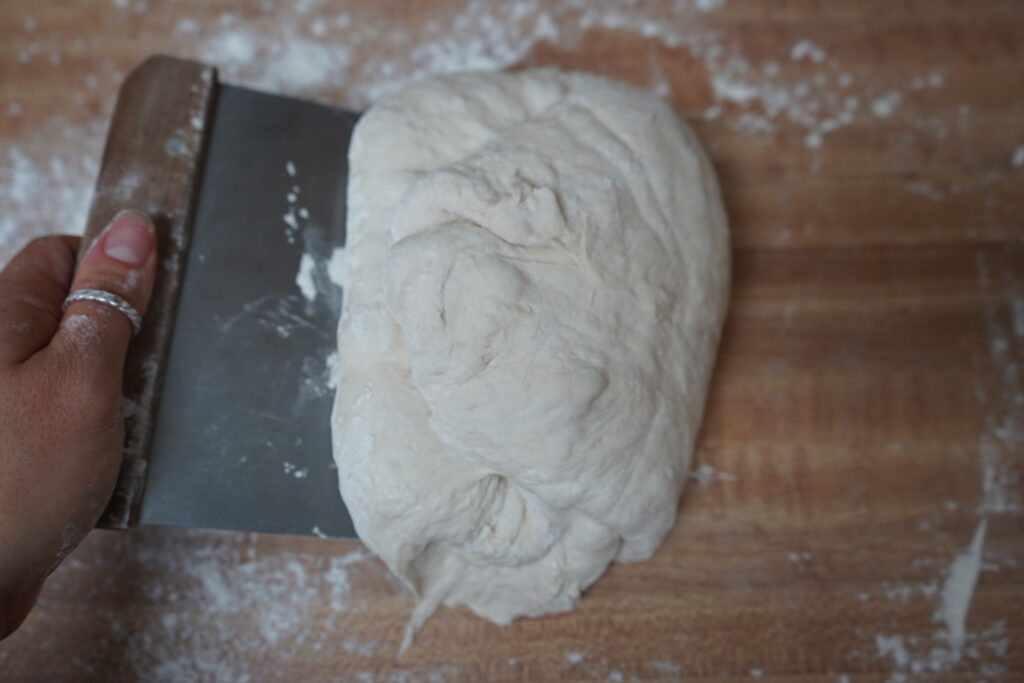
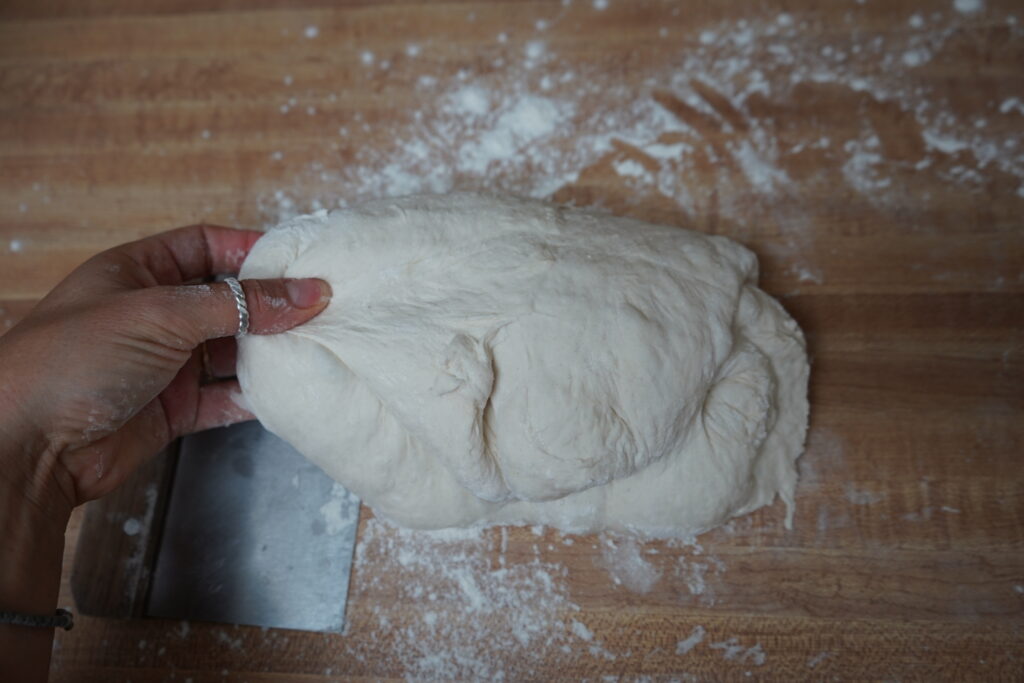
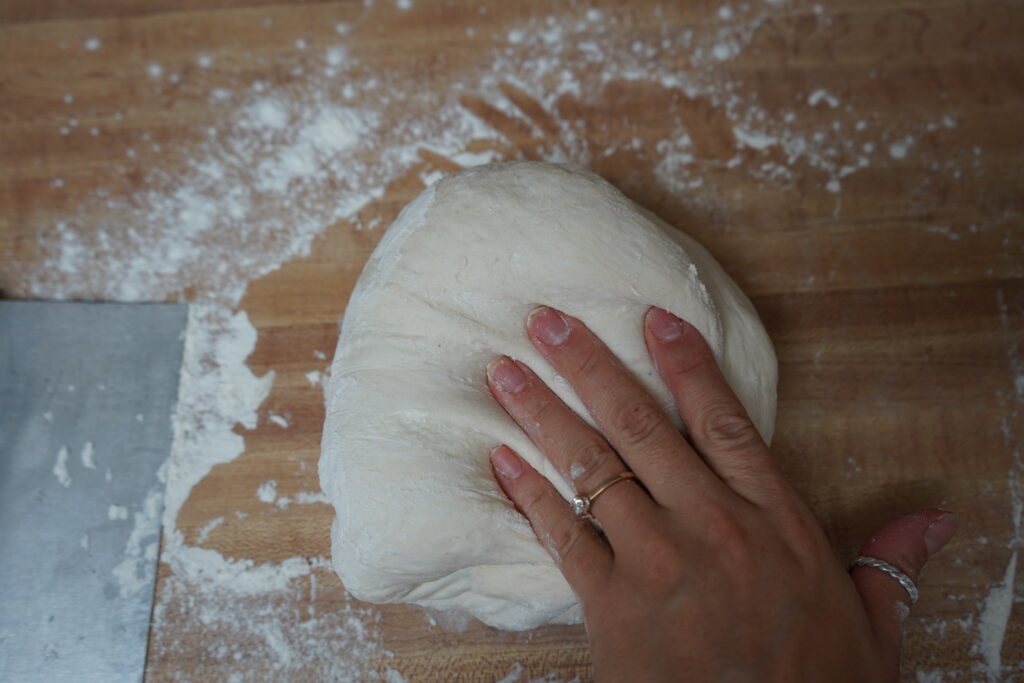
- Now you will lightly flour the top of the dough and preform more stretch and folds. Do this 4 times.
- Allow the dough to rest 20 minutes before stretching and folding again. Let it rest for 20 minutes.
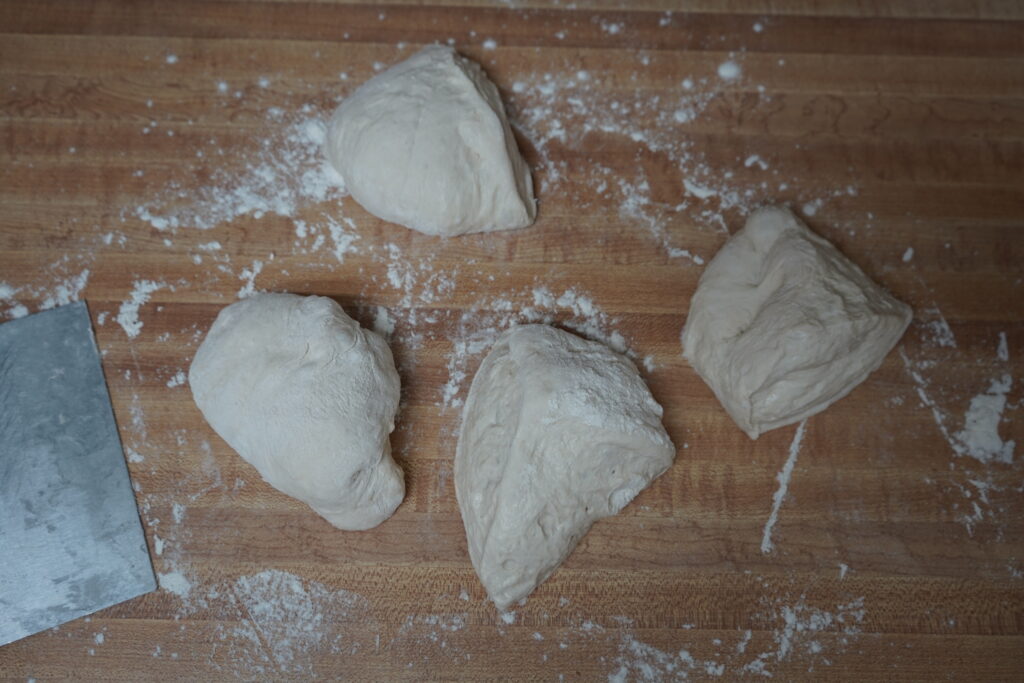
- Cut your dough into 2 or 4 pieces, depending on how large you want your pizzas to be. I chose to make 4 smaller ones.
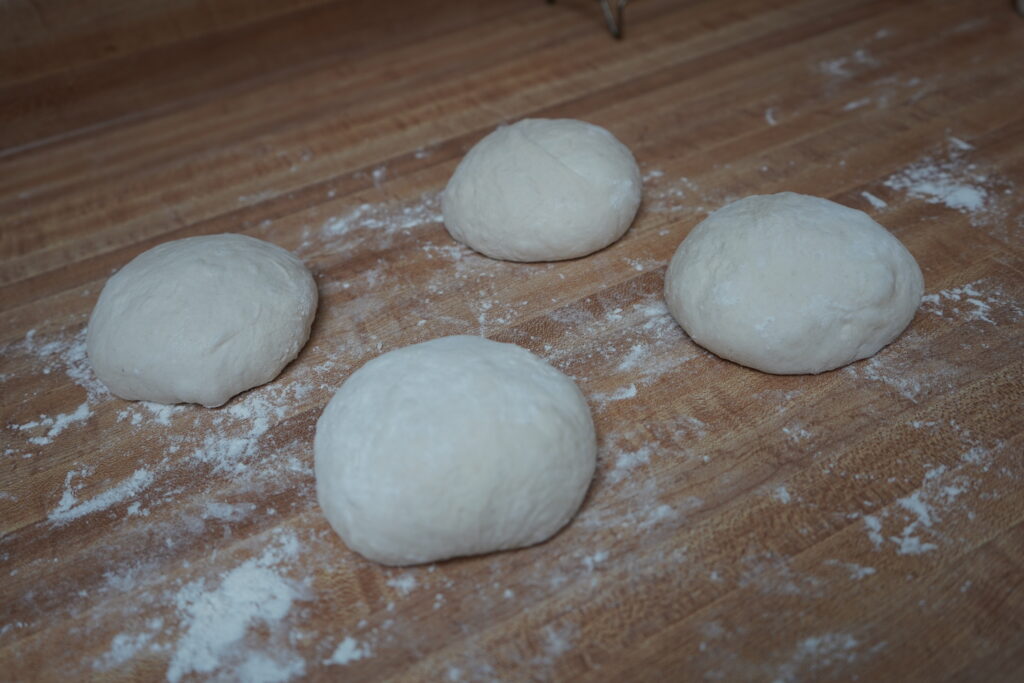
- Shape the dough into balls and let them rest for 10 minutes.
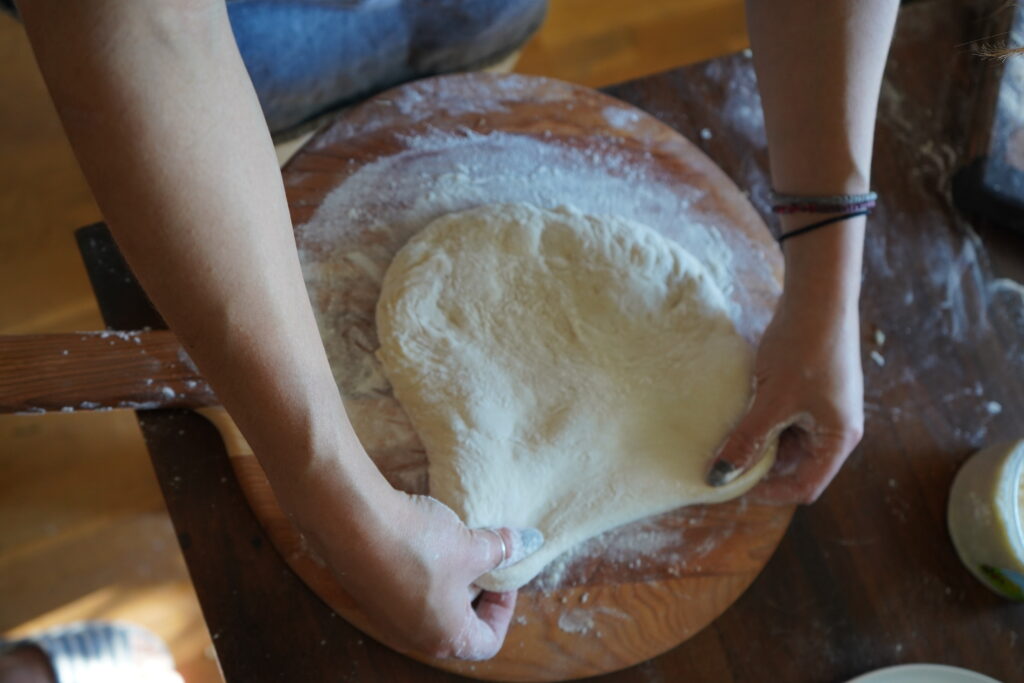
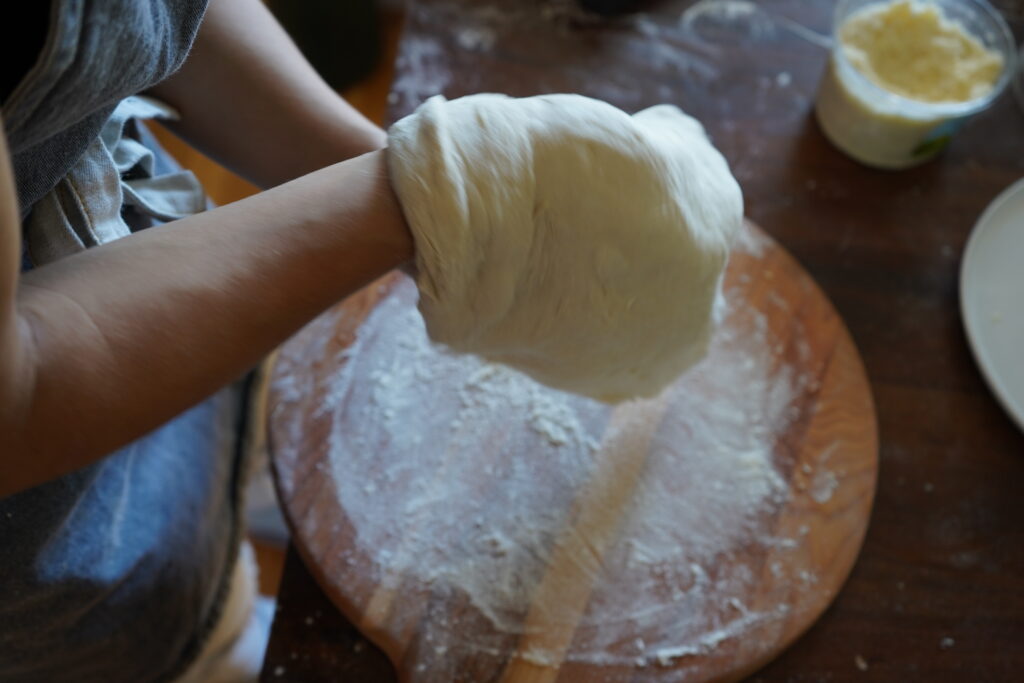
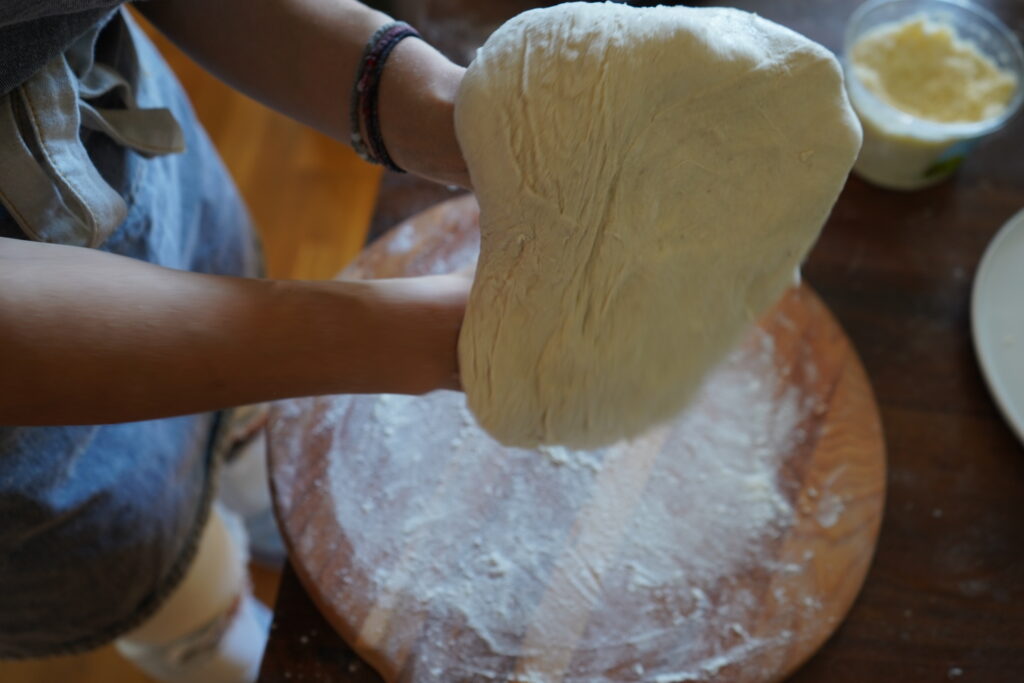
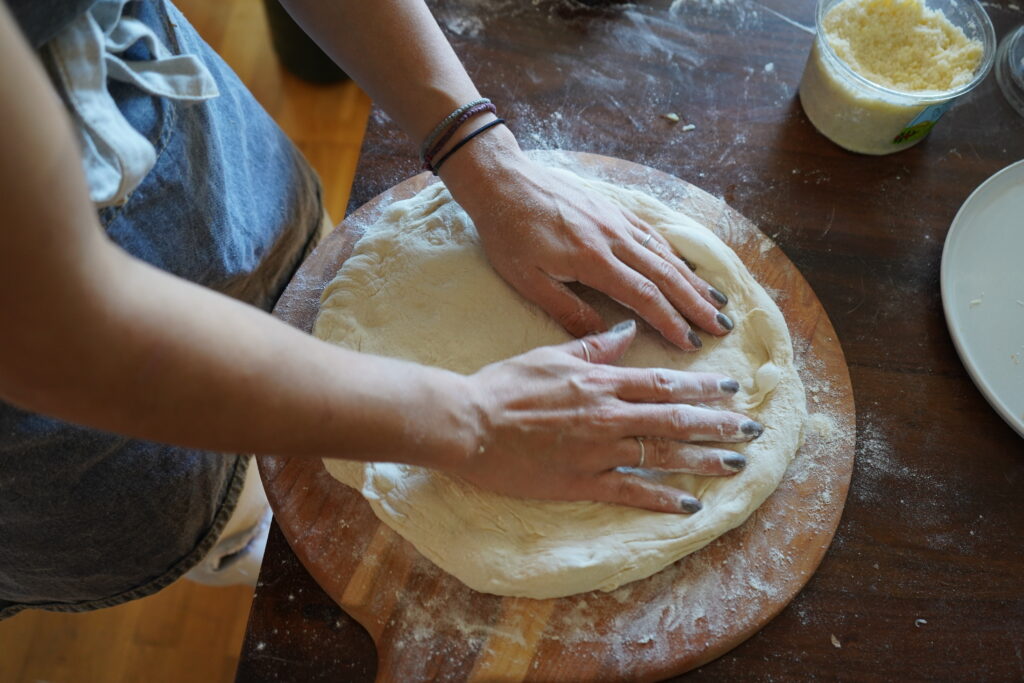
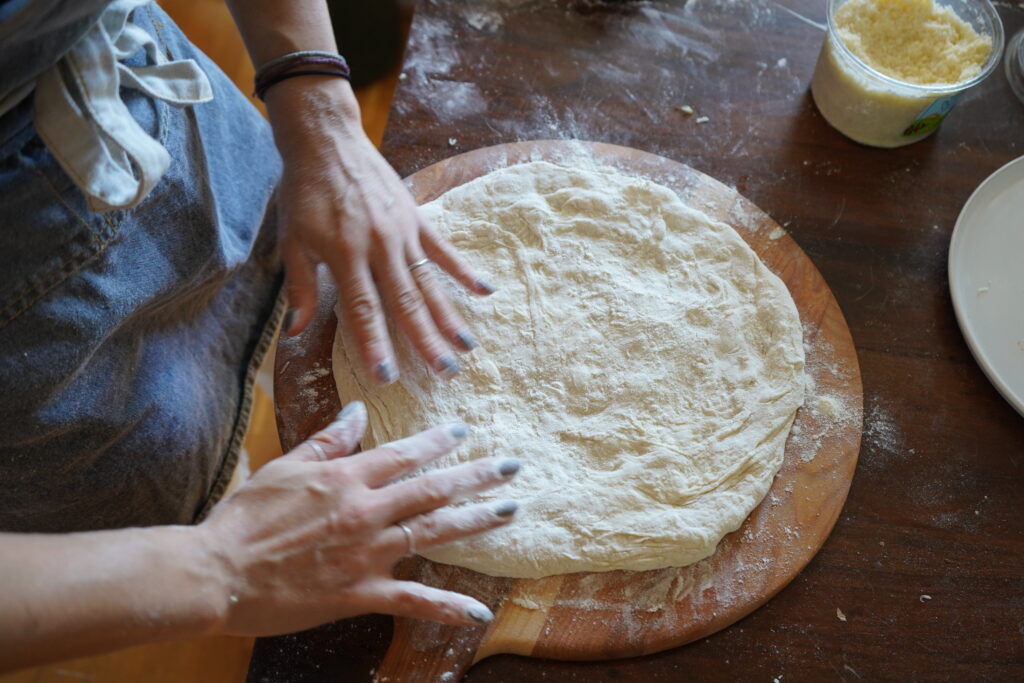
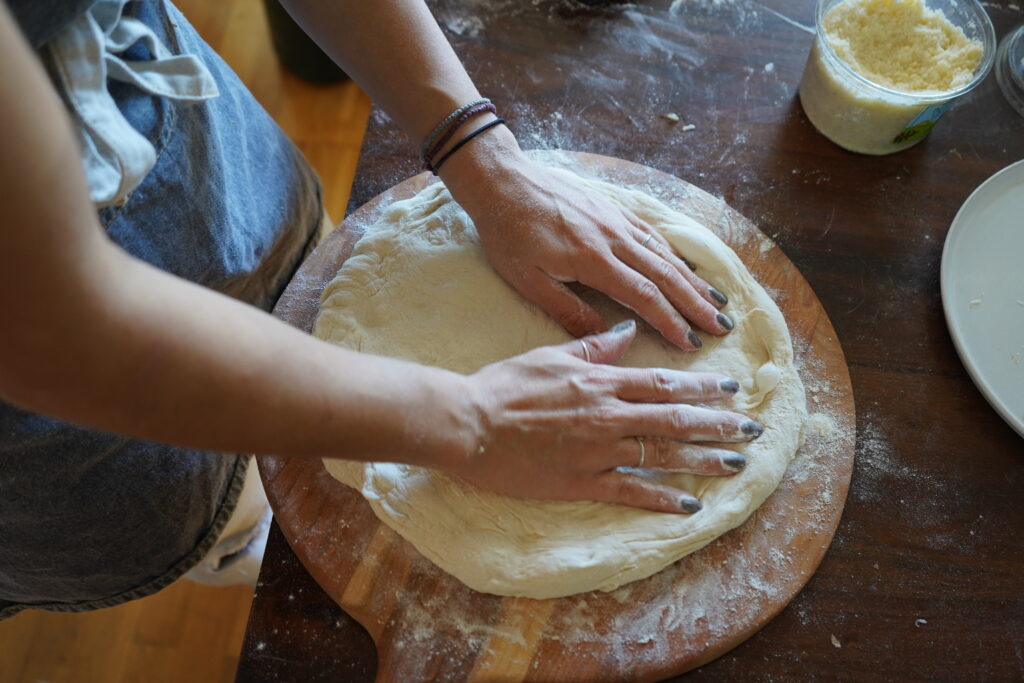
- Now we are going to shape our dough. One way of doing it is shaping it by hand, stretching and using your hands to pull the dough. [As pictured above].
Another way if you want it a bit thinner is to flour your counter and flour the dough there and push it with your hands and then use a rolling pin to gently flatten it out.
For baking steel:
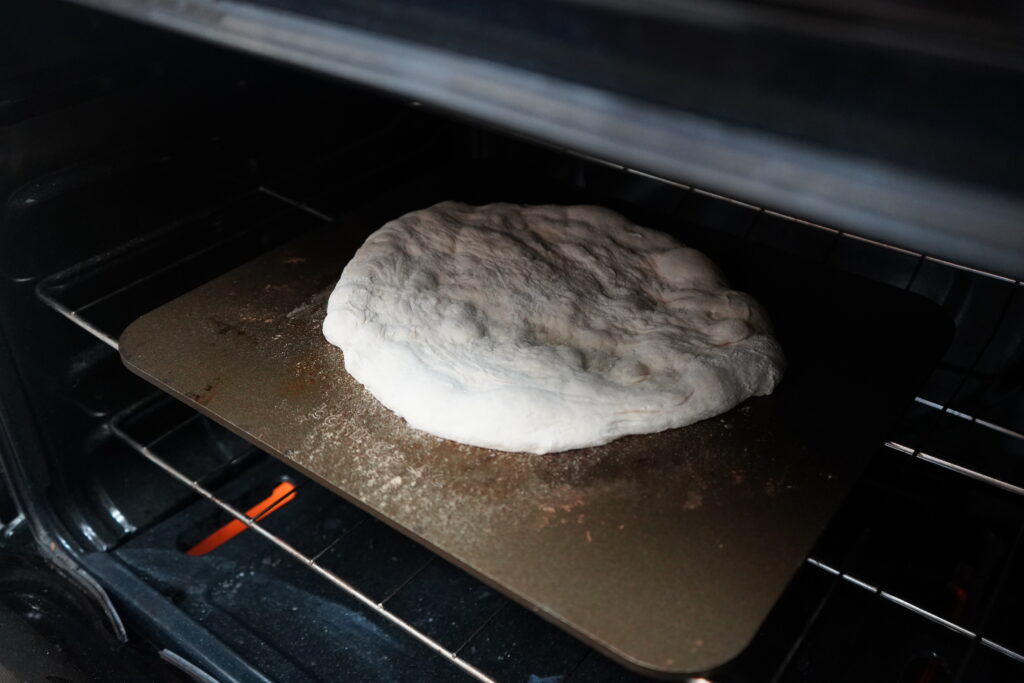
- Slide the dough onto the hot steel that’s in the oven. Pre-bake for 3 minutes.
Remove it by sliding the dough back onto the wooden board and add your toppings. Place it back on the baking steel and cook until it’s ready, for 5-8 minutes. You can broil the top at the end if you wish to get the blister on the crust. I don’t have a top broiler so I don’t.
Slide the pizza back onto the wooden board and let the pizza cool a bit before slicing it so you don’t burn your mouth.
Cast Iron Pan:
- Place the cast iron pan in the oven and allow it time to get hot.
Remove the pan from the oven and put the dough on it and then put it back in the oven for 3 minutes.
Remove it from the oven and add your toppings. Cook for about 8-15 minutes until all the toppings are cooked. You can turn on the broiler the last few minutes to get blisters on the crust.
Take the pan out of the oven and use a spatula to slide the pizza off onto a cutting board.
Give it a moment to cool a bit before cutting and eating.
Sheet Pan & Parchment Paper
- Line a baking sheet with parchment paper and stretch the pizza dough out over it.
Place it in the preheated oven and allow it to pre-bake for 3-5 minutes.
Remove it from the oven and add your toppings. Cook for 15-20 minutes, maybe even 25 depending on your toppings! You can turn on the broiler the last few minutes to get blisters on the crust.
When your toppings are all cooked through take the pizza out of the oven and lift the pizza by the parchment paper and place it on a cutting board.
Give it time to cool a bit before cutting into it.
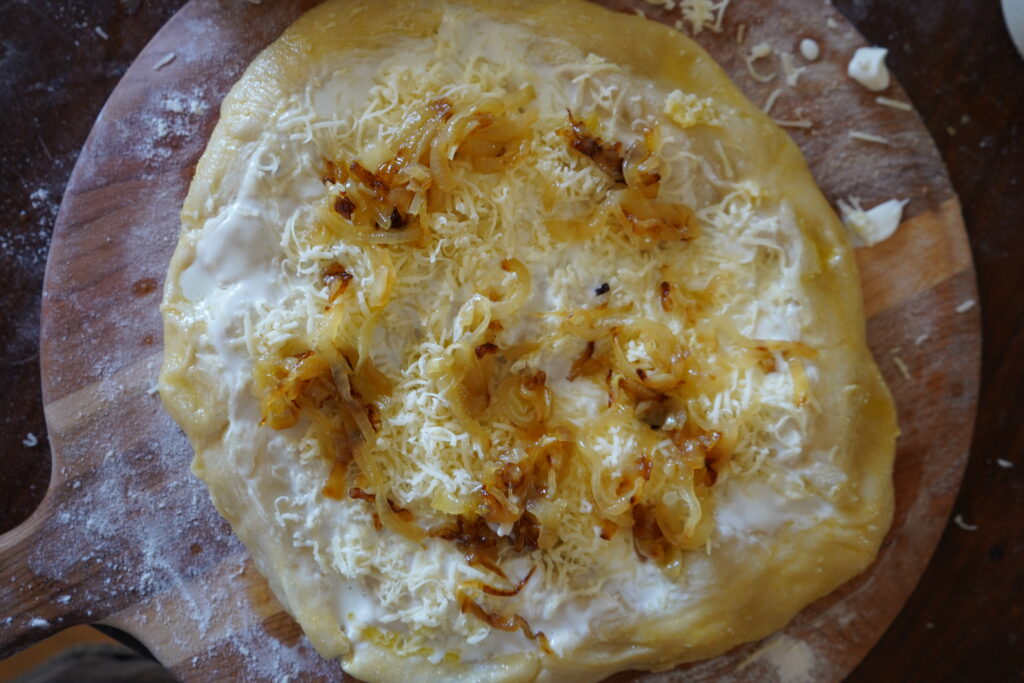
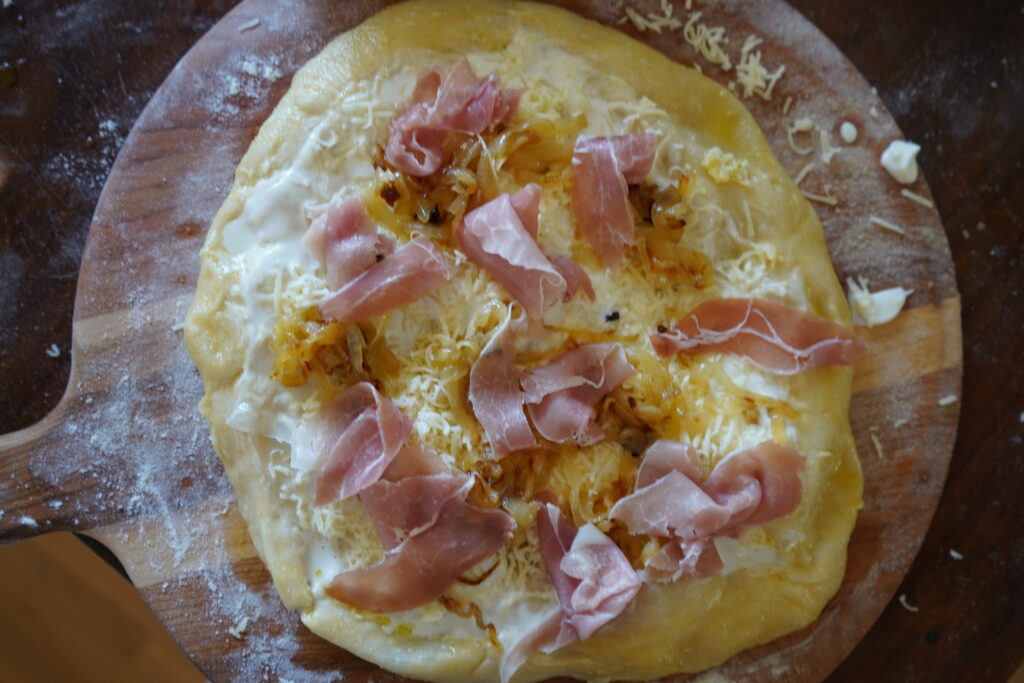
- You are finished!! Enjoy your Sourdough Pizza Dough!!!
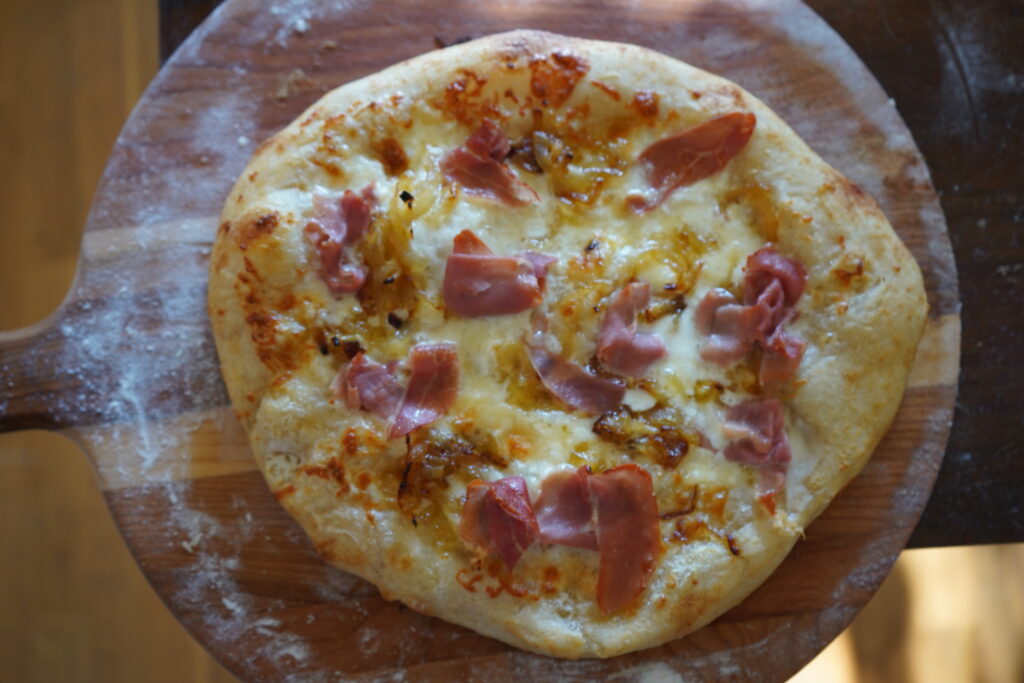
Toppings:
My favorite toppings for pizza is a classic red sauce with fresh mozzarella and basil.
My husband’s favorite is the creme fresh, caramelized onions, gruyere cheese and prosciutto.
Choose whatever feels right to you!
Questions/Comments:
I hope this tutorial on how to make sourdough pizza dough and that it served you.
Let me know what you topped your pizza with!
I want to say that I love hearing from each and every one of you. So, please feel free to comment below if you have a question, or if you just want to say hi!
Don’t forget to share your creations on Instagram and tag me so I can see your delicious pizza’s!
Thank you so much for being here! I appreciate you all and your support!
Other bread recipes:
Sourdough Pumpkin Muffins – These are moist and perfect with added chocolate chips!
Stuffing made with Sourdough – This is an all year round kinda thing.
Milk & Honey Dinner Rolls – They are so pillowy and delicous!

Sourdough Pizza Crust
Ingredients
- 150 g Active Sourdough Starter
- 10 g Salt
- 2 Tbsp Extra Virgin Olive Oil
- 500 g All Purpose Organic Flour – I use King Arthur
- 350 g Warm Water
To activate starter:
- 100 g starter
- 25 g warm water
- 25 g organic bread flour
Instructions
To activate starter:
- -In the afternoon take your “mother” [the starter you always keep] out of the fridge and allow her to get to room temperature.
- -When your mother is at room temperature take a separate glass jar and pour 100g or starter into that jar. [Feed your mother as usual and allow to full activate before storing in the fridge].
- -In your new jar with starter, add 25g flour and 25g warm water. Mix well with a rubber spatula. Put a lid and then wait for it to reach peek activity. You will see a lot bubbles. [As pictured above].
- -It could take 2-4 hours to reach it’s peek, depending on how cool/warm your house is.
- You can start the dough the same time you mix the starter and just let the dough sit until the starter is ready.
Start the dough
- First we are going to add our flour to our mixing bowl, followed by salt then our warm water.
- Now you will add your olive oil.
- Mix that well and when your starter is ready, add your starter to the dough. Mix until completely incorporated.
- Cover your bowl with plastic wrap and let it rest for one hour.
- After the hour of rest, stretch and fold the dough 4 times, cover and let rise overnight.
The next morning:
- In the morning place the dough bowl in the fridge until 30 minutes before you are ready to work it. (When you decide to eat)
- Take out the dough from the fridge 30 minutes before you’re ready and preheat the oven to 450f.
- Now you will either add your baking steel to the oven and let it get hot or the lodge cast iron pan.
- If you are using a baking tray, you don’t need to heat it before.
- Flour your work surface and pour your dough out onto the flour.
- Now you will lightly flour the top of the dough and preform more stretch and folds. Do this 4 times.
- Allow the dough to rest 20 minutes before stretching and folding again. Let it rest an addition 20 minutes.
- Cut your dough into 2 or 4 pieces, depending on how large you want your pizzas. I chose to make 4 smaller ones.
- Shape the dough into balls and let them rest for 10 minutes.
- Now we are going to shape our dough. One way of doing it is shaping it by hand, stretching and using your hands to pull the dough. [As pictured above].
- Another way if you want it a bit thinner is to flour your counter and flour the dough there and push it with your hands and then use a rolling pin to gently flatten it out.
For baking steel:
- Slide the dough onto the hot steel that’s in the oven. Pre-bake for 3 minutes.
- Remove by sliding the dough back onto the wooden board and add your toppings. Place back on the baking steel and cook until it’s ready, 5-8 minutes. You can broil the top at the end if you wish to get the blister on the crust. I don’t have a top broiler so I don’t.
- Slide the pizza back onto the wooden board and let the pizza cool a bit before slicing it so you don’t burn your mouth.
For cast iron:
- Place the cast iron pan in the oven and allow it time to get hot.
- Remove the pan from the oven and put the dough on it and then put it back in the oven for 3 minutes.
- Remove it from the oven and add your toppings. Cook for about 8-15 minutes until all the toppings are cooked. You can turn on the broiler the last few minutes to get blisters on the crust.
- Take the pan out of the oven and use a spatula to slide the pizza off onto a cutting board.
- Give it a moment to cool a bit before cutting and eating.
- For baking sheet & parchment paper
- Line a baking sheet with parchment paper and stretch the pizza dough out over it.
- Place it in the preheated oven and allow it to pre-bake for 3-5 minutes.
- Remove it from the oven and add your toppings. Cook for 15-20 minutes, maybe even 25 depending on your toppings! You can turn on the broiler the last few minutes to get blisters on the crust.
- When your toppings are all cooked through take the pizza out of the oven and lift the pizza by the parchment paper and place it on a cutting board.
- Give it time to cool a bit before cutting into it.
- You are finished!! Enjoy your Sourdough Pizza Dough!!!