

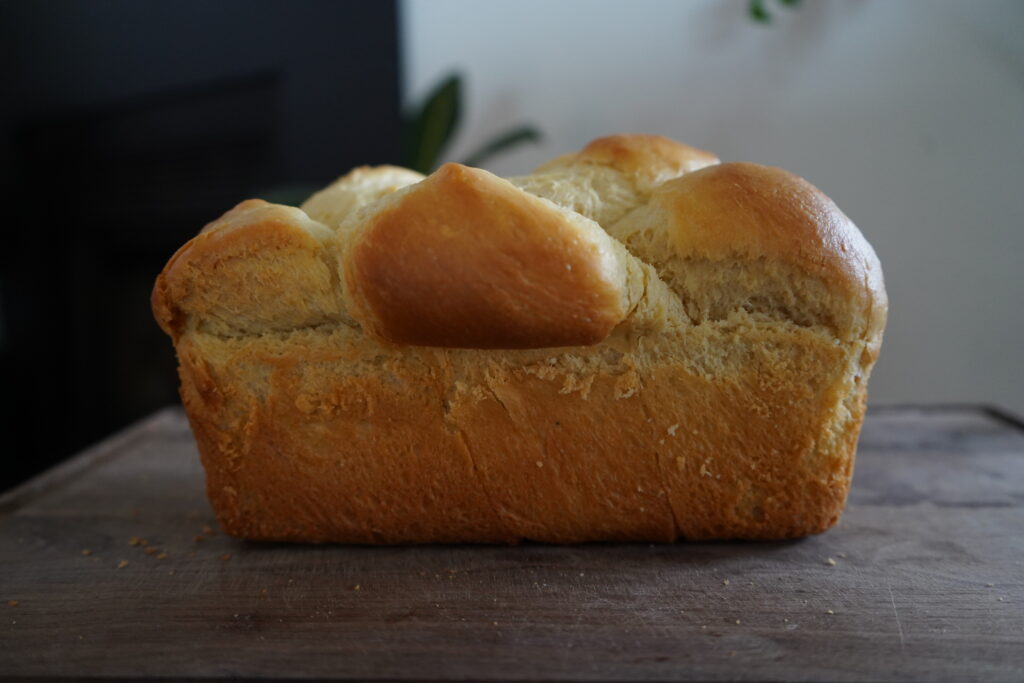
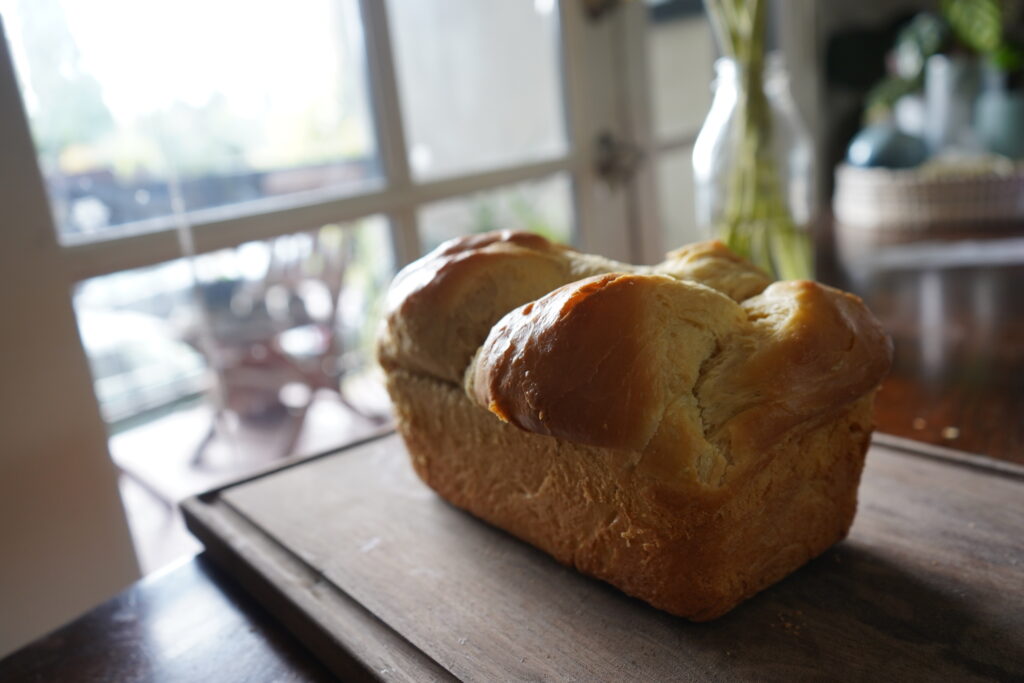
Homemade Brioche might just be my favorite bread!
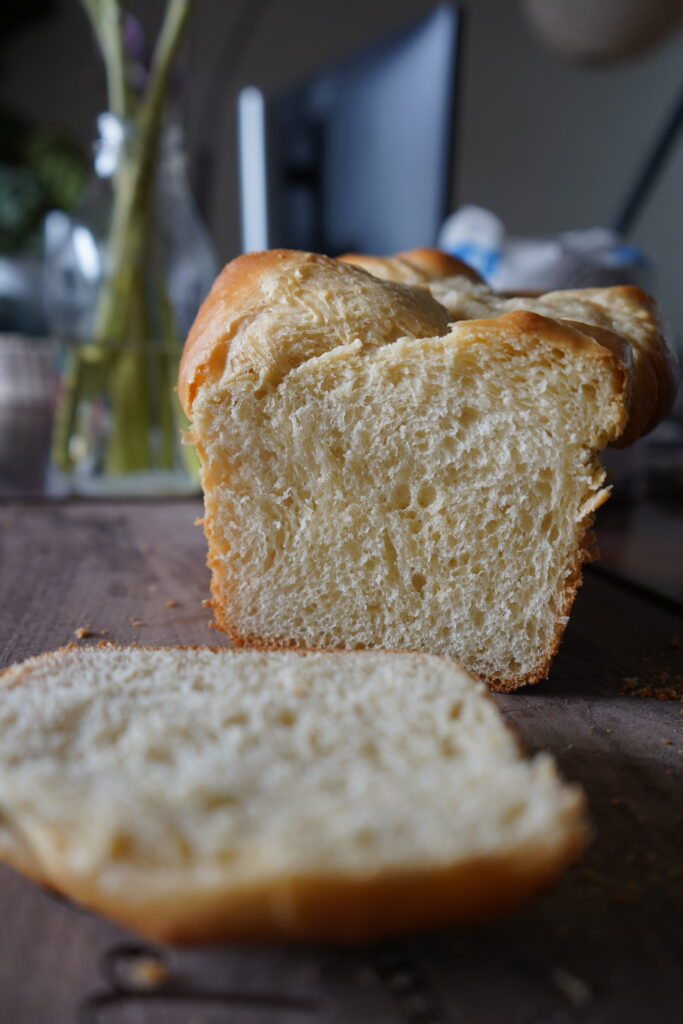
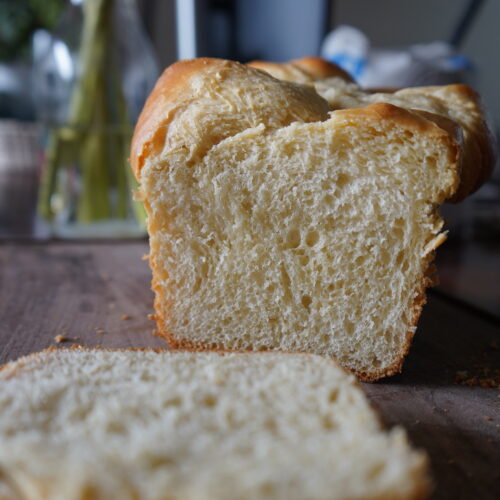
Learn how to make homemade brioche with this recipe! Brioche is a rich, buttery bread with a soft, tender crumb and a slightly sweet flavor that’s perfect for any occasion. Made with simple ingredients like eggs, butter, flour, and a touch of honey, this bread is definitely more of an involved recipe but completely doable. Whether you’re enjoying it fresh from the oven, turning it into French toast, or serving it alongside savory dishes, this homemade brioche will elevate your baking and whatever meal you have prepared!
Serving up bread at the Table
This bread series is almost at an end!! It has been so fun learning so much and being able to transfer what I learn to you! Brioche was something I would make often when I lived in Canada, but since moving back to the states I hadn’t made it once. So, this was a necessity to re-learn and then teach you all.
With all that to stay, let’s move on to my links and where you can find me (more below).
I am now an Amazon affiliate so want to disclose that I do have links to products I use in case you guys are curious! Now here’s the part where I drop all my links to my socials for you. Appreciate you!
The first stop is always IG. IG is my stomping grounds, I am there most often to talk on my stories and respond to DMs and comments. So, if you ever want to get in touch with me, my DMs are a great place to go! Also, if you have a bread question hit me up.
Pinterest is the best place to save these recipes. You can put them in a folder and keep it all organized!
The final spot, where big things are happening… YouTube. I am starting long form content on there and will be doing tutorials on cooking. Super excited about this and would love to see you over there.
Why Brioche
II have a better question… Why not brioche? Why not homemade brioche, warm, buttery, and straight from your oven? Many of my recipes are inspired by my husband, Adrien. He’s my biggest source of encouragement, and his influence touches so many parts of my life, far beyond the kitchen.
That said, food is one of the ways we connect the most, and Adrien has a special love for brioche. It’s one of his favorite breads, so naturally, I had to make it for him. But let me tell you, it wasn’t smooth sailing at first! The first time I tried making brioche, I failed—not once, not twice, but three times. I was so caught up in overthinking every step, trying to make it perfect, that I lost sight of just enjoying the process.
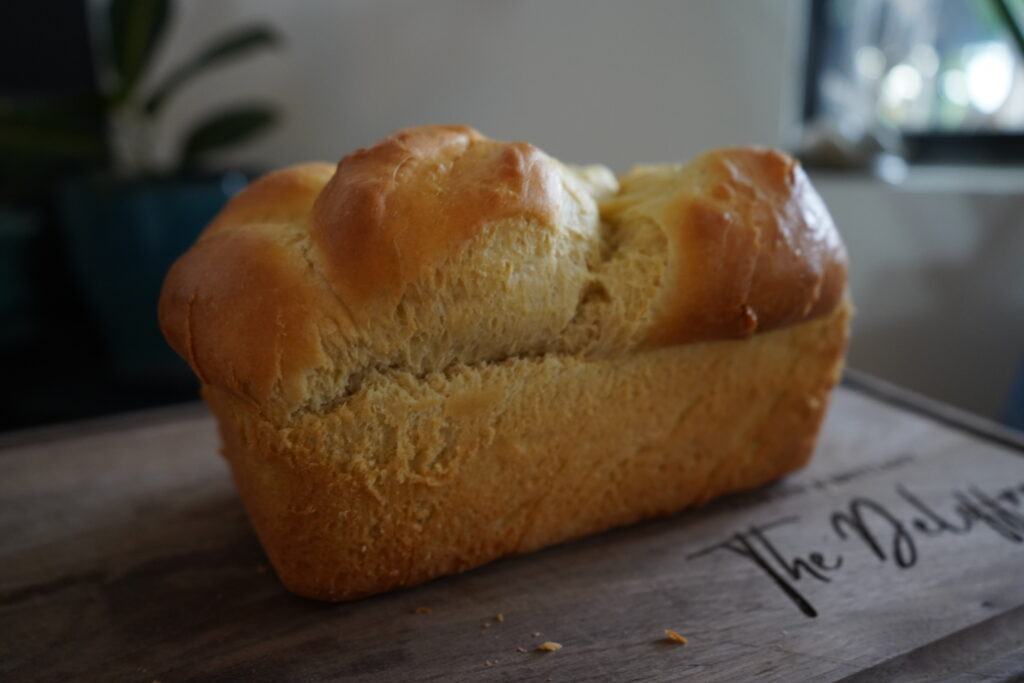
But I didn’t give up, and neither should you! Brioche is one of those recipes that can seem intimidating, but if you take it step by step and follow the photos and instructions carefully, I promise you’ll get it right. And the payoff? So worth it. There’s nothing like the smell of freshly baked brioche filling your home or the joy of slicing into that fluffy, golden loaf.
Next time I make this, I’m going to add chocolate, because let’s be real—we’re chocolate people in this house! Chocolate brioche sounds like the perfect upgrade, and I can’t wait to try it. Maybe that’ll be the next recipe you’ll see here!
Things you may need for this recipe:
- Bread Pan – I use a glass one but a ceramic one will also work!
- Quality Bread Flour – I use King Arthur Organic Bread Flour
- Baster – I use a silicone one! Here.
- Cooling Rack – Bite the bullet, you will need this for all your baking endeavors.
- Ceramic or Glass Mixing Bowels – Glass or Ceramic keeps temperature better and allows for a better rise.
- Silicone Spatulas – Another must have item! It will make your life easier.
- Active Dry Yeast – This is necessary for this recipe and you will not be able to make it without it!
Where did the brioche originate?
Brioche originated in France, and its history dates back to at least the 15th century. This rich, buttery bread is a classic example of French pastry-making, combining elements of bread and cake. Its luxurious texture and flavor come from the high content of butter and eggs in the dough, setting it apart from other breads.
The name “brioche” is believed to derive from the Old French word brier, meaning “to knead.” It takes a good amount of kneading, so this makes sense.
It was historically associated with celebrations and special occasions, symbolizing indulgence and abundance. Then it became a beloved staple in French cuisine.
Brioche is cherished worldwide, with endless variations, from savory to sweet.
The Recipe:
Ingredients:
- 4 1/2 Cups Organic Bread Flour
- 6 Eggs – Room Temperature
- 1 Cup Unsalted Butter
- 1 Tbsp Active Dry Yeast
- 1/4 Cup of Honey
- 1 1/2 Tsp Salt
- 1/2 Cup Warm Water
Method:
The Afternoon before:
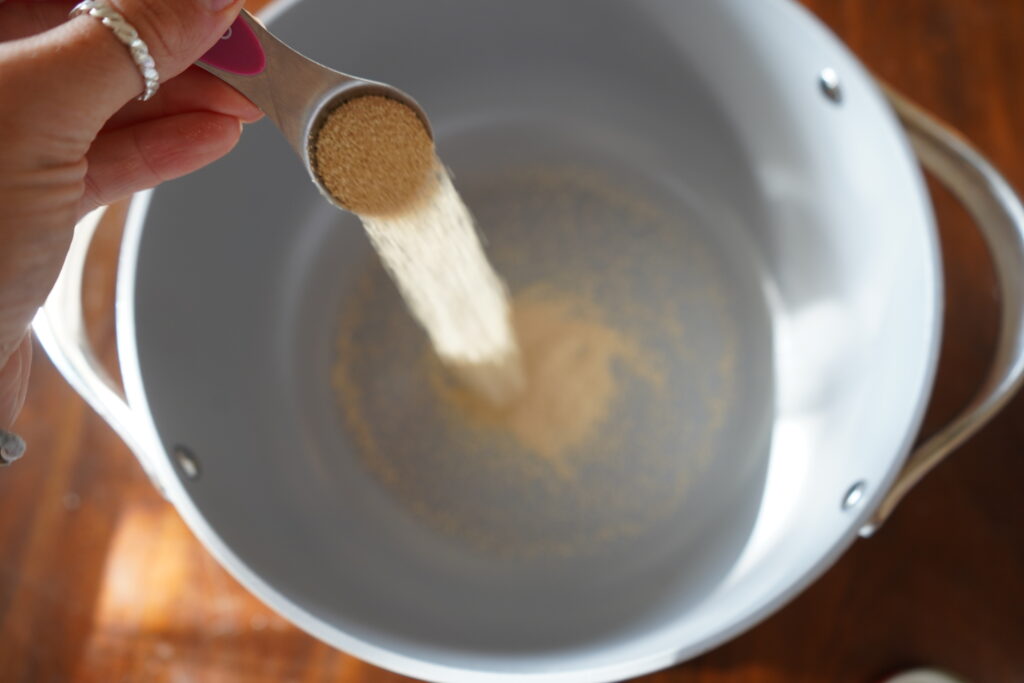
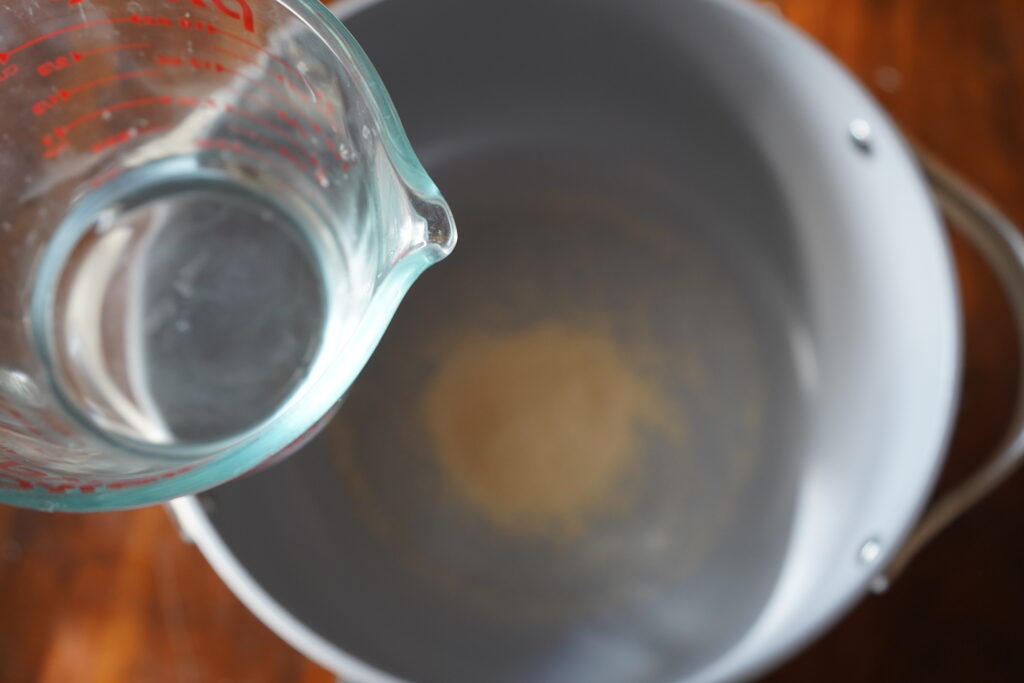
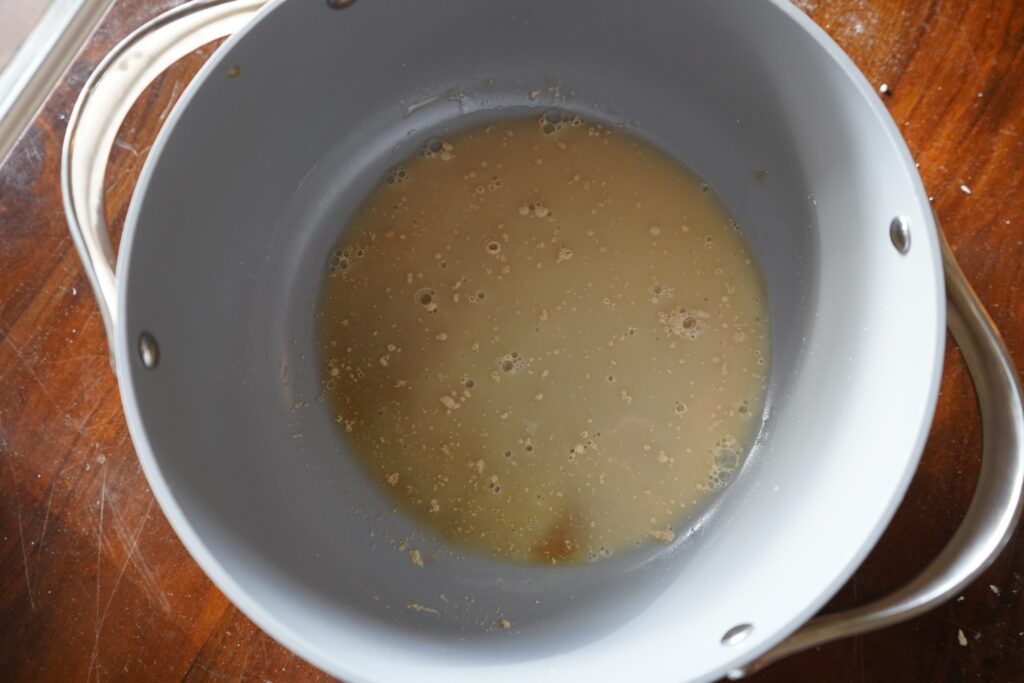
- In a large mixing bowl add active dry yeast and warm water.
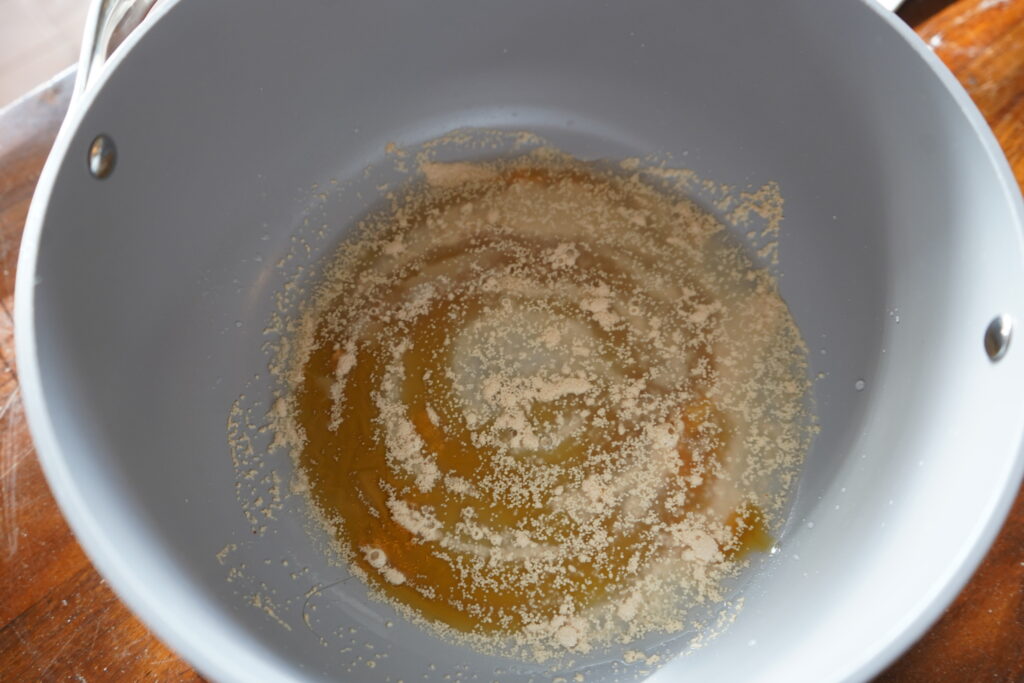
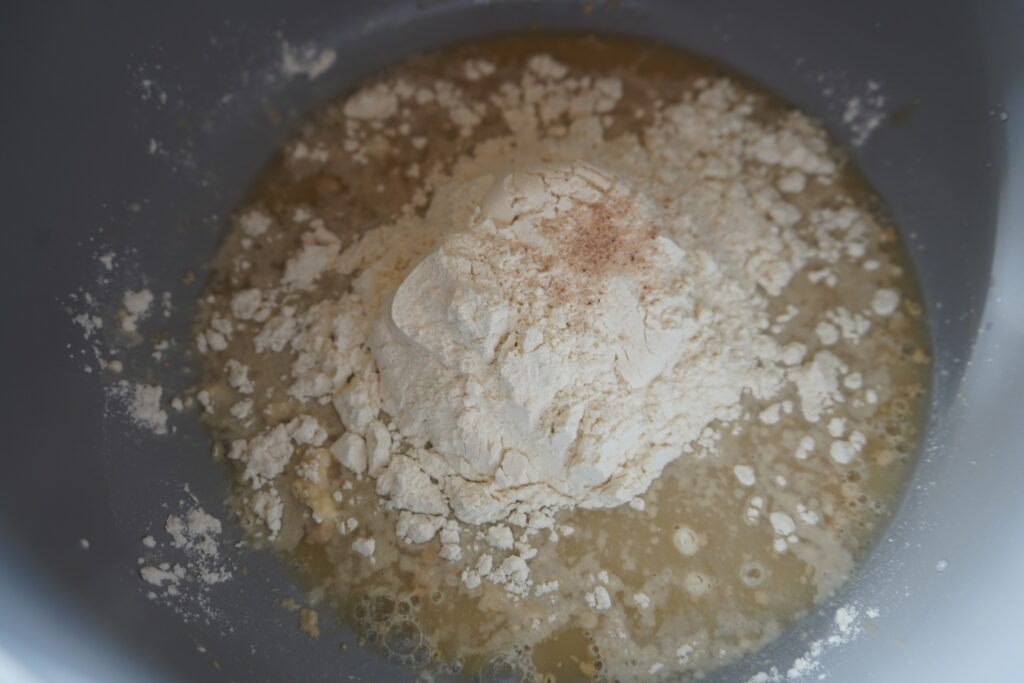
- In the same mixing bowl, your honey and mix well. Then add directly in, 1 cup of flour and 1 1/2 tsp of salt.
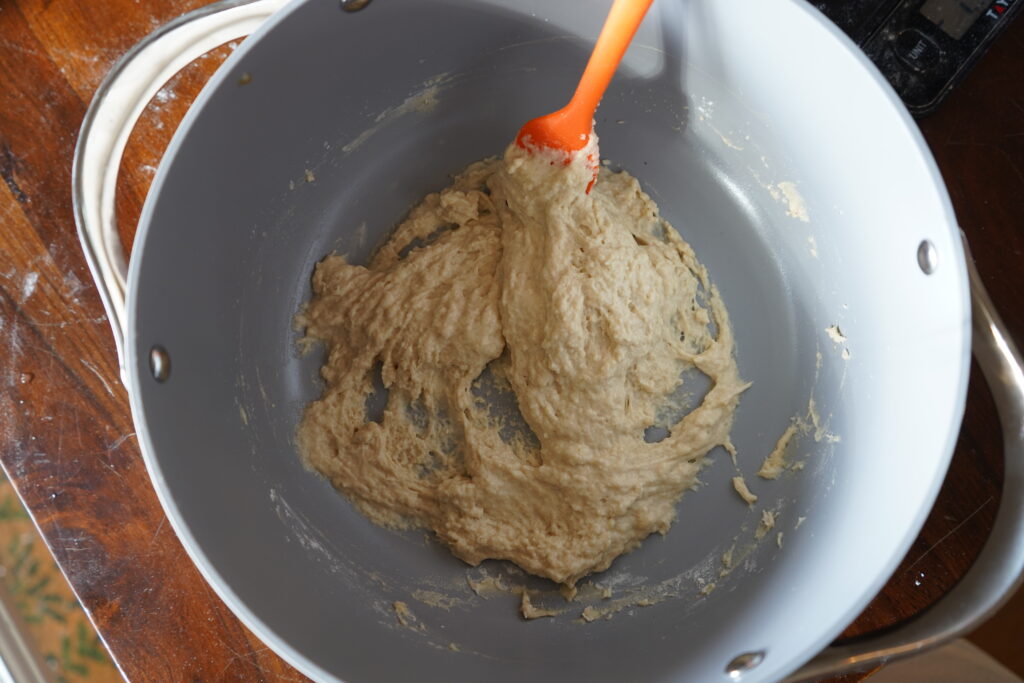
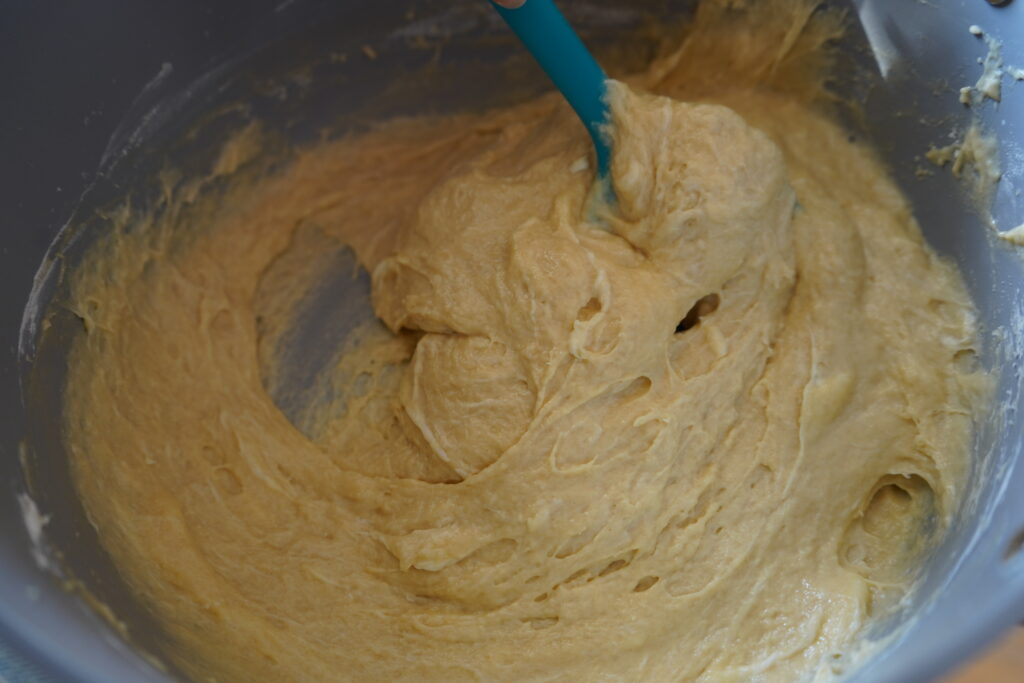
- Mixed those ingredients well until it forms a kind of paste. [Pictured above].
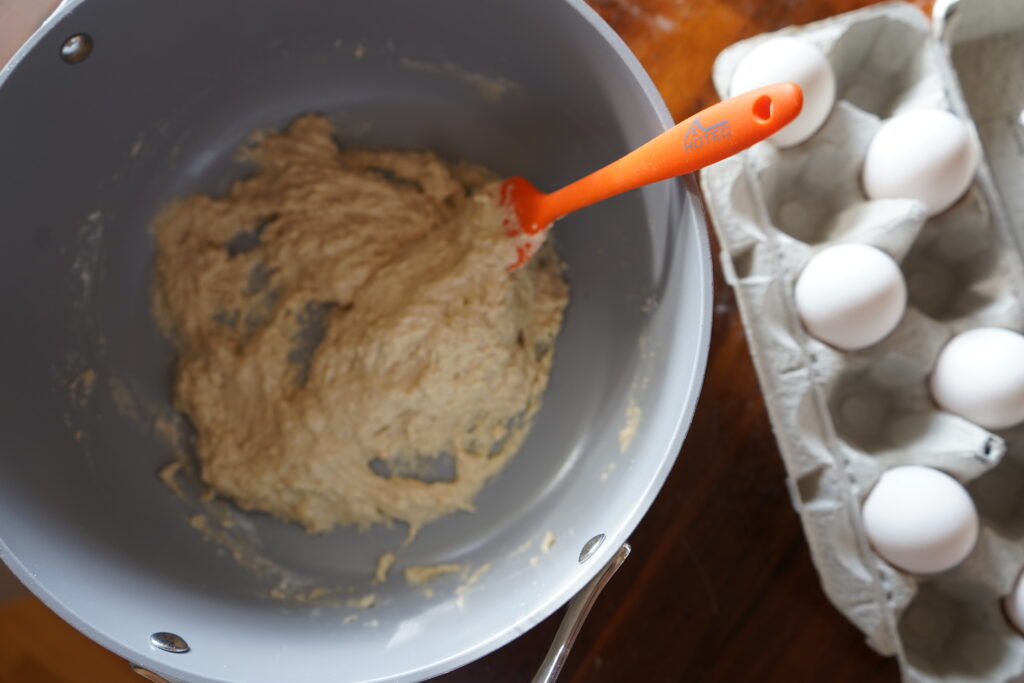
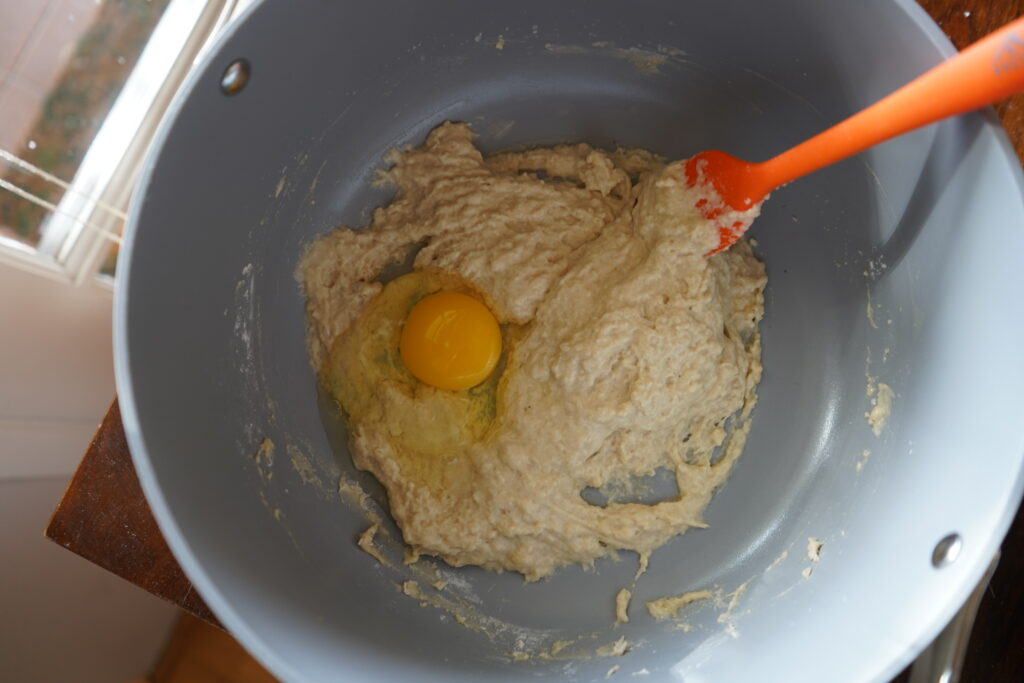
- Now we are going to take our 6 eggs and add one egg. Incorporate the egg fully before adding the next egg. It will start out being a bit difficult to mix in fully to the dough but gets easier as you go.
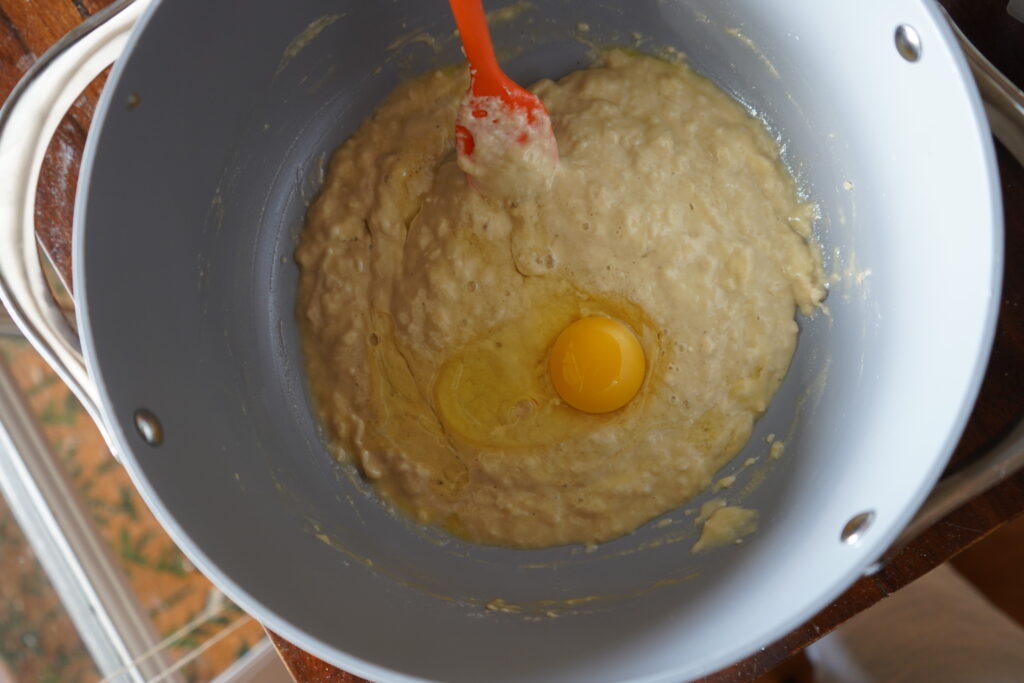
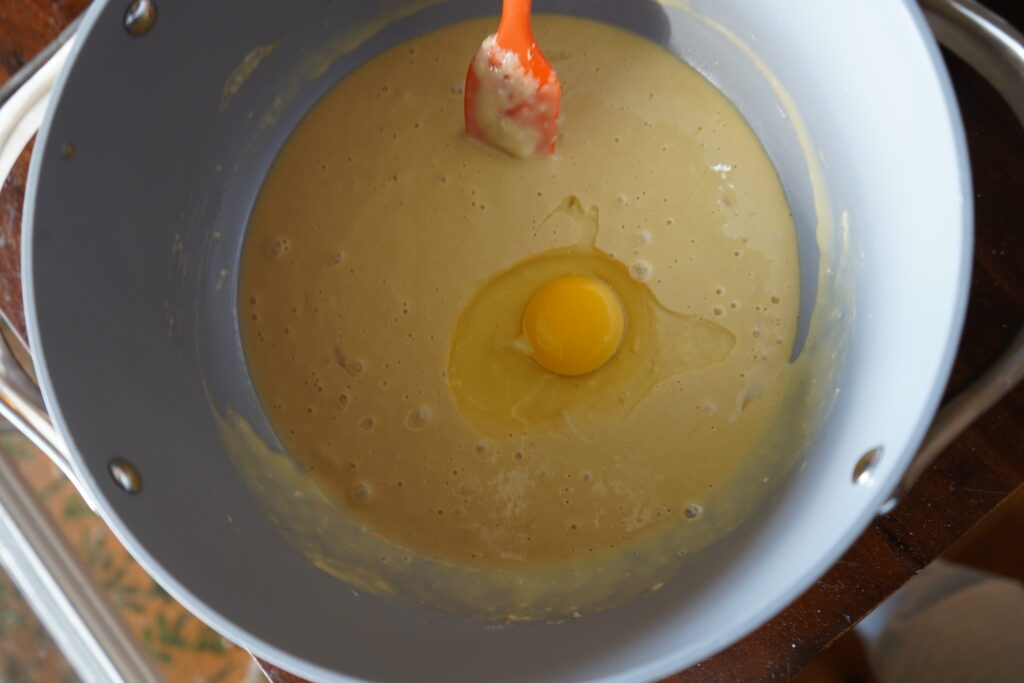
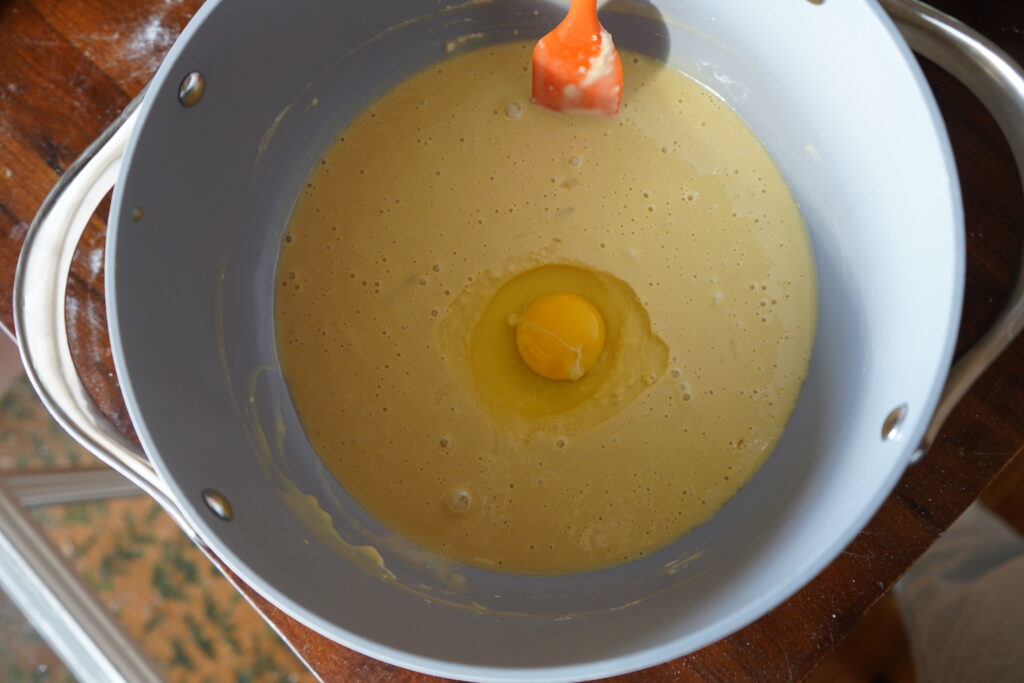
- As you continue to add the eggs the dough will get more and more liquid. This is normal. [Above in the first image you see the second egg in the bowl, the next image is the 4th egg cracked in and the last egg is the 6th, for reference].
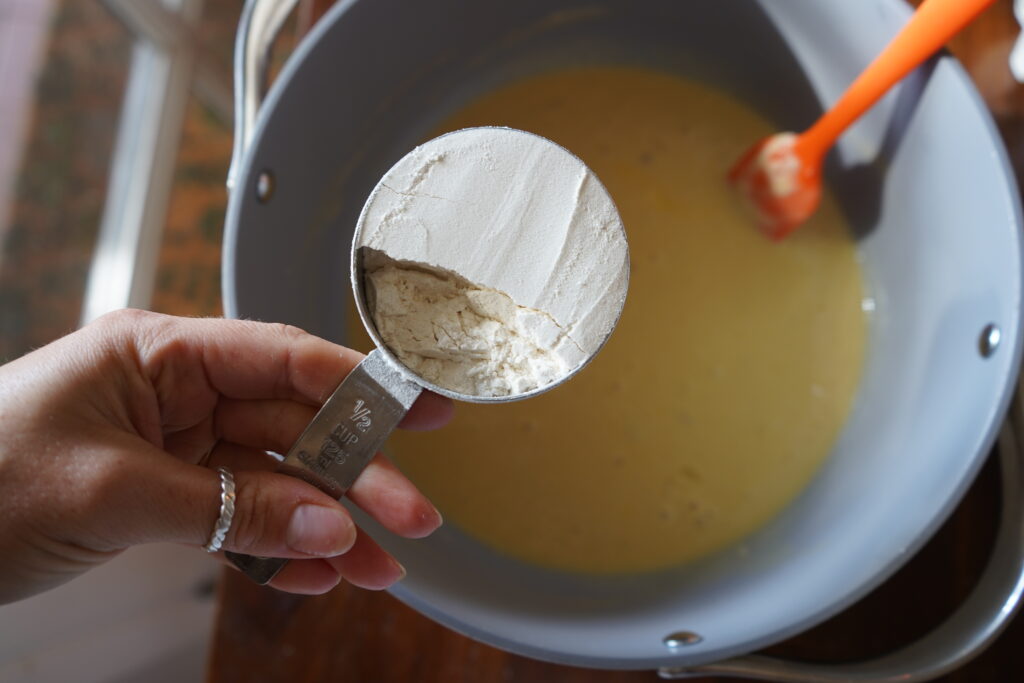
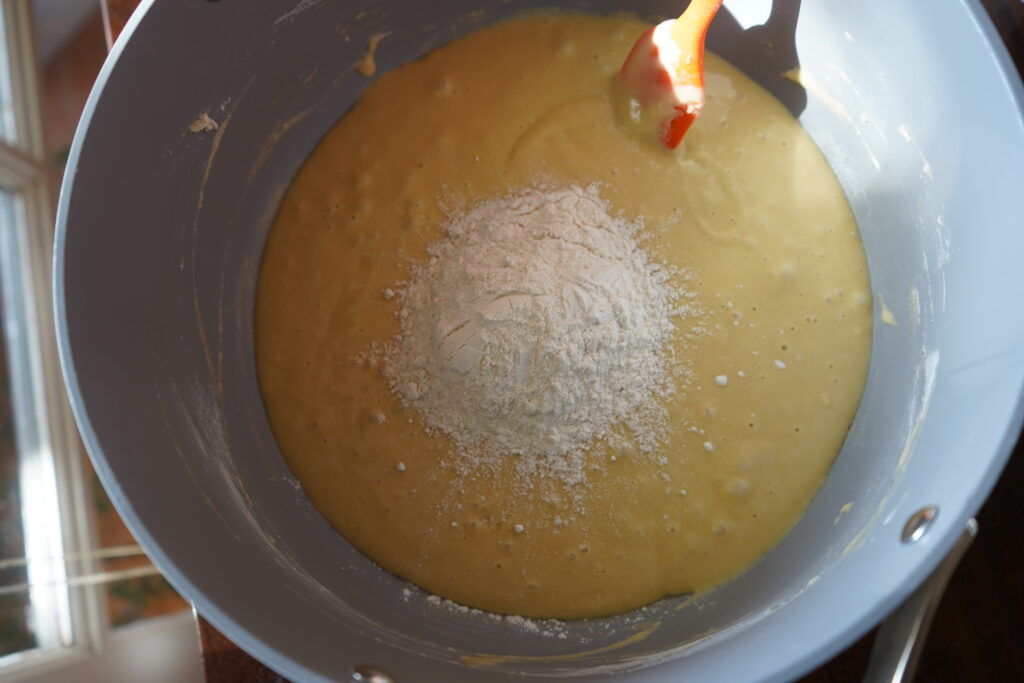
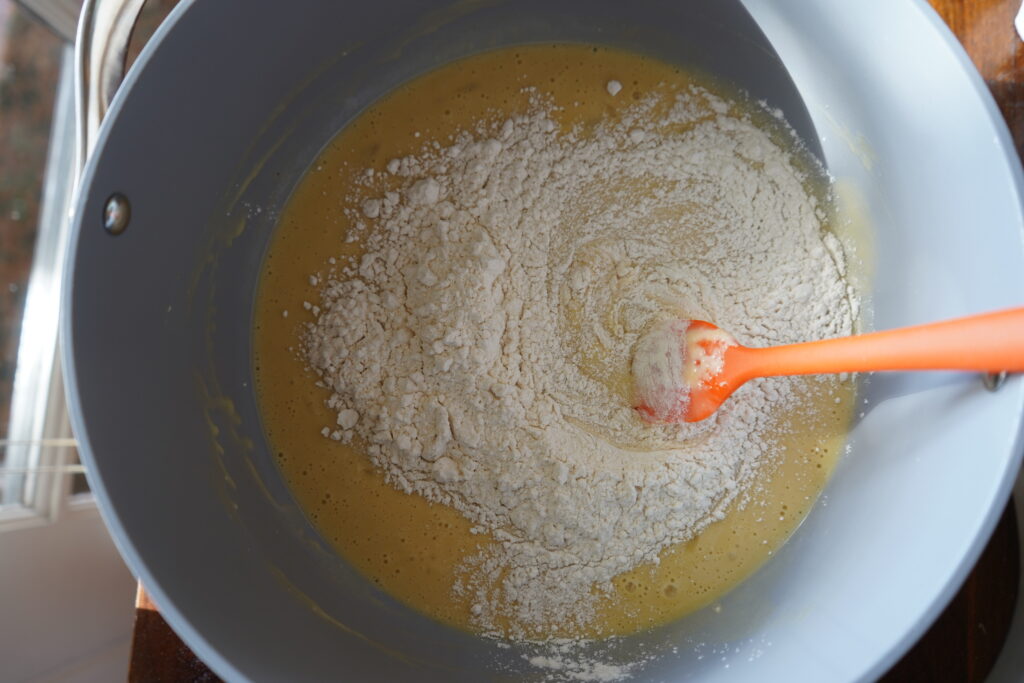
- Add 2 cups of your flour 1/2 cup at a time. Mix completely before adding the next 12.

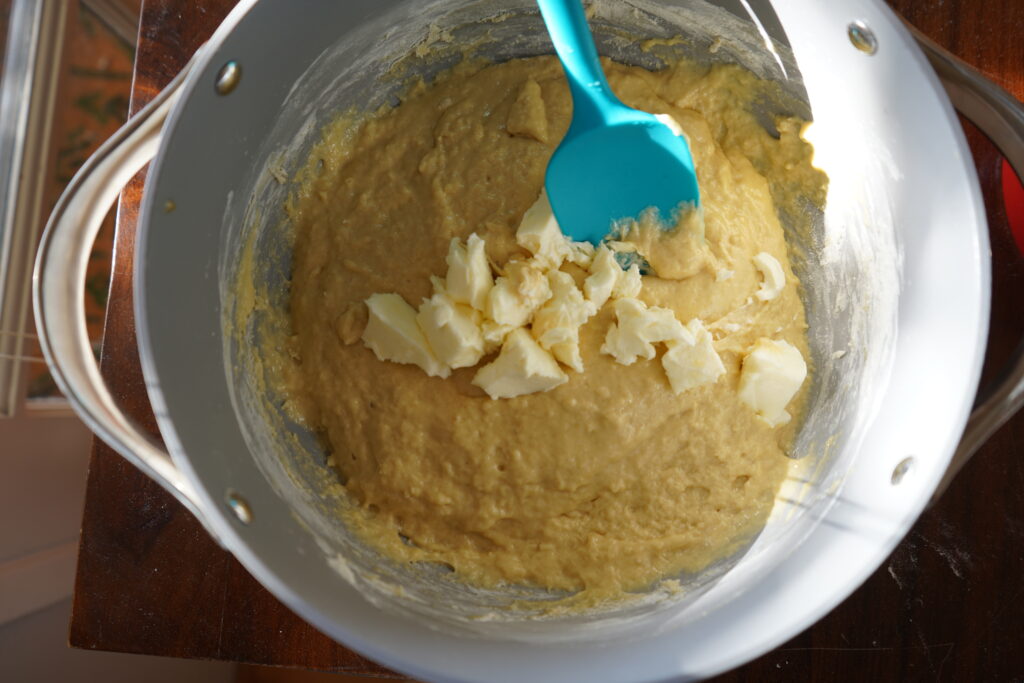
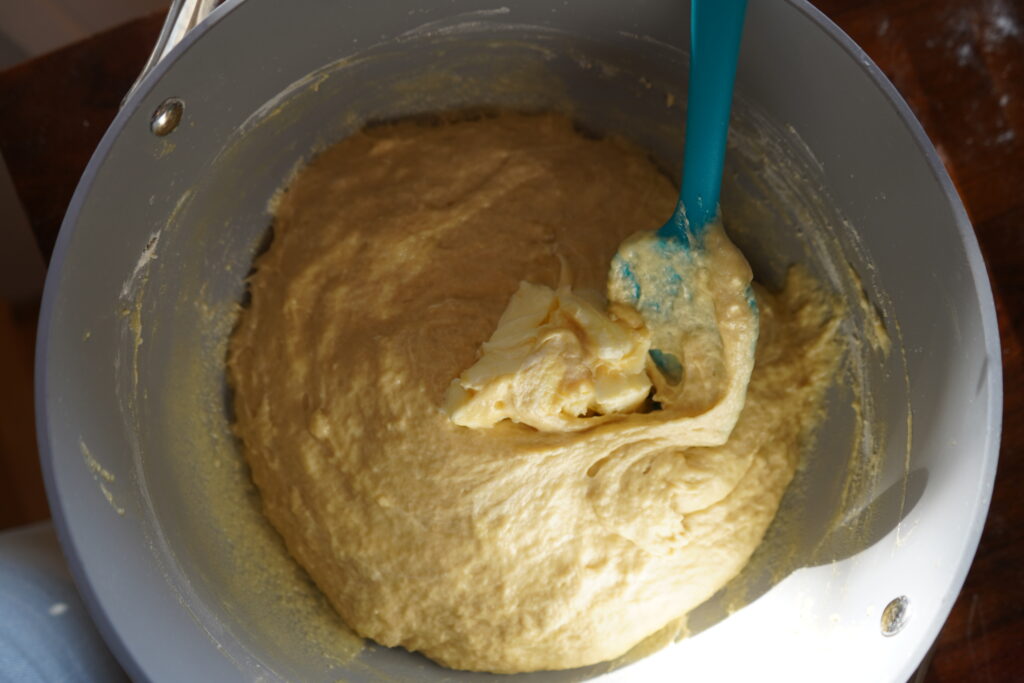
- Cut your softened butter into cubes, split the butter into 3 piles and add 1 pile of butter to the dough at a time until incorporated fully. Repeat this step until all the butter is mixed in.
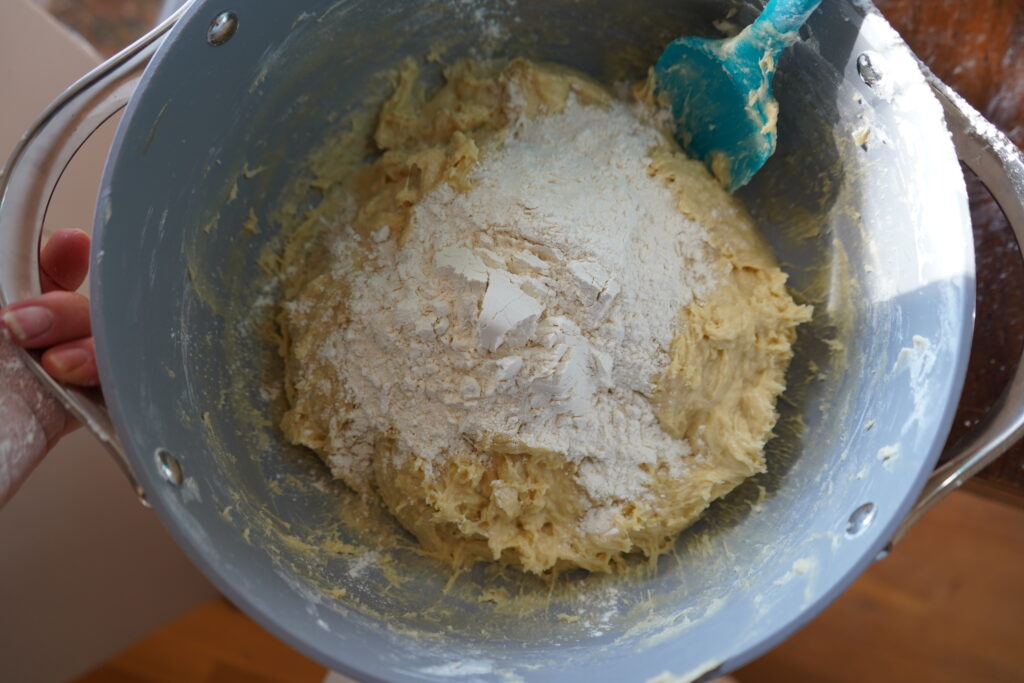
- Once all your butter is mixed in you are going to add the rest of your flour (1 1/2 cups) mixing 1/2 a cup at a time until fully combined.
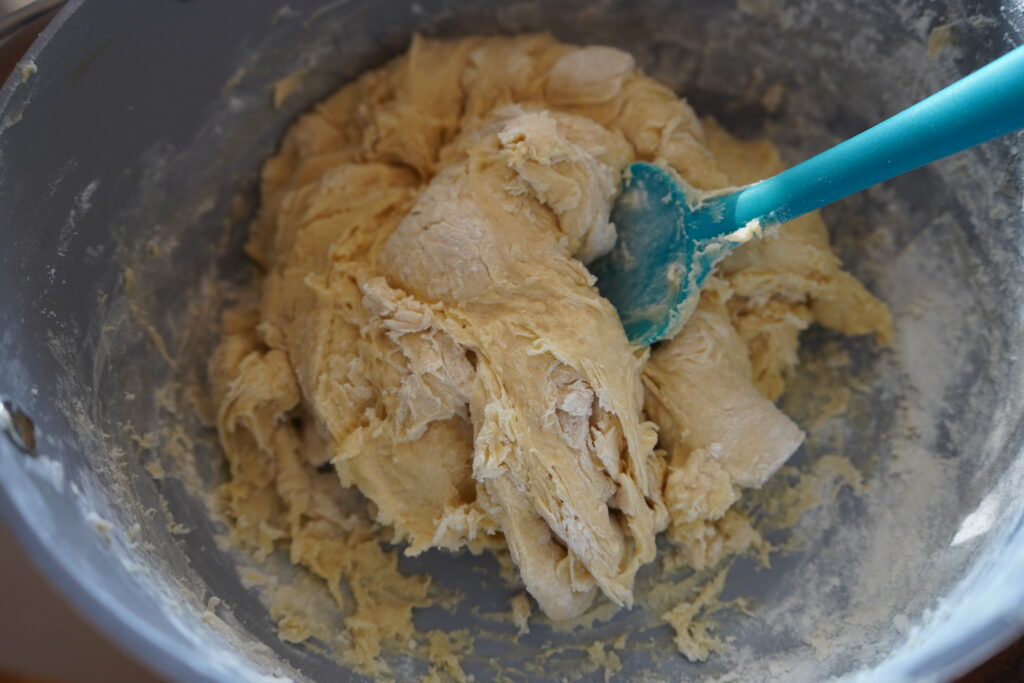

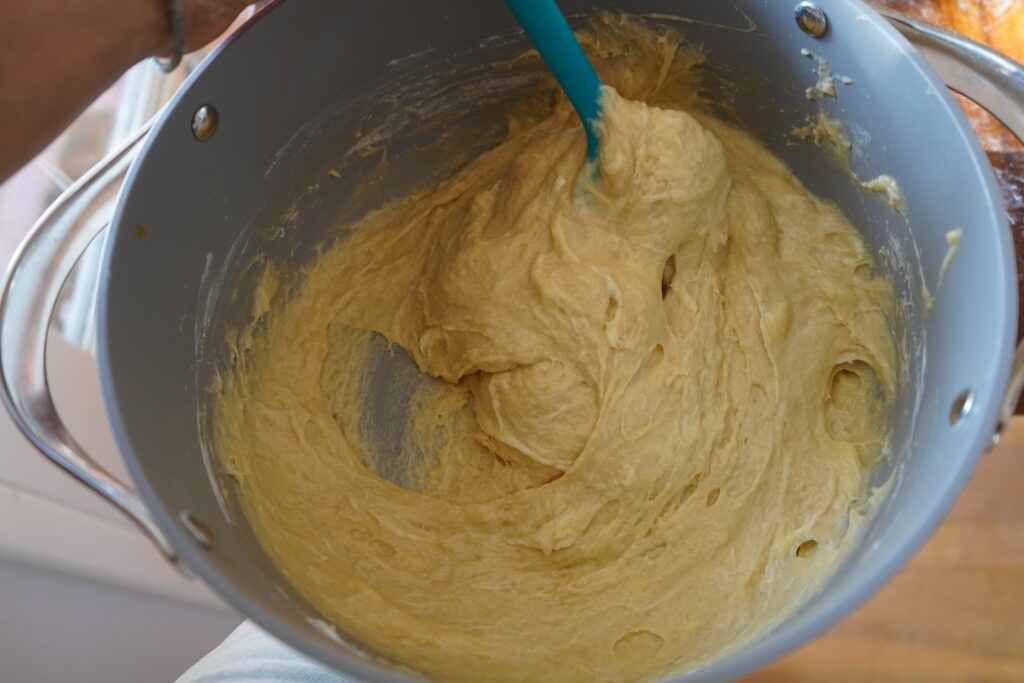
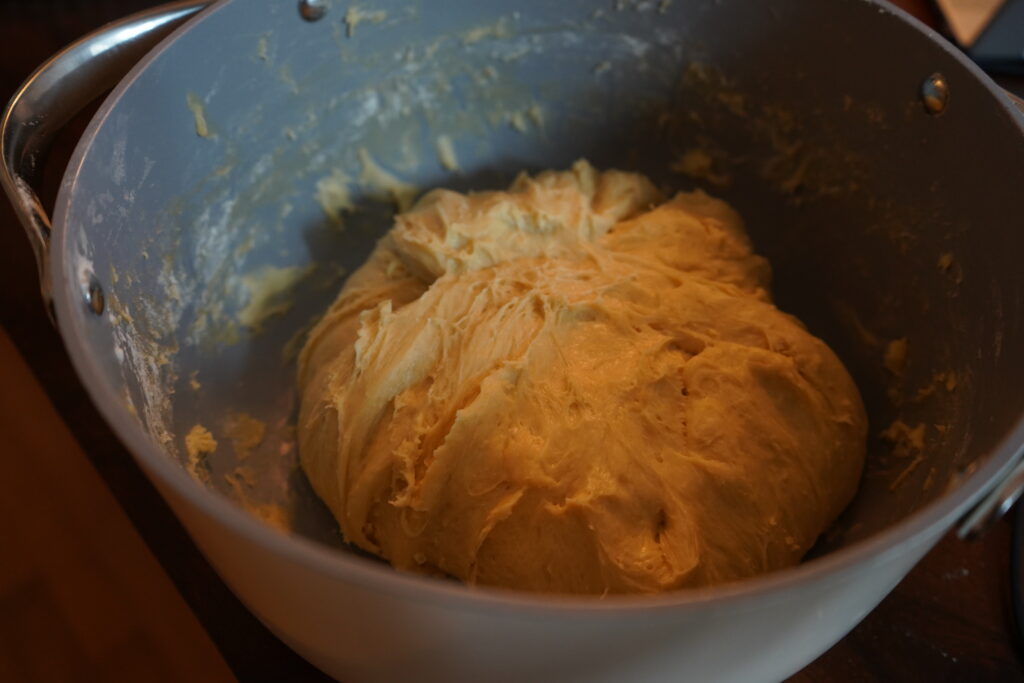
- The dough can feel hard to work but just keep kneading it until its all incorporated. The dough will be a sticky ball at the end.
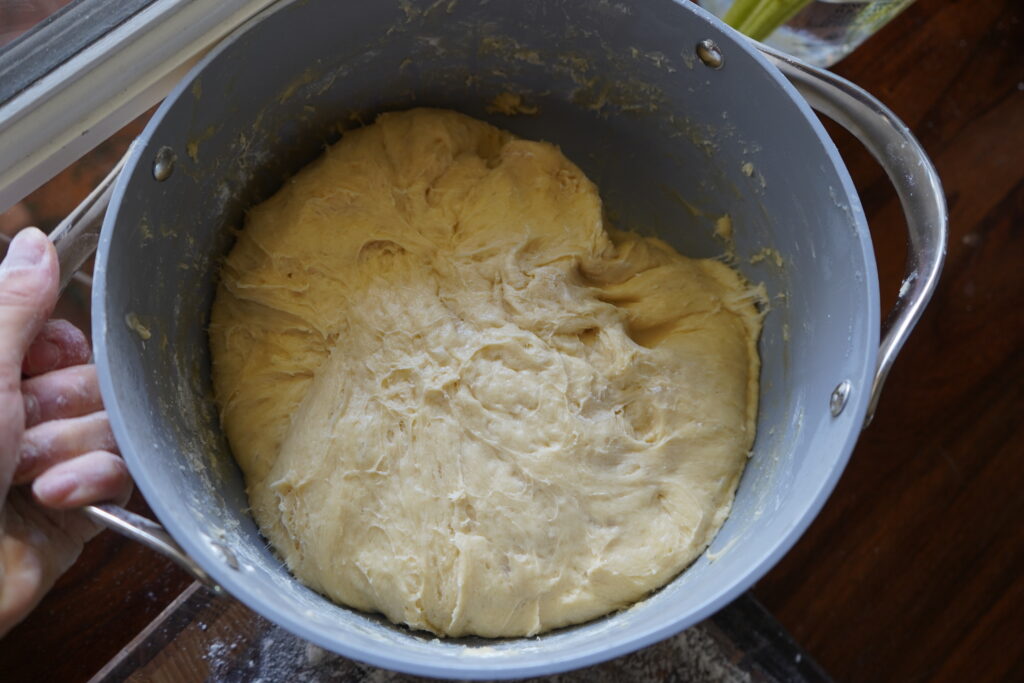
- Cover with plastic wrap and let it rise until it doubles in size, about 3 hours.
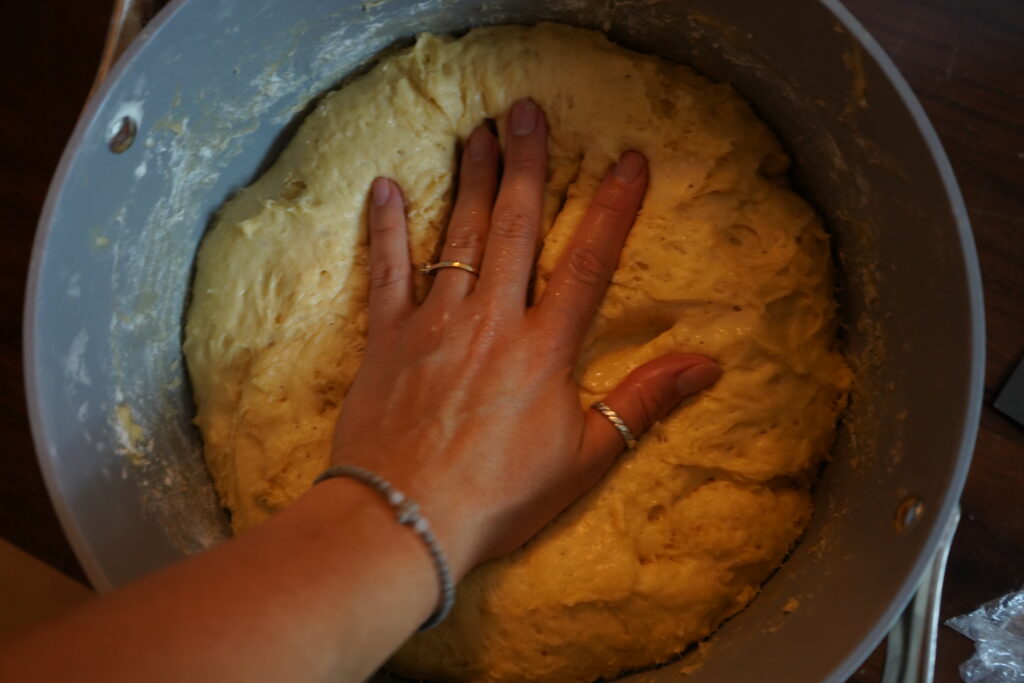
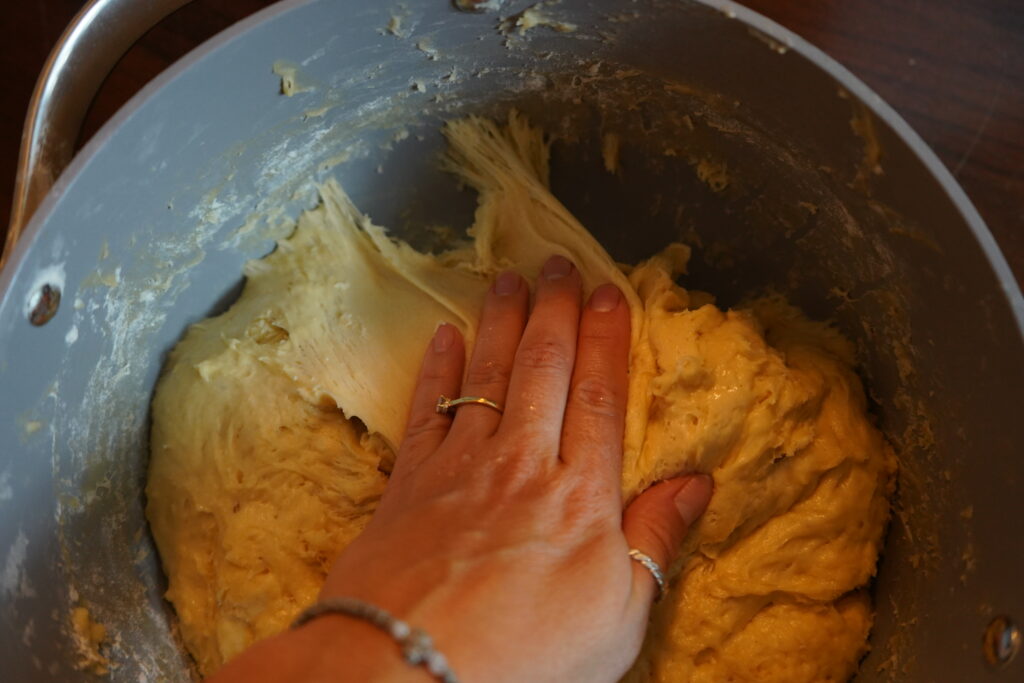
- Once the dough has risen, remove the plastic wrap and deflate the dough with your hand. [Make sure you get a little water on your hand so it doesn’t stick.] Pull the dough slowly away from the sides and make a ball. It will be sticky.
- Cover with plastic wrap and put the bowl inside the fridge until the next morning.
The Next Morning:
- Allow 2-3 hours for your dough to reach room temperature before you try to work it.
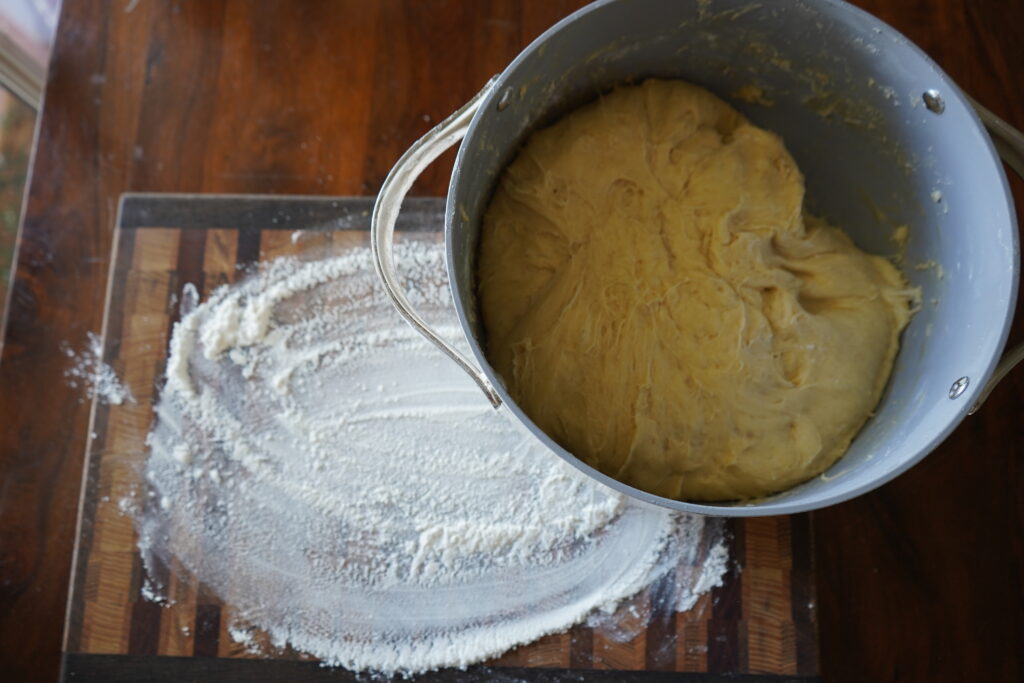
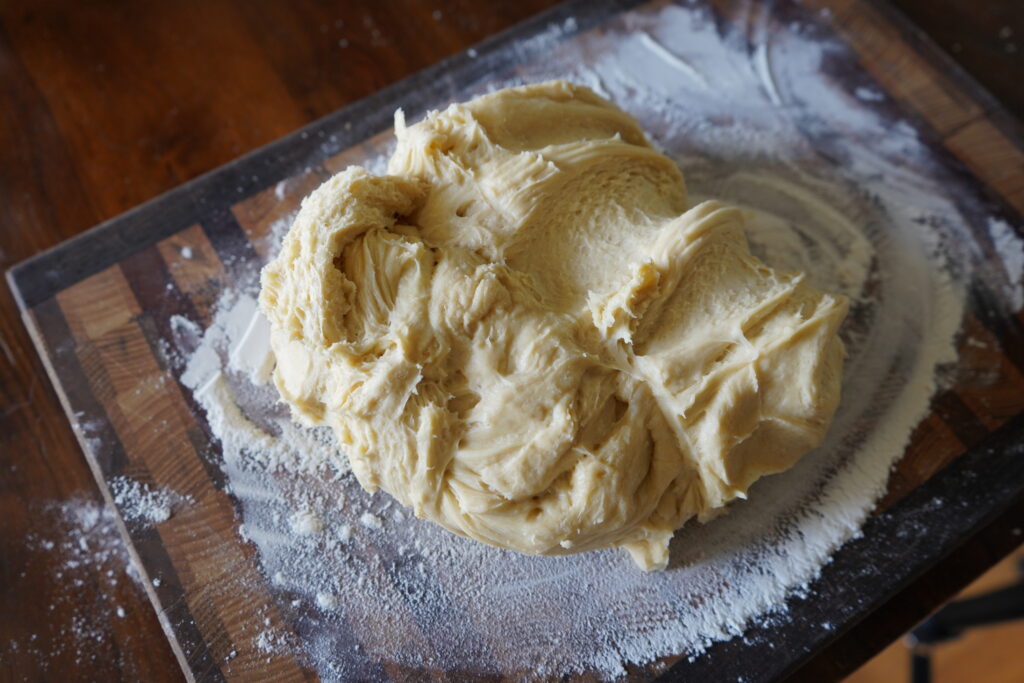
- Once your dough is room temperature, deflate it again, scrape the sides down and dump it onto your floured surface.
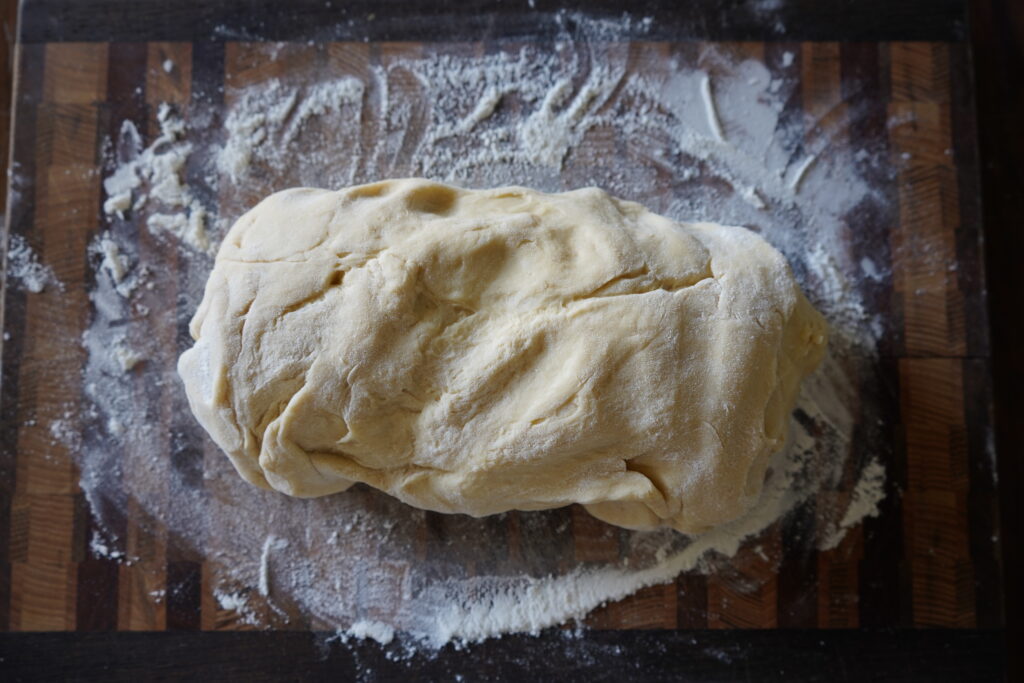
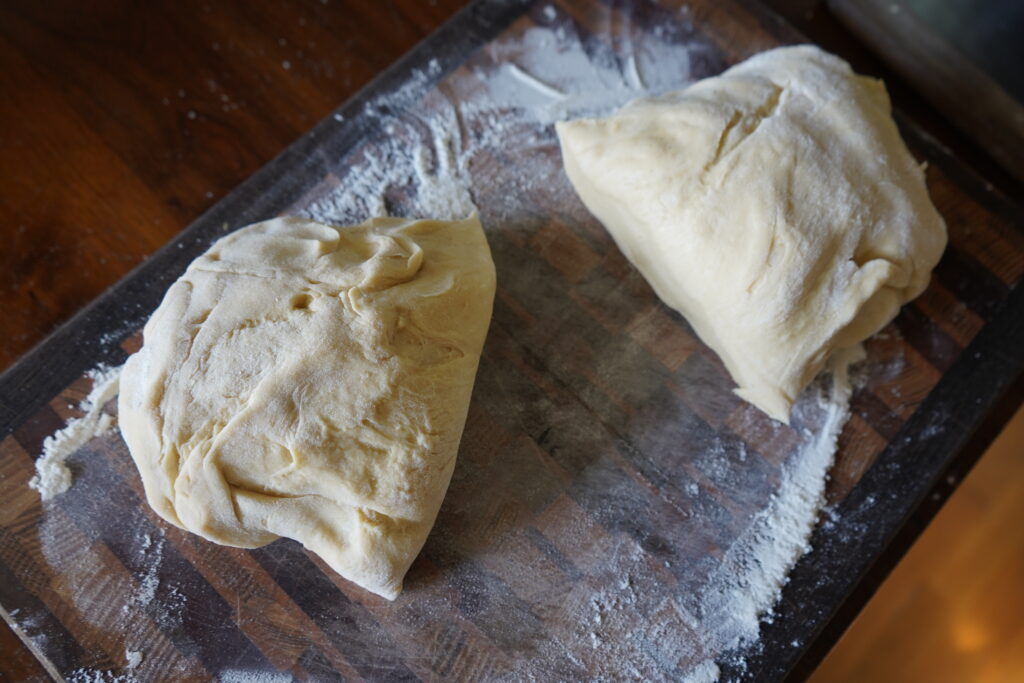
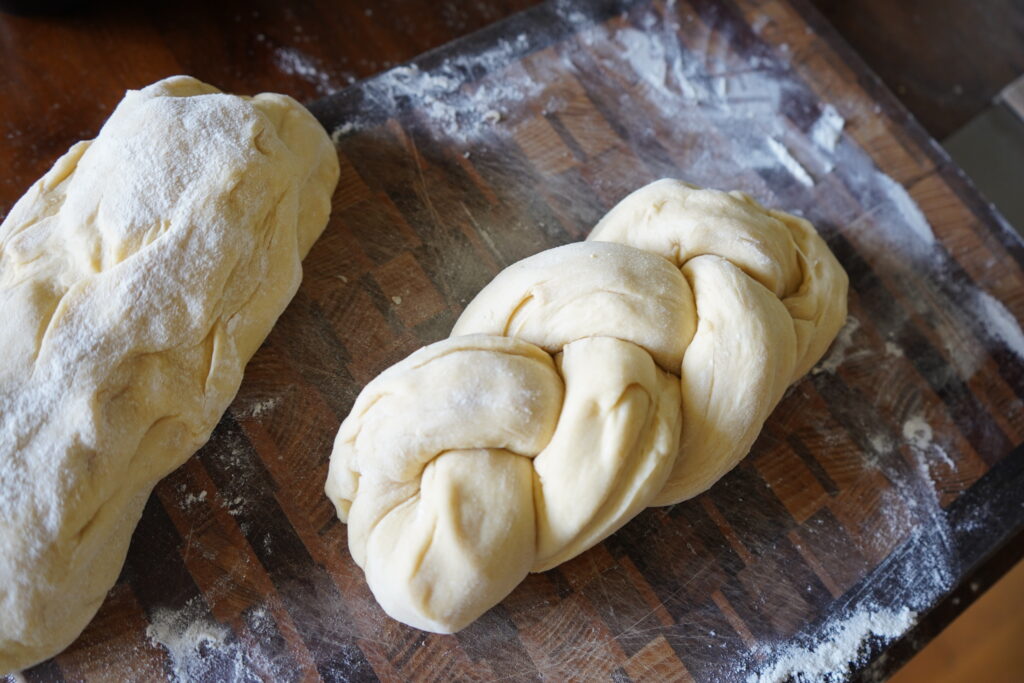
- Lightly flour your dough and make it into an oval shape. Split it in two.
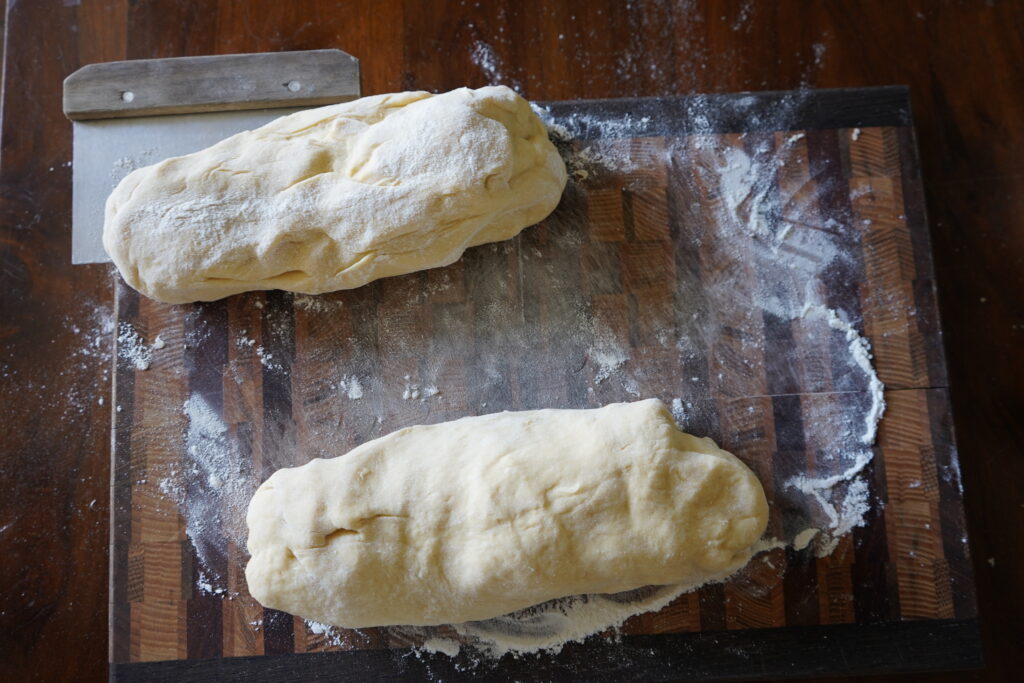
- Make both pieces into oval shapes.
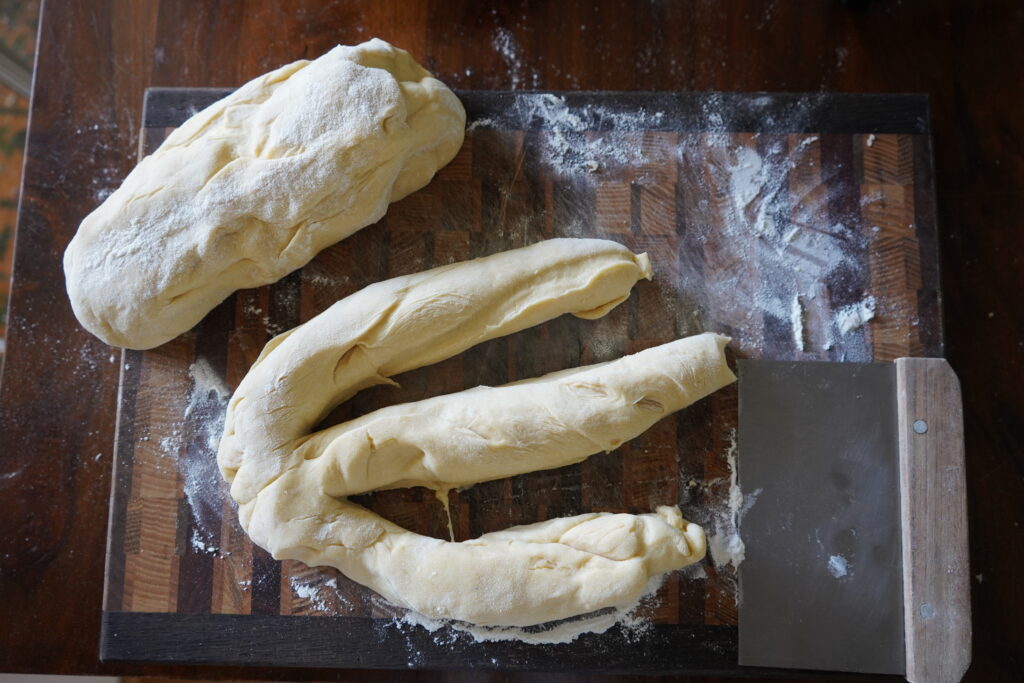

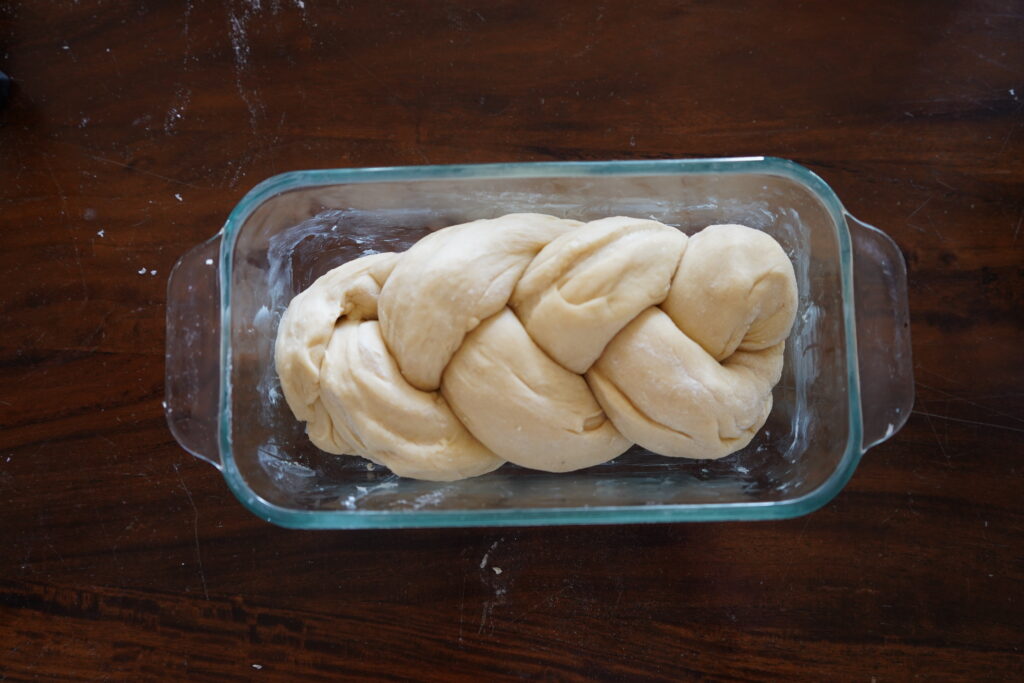
- To make a braided load, cut the dough with your dough scraper into 3 long pieces attached at the step of the dough. Braid it down and connect the dough on the other end.
- In a buttered or parchment papered lined bread dish, add your dough.
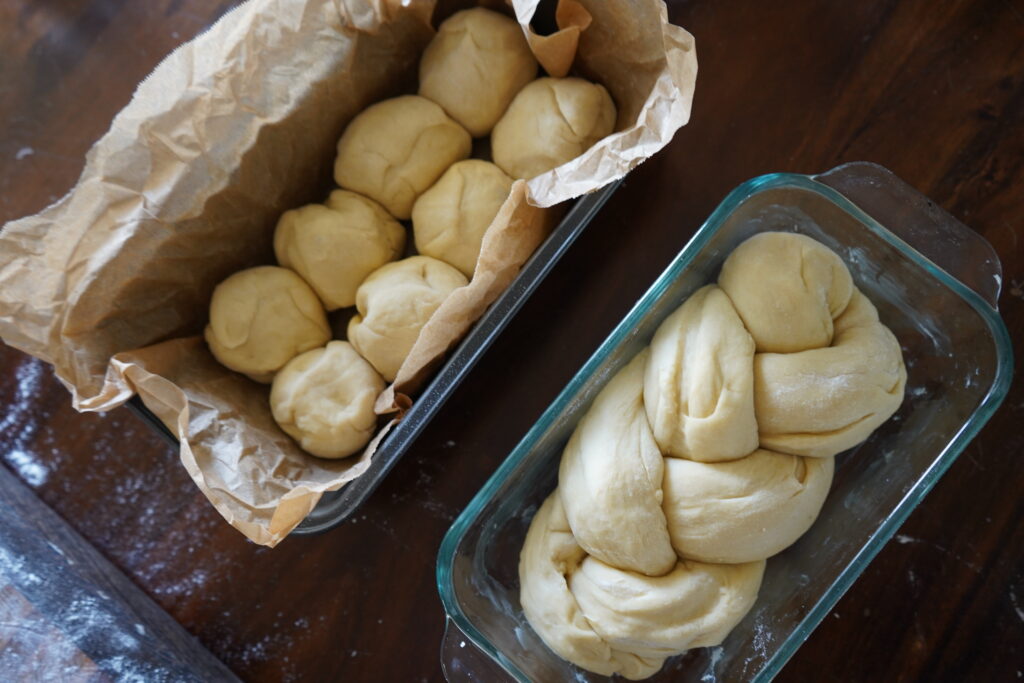
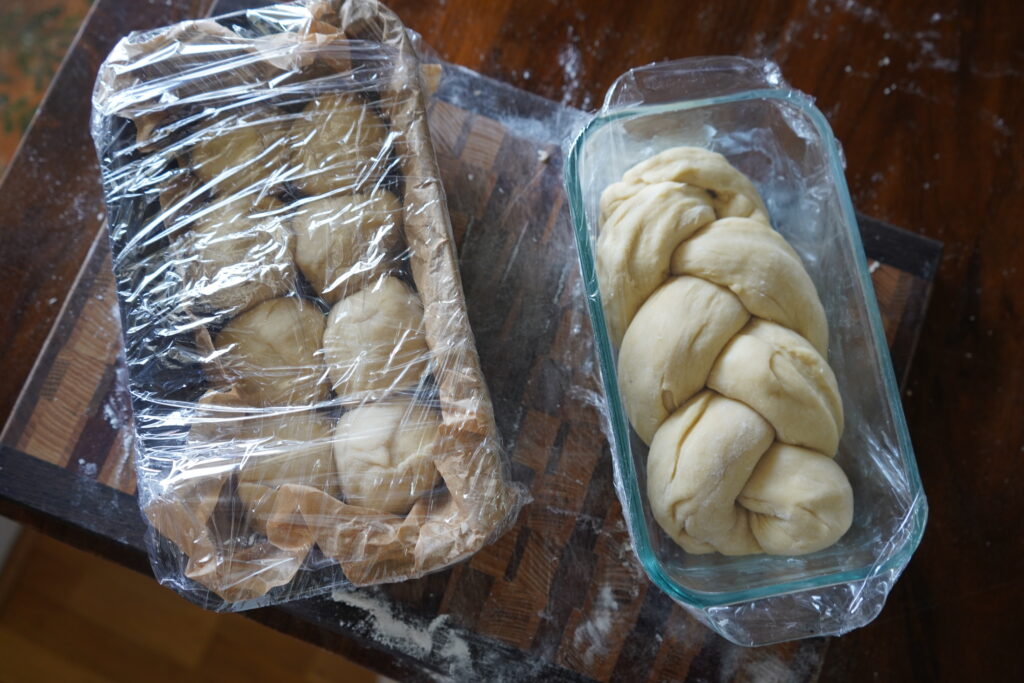
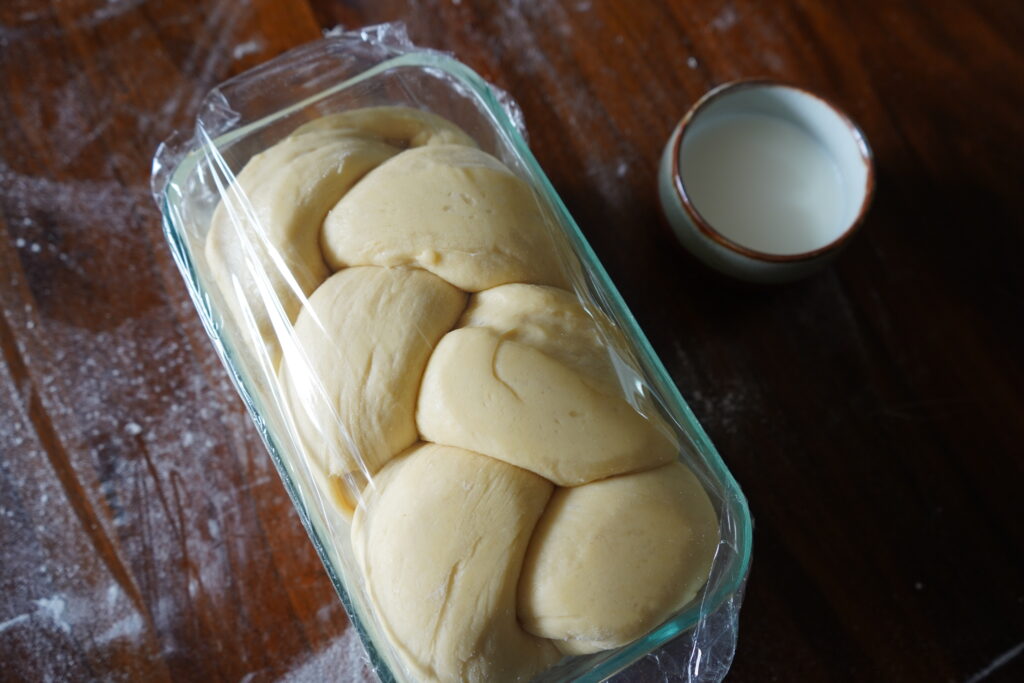
- This recipe makes 2 loafs, so feel free to have fun with it. Plastic wrap them and place them somewhere warm to rise. 1-3 hours, depending on how cold your house is.

- When the doughs about ready, preheat the oven to 350F.
- The brioche should be pushing up to the plastic when its ready. [As pictured above].
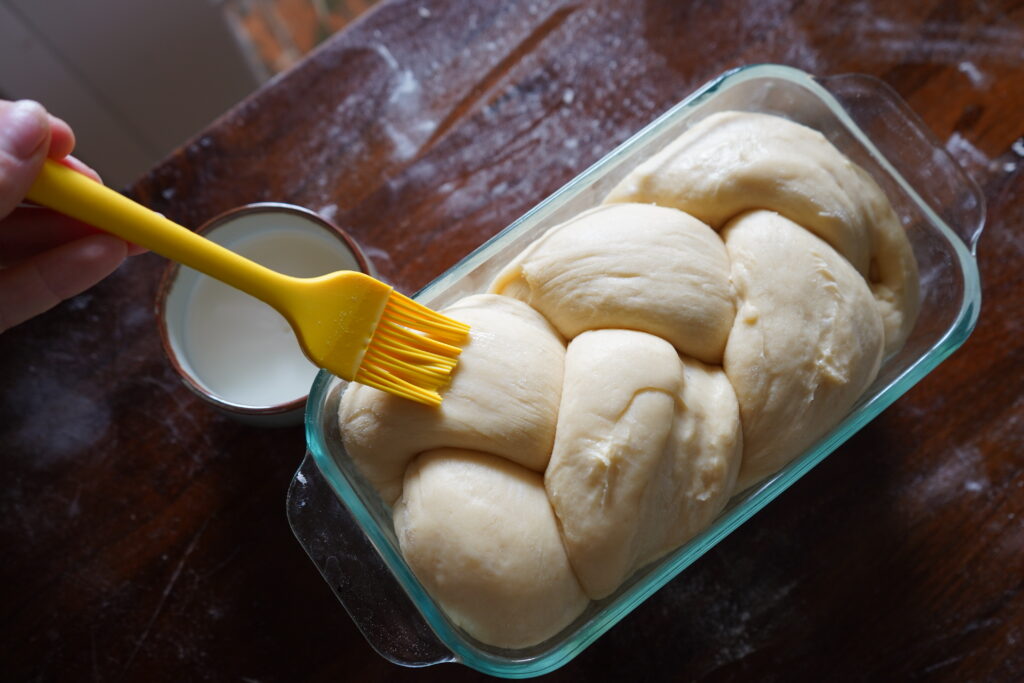
- Remove the plastic and baste the top of the dough with milk.
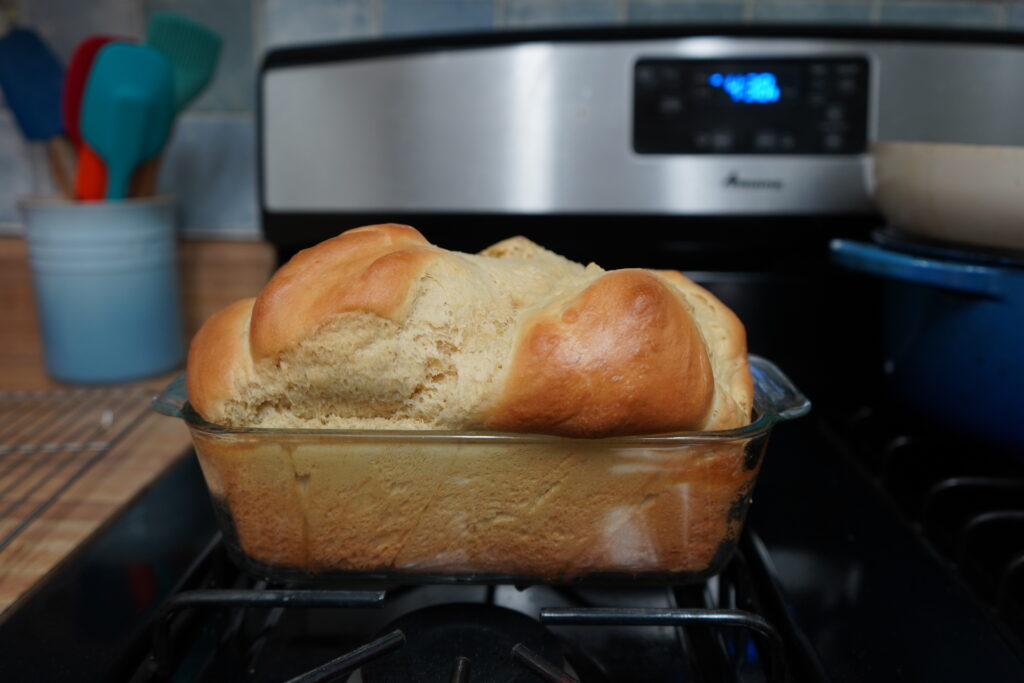
- Bake your homemade brioche for 20 minutes, tent the top with foil and continue to bake for 15 minutes.
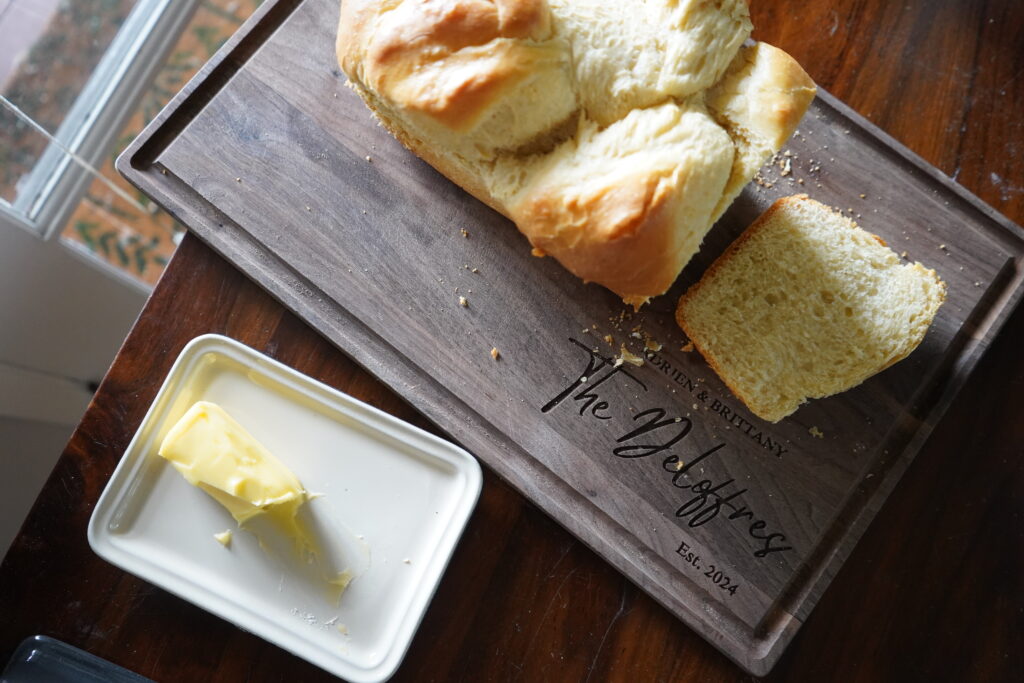
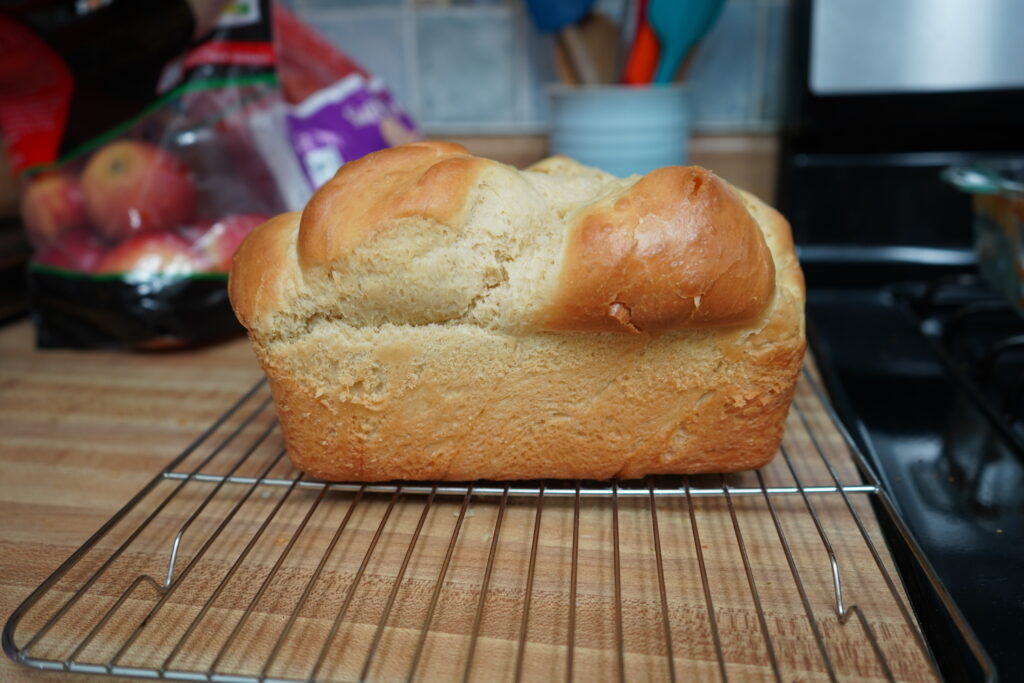
- Remove from the oven and immediately transfer to a wire rack to cool.
- Allow the bread to cool enough to handle.
- You are done!!! Enjoy with marmalade, or Nutella or as a sandwich or with eggs. However you like!
Questions/Comments?
I hope you absolutely love making the brioche! I know it is a lot more of an involved recipe but that’s what makes making and learning so fun! The capability to teach yourself is limitless!
Now, something I want to say is that I love hearing from each and every one of you. So, please feel free to comment below if you have a question, or if you just want to say hi!
Don’t forget to share your creations on Instagram and tag me so I can see your breads!
Thank you so much for being here! I appreciate you all and your support!
Other Recipes You Will Love:
Sourdough Pizza – You will never want regular pizza dough again.
Milk & Honey Dinner Rolls – Tried and loved by so many! The perfect dinner roll.
Pumpkin Muffins – Once you make these you are going to want to stock up on all the canned pumpkin and make this all year long.
Brioche Recipe
Ingredients
- 4 1/2 Cups Organic Bread Flour
- 6 Eggs – Room Temperature
- 1 Cup Unsalted Butter
- 1 Tbsp Active Dry Yeast
- 1/4 Cup of Honey
- 1 1/2 Tsp Salt
- 1/2 Cup Warm Water
Instructions
The Afternoon before
- In a large mixing bowl add active dry yeast and warm water.
- In the same mixing bowl, your honey and mix well. Then add directly in, 1 cup of flour and 1 1/2 tsp of salt.
- Mixed those ingredients well until it forms a kind of paste. [Pictured in article].
- Now we are going to take our 6 eggs and add one egg. Incorporate the egg fully before adding the next egg. It will start out being a bit difficult to mix in fully to the dough but gets easier as you go.
- As you continue to add the eggs the dough will get more and more liquid. This is normal. [In the article above you will see picture references].
- Add 2 cups of your flour 1/2 cup at a time. Mix completely before adding the next 12.
- Cut your softened butter into cubes, split the butter into 3 piles and add 1 pile of butter to the dough at a time until incorporated fully. Repeat this step until all the butter is mixed in.
- Once all your butter is mixed in you are going to add the rest of your flour (1 1/2 cups) mixing 1/2 a cup at a time until fully combined.
- The dough can feel hard to work but just keep kneading it until its all incorporated. The dough will be a sticky ball at the end.
- Cover with plastic wrap and let it rise until it doubles in size, about 3 hours.
- Once the dough has risen, remove the plastic wrap and deflate the dough with your hand. [Make sure you get a little water on your hand so it doesn’t stick.] Pull the dough slowly away from the sides and make a ball. It will be sticky.
- Cover with plastic wrap and put the bowl inside the fridge until the next morning.
The Next Morning
- Allow 2-3 hours for your dough to reach room temperature before you try to work it.
- Once your dough is room temperature, deflate it again, scrape the sides down and dump it onto your floured surface.
- Lightly flour your dough and make it into an oval shape. Split it in two.
- Make both pieces into oval shapes. [Pictures in article above.]
- To make a braided load, cut the dough with your dough scraper into 3 long pieces attached at the step of the dough. Braid it down and connect the dough on the other end.
- In a buttered or parchment papered lined bread dish, add your dough.
- This recipe makes 2 loafs, so feel free to have fun with it. Plastic wrap them and place them somewhere warm to rise. 1-3 hours, depending on how cold your house is.
- When the doughs about ready, preheat the oven to 350F.
- The brioche should be pushing up to the plastic when its ready. [As pictured in article].
- Remove the plastic and baste the top of the dough with milk.
- Bake your homemade brioche for 20 minutes, tent the top with foil and continue to bake for 15 minutes.
- Remove from the oven and immediately transfer to a wire rack to cool.
- Allow the bread to cool enough to handle.
- You are done!!! Enjoy with marmalade, or Nutella or as a sandwich or with eggs. However you like!
